Ford Mustang (1999-2004) Service Manual: Cable and Conduit
Removal
NOTE: The RH rear is shown, the LH is similar.
1. CAUTION: If any component in the parking brake system requires repair or if the rear axle housing (4010) is removed, the cable tension must be released.
Release the cable tension. For additional information, refer to Parking Brake Cable Tension Release in this section.
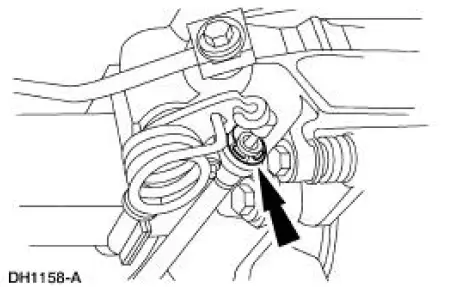
2. Disconnect the parking brake rear cable and conduit.
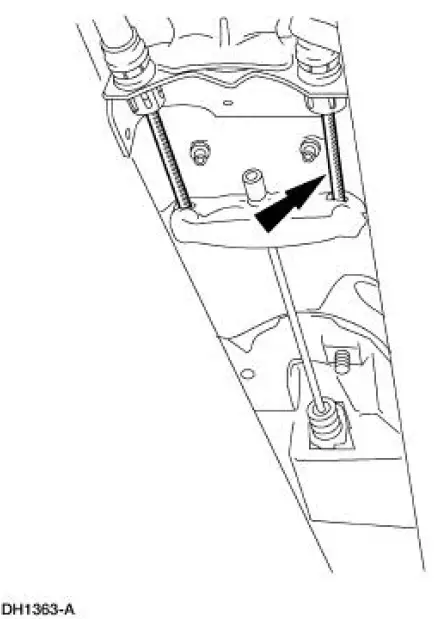
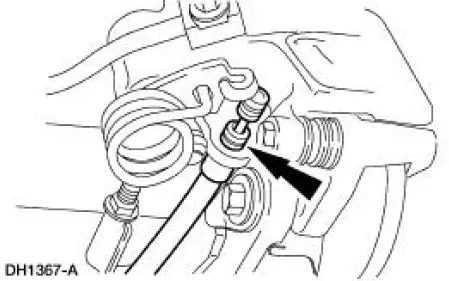
3. Using a 13 mm (0.52 in) box-end wrench, depress the conduit retaining prongs and remove the parking brake rear cable and conduit.
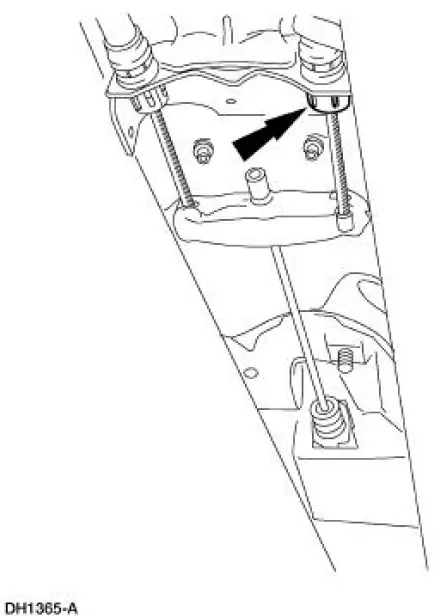
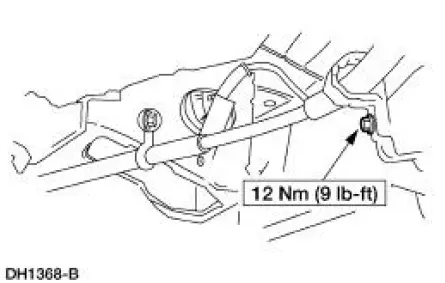
4. Remove the parking brake rear cable and conduit from the routing clip bolts.
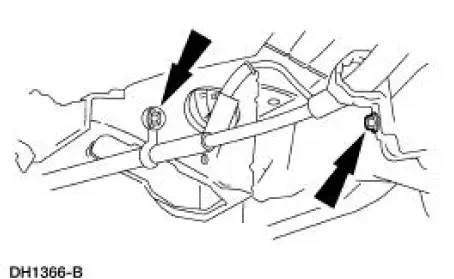
5. Disconnect the parking brake rear cable and conduit from the parking brake lever (2A637).
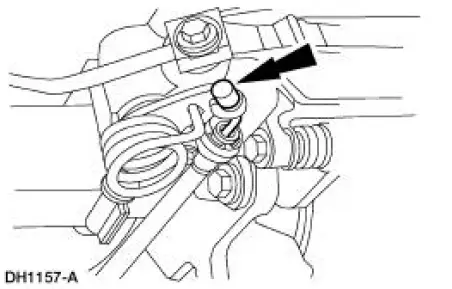
6. Remove the clip from the rear disc brake caliper (2552).
7. Remove the parking brake rear cable and conduit from the rear disc brake caliper.
Installation
1. Follow the removal procedure in reverse order.
 Cable and Conduit - Front
Removal
1. CAUTION: If any component in the parking brake system requires
repair or if the
rear axle housing (4010) is removed, the cable tension must be released.
Release the cable tension. For ...
 Hydraulic Brake Actuation
Torque Specifications
...
Other materials:
Removal
1. Remove the differential housing cover (4033) and drain the rear axle
(4001). For additional
information, refer to Differential Housing Cover in this section.
2. CAUTION: Reinstall the differential pinion shaft (4211) and the bolt in
the differential
case ...
Caliper
1. NOTE: It is not necessary to do a complete brake system
bleed if only the disc brake caliper
(2B120) was disconnected.
Place a box end wrench on the disc brake caliper bleeder screw (2208).
Attach a rubber drain
tube to the disc brake caliper b ...
Gear (Removal and Installation)
Special Tool(s)
Teflon Seal Replacer Set
211-D027 (D90P-3517-A) or
Equivalent
Tie Rod End Remover
211-001 (TOOL-3290-D)
Removal
1. Turn the steering wheel as necessary to position the wheels in the
straight-ahead position. Do
not loc ...
