Ford Mustang (1999-2004) Service Manual: Input Shaft and Bearing
Special Tool(s)
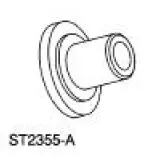 |
Input Shaft Seal Replacer 308-220 (T94P-7025-AH) |
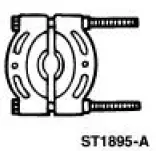 |
Pinion Bearing Cone Remover 205-D002 (D79L-4621-A) or Equivalent |
Disassembly
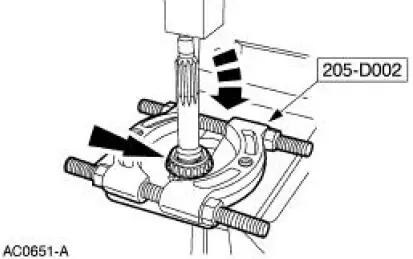
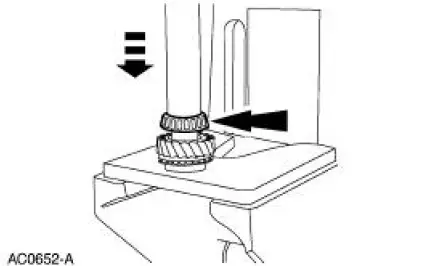
1. Using the special tool and a press, remove the input bearing (7025).
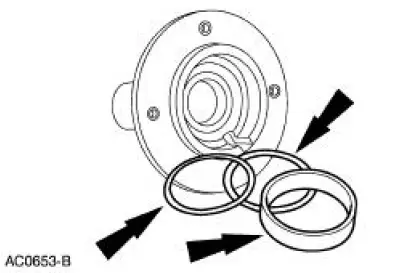
2. Remove the bearing race and the end play selective shims.

3. Remove the input shaft seal (7052).
Assembly
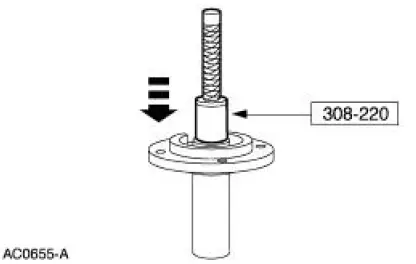
1. Using the special tool, install the input shaft seal.
2. NOTE: In installing a new input shaft seal as part of a transmission overhaul, do not install the end play selective shims at this time.
Instal the end play selective shims and the bearing race.
3. Using a press and a capped length of pipe, install the input bearing.
 Assembly
1. Install the new O-ring.
2. Assemble the gear shifter forks.
1. Install the gear shift plate into the gear shifter fork.
2. Install the gear shift fork inserts.
3. NOTE: Position the na ...
 Output Shaft
Special Tool(s)
Pinion Bearing Cone Remove
205-D002 (D79L-4621-A) or
Equivalent
Spiral Snap Ring Replacer
308-096 (T85P-7025-A)
Disassembly
1. Using the special tool a ...
Other materials:
Lighting control
A. Off
B. Parking lamps, instrument panel
lamps, license plate lamps and tail
lamps
C. Headlamps
High Beams
• Push the lever toward the
instrument panel to switch
on the high beams.
• Pull the lever toward you to
switch of the high beams.
Headlamp Flashe ...
Differential Pressure Feedback Exhaust Gas Recirculation
(EGR) System
Removal and Installation
1. NOTE: The 4.6L (2V) is shown. The 4.6L (4V) and 3.8L are
similar.
NOTE: Bolts may be used in place of nuts on some applications.
Remove the differential pressure feedback EGR.
1. Disconnect the connector.
2. Remove the ...
Wheel And Tire
Removal
1. CAUTION: Do not use heat to loosen a seized wheel nut (1012). Heat
can damage
the wheel and wheel bearings.
NOTE: To avoid damage or scratching to the center cap, place facing up
when removed.
Loosen the wheel nuts.
1. NOTE: To avoid wheel damag ...
