
Ford Mustang (1999-2004) Service Manual: Tracing Powder
Tracing powder is used to check both the uniformity of contact and the tension of a seal against its sealing surface. These tests are usually done when a suspected air leak/noise appears to originate from the seal area or during the alignment and adjustment of a component to a weatherstrip. Tracing powder can be ordered from Crest Industries as ATR Leak Trace. Carry out the tracing powder test as follows:
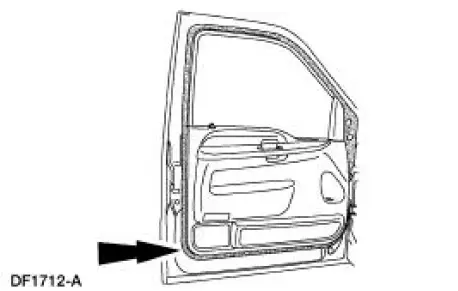
a. Clean the weatherstrip.
b. Spray the tracing powder on the mating surface only.
c. Close the door completely. Do not slam the door.
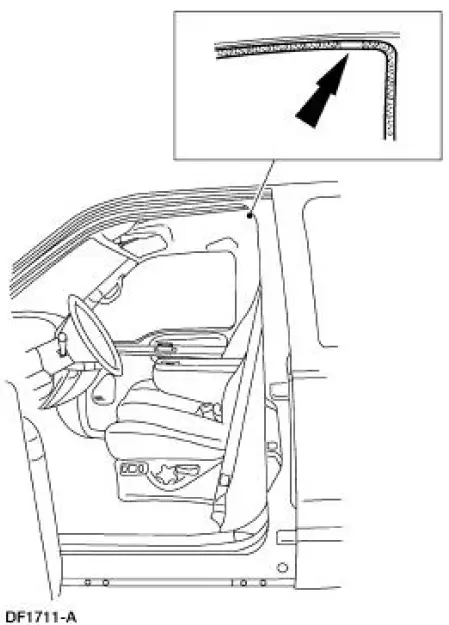
d. Open the door. An imprint is made where the weatherstrip contacted the mating surface seal.
Gaps or a faint imprint will show where there is poor contact with the weatherstrip.
 Vibrate Software
Vibrate Software (Rotunda tool number 215-00003) is a diagnostic aid which
will assist in pinpointing
the source of unacceptable vibrations. The engine's crankshaft is the point of
reference for vib ...
 Index Card
Place an index card or a piece of paper between the weatherstrip and the
sealing surface, then close
the door. Slowly withdraw the index card or paper after the door is closed and
check the amount o ...
Other materials:
Using MyKey with remote start systems
MyKey is not compatible with non-Ford-approved aftermarket remote
start systems. If you choose to install a remote start system, please see
your Ford authorized dealer for a Ford-approved remote start system.
Vehicles With Ford-approved Aftermarket Remote Sta ...
Battery Cables
Removal
WARNING: Batteries normally produce explosive gases which can
cause personal injury.
Therefore, do not allow flames, sparks or lighted substances to come
near the battery. When
charging or working near a battery, always shield your face an ...
Safety Belts
PRINCIPLES OF OPERATION
WARNING: Always drive and ride with your seat back upright
and the lap belt snug and low across the hips
WARNING: To reduce the risk of injury, make sure children sit
where they can be properly restrained.
WARNING: Never let a passenger ...
