
Ford Mustang (1999-2004) Service Manual: Muffler - 4.6L (4V)
Removal and Installation
1. Raise and support the vehicle. For additional information, refer to Section.
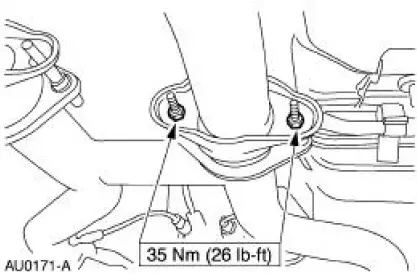
2. NOTE: RH side shown, LH side similar.
Remove the dual converter assembly nuts.
3. Remove the RH exhaust hanger insulator (5260).
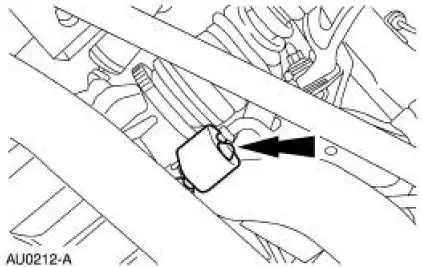
4. Remove the LH exhaust hanger insulator (5260).
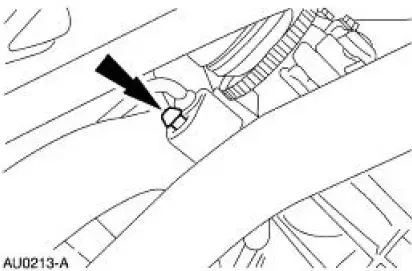
5. Remove the RH intermediate exhaust pipe hanger insulator.
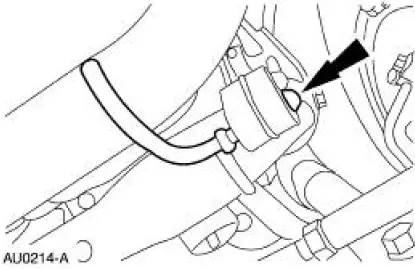
6. Remove the LH exhaust pipe hanger insulator.
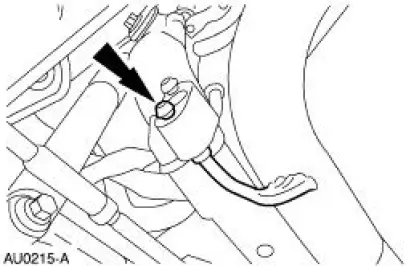
7. Remove the RH exhaust pipe hanger insulator.
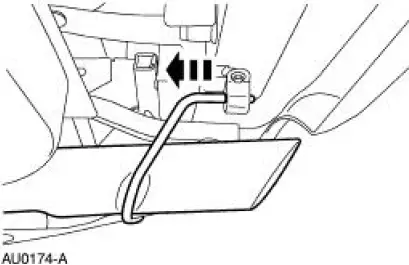
8. Remove the LH exhaust pipe hanger insulator.
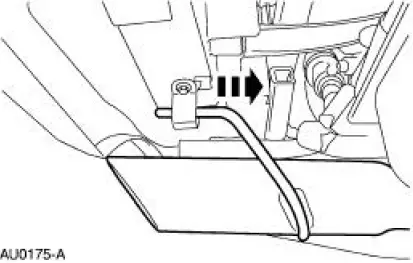
9. Remove the RH and LH mufflers.
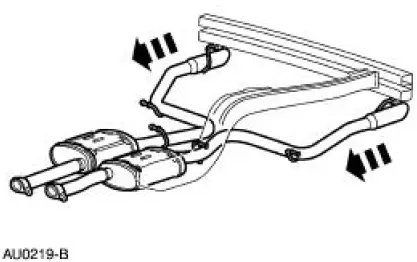
10. CAUTION: Do not use oil or grease-based lubricants on the insulators as they deteriorate the rubber.
NOTE: A soap-and-water solution will ease installation of the exhaust hanger insulators.
To install, reverse the removal procedure.
 Muffler - 4.6L (2V)
Removal and Installation
1. Use a jack to support and lower the rear axle.
2. Remove the upper arm-to-differential bolt.
3. Remove the nut and bolt, and disconnect the rear shock absorbers (18124) ...
 Dual Converter Y-Pipe - 3.8L
Removal
NOTE: The RH and LH catalytic converters are serviceable separately.
1. Raise and support the vehicle. For additional information, refer to
Section.
2. CAUTION: When repairing the exhaust sys ...
Other materials:
Clearing all MyKeys
You can clear all MyKeys within the same key cycle as you created the
MyKey. If you switch your ignition off, however, you will need to use an
admin key to clear your MyKeys.
Note: When you clear your MyKeys, you remove all restrictions and
return all MyKeys ...
Water Pump
Removal and Installation
1. Disconnect the battery ground cable.
2. Drain the coolant. For additional information, refer to Supercharger Cooling
System Draining,
Filling and Bleeding in this section.
3. Remove the retainer and position the inner fender well ...
Moulding - Roof Side
Removal and Installation
1. Remove the weatherstrip.
2. Remove the exterior roof side moulding screws.
3. Remove the interior roof side moulding screws.
4. Remove the roof side moulding screw.
5. Release the clips.
1. Lift up to release the two ...
