Ford Mustang (1999-2004) Service Manual: Crankshaft Runout
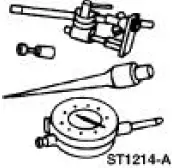
Special Tool(s)
|
|
Dial Indicator Gauge with Holding Fixture 100-002 (TOOL-4201-C) or equivalent |
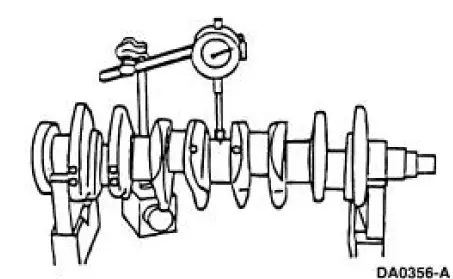
1. NOTE: Crankshaft main bearing journals must be within specifications before checking runout.
Use the Dial Indicator Gauge with Holding Fixture to measure the crankshaft runout.
- Refer to the appropriate section in Group 303 for the procedure.
- Rotate the crankshaft and subtract the lowest dial indicator reading from the highest dial indicator reading to figure the crankshaft runout. If it is out of specification, install new components as necessary. Refer to the appropriate section in Group 303 for the procedure.
 Crankshaft End Play
Special Tool(s)
Dial Indicator Gauge with
Holding Fixture
100-002 (TOOL-4201-C) or
equivalent
1. Measure the crankshaft end play. Use a Dial Indicator Gauge with Holding
Fixture t ...
 Crankshaft - Connecting Rod Journal Taper, Out of Round
1. Measure the crankshaft connecting rod journal diameters in two
directions perpendicular to one
another at each end of the connecting rod journal. The difference in the
measurements from
one e ...
Other materials:
Timing Chain
Removal
1. Remove the timing cover. For additional information, refer to Engine
Front Cover in this section.
2. Remove the camshaft position sensor drive gear.
1. Remove the bolt.
2. Remove the camshaft position sensor drive gear.
3. Rotate the ...
Symptom Chart
Condition
Possible Sources
Action
Traction-Lok
does not work in
snow, mud or on
ice
Differential.
CARRY OUT the Traction-
Lok Differential Operation
Check in this section. REPAIR
as necessar ...
Removal
All vehicles
1. Remove the air intake scoop. For additional information, refer to Section.
2. Remove the Hydro-Boost brake booster. For additional information, refer to
Section..
3. Raise and support the vehicle. For additional information, refer to Section ...
