Ford Mustang (1999-2004) Service Manual: Installation
1. Overlay the new rear window glass assembly over the old rear window glass assembly and transpose the markings with a grease pencil.
2. Center the V-notch on the new rear window glass assembly to the center mark on the top of the number four bow.
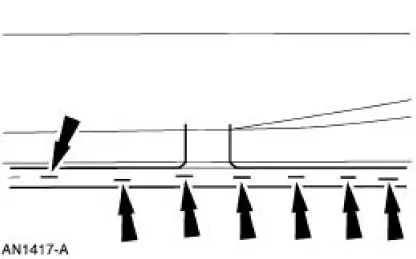
3. Align the rear window glass assembly to the top groove of the number four bow and staple the entire length.
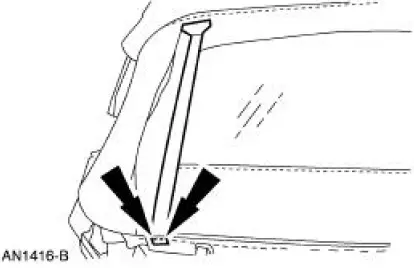
4. Starting at the center of the lower rear tacking strip, align the top edge of the rear belt to the reference line and staple.
5. Repeat the procedure for both rear tacking strip sides.
6. Position and staple the water diverter.

7. If necessary, align the elastic straps with the edge of the rear window glass assembly and staple in place.
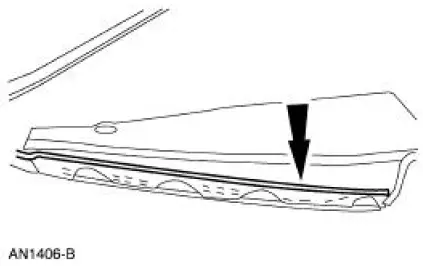
8. Align the center line mark on the cover assembly to the V-notch on the rear window glass assembly and staple the entire length.
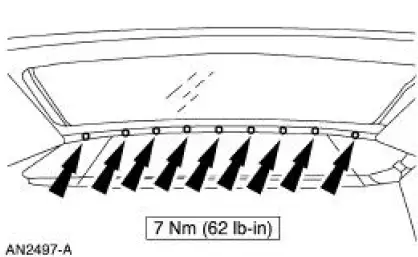
9. Align the top edge of the quarter tacking strip to the reference line on the convertible top cover and staple.
10. Install the tacking strips over the body studs.
11. Tighten the tacking strip nuts.
12. Install the well sling.
13. If necessary, connect the rear defroster connectors.
 Removal
1. Remove the rear defrost connectors if necessary.
2. Remove the nuts retaining the well sling and convertible top tacking
strips.
3. Remove the three tacking strips.
4. Mark the top of the ...

Other materials:
Removal
NOTE: This procedure applies to both the LH and RH halfshafts.
1. CAUTION: The vehicle must be on level ground and at curb height.
Mark the rear shock absorber relative to the protective sleeve.
During installation, raise the suspension to this reference ...
Entertainment System - General Information
Audio System (Diagnosis and Testing)
Refer to Wiring Diagrams Cell 130 , Radio for schematic and connector
information.
Special Tool(s)
73III Automotive Meter
105-R0057 or equivalent
Inspection and Verification
1. Verify the customer con ...
Driveline System - General Information
Driveline Angles @ Curb Specifications
All driveshaft and pinion angles point downward.
General Specifications
a: Service refill capacities are determined by filling the axle 6.3 mm (0.25
in [1/4 in]) to 14.3 mm (0.57 in
[5/16 in]) below the bottom of the ...
