Ford Mustang (1999-2004) Service Manual: Latch - Door
Removal
1. Remove the door trim panel (23942). For additional information, refer to Section.
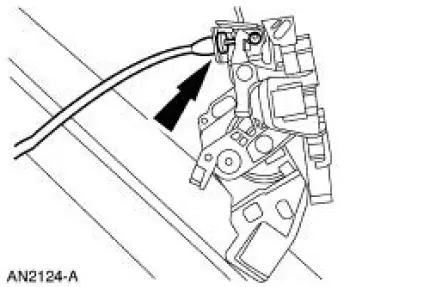
2. Release the actuating rods by opening the clips.
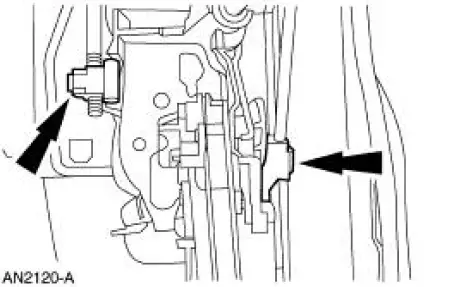
3. Using a screwdriver, release the lock cylinder actuating rod.
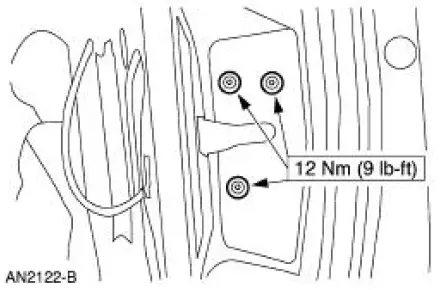
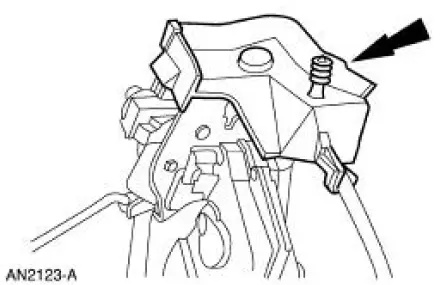
4. Remove the door latch screws.
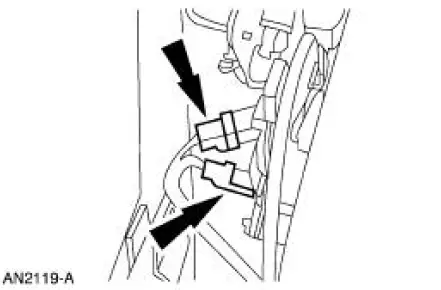
5. Disconnect the door ajar switch and the actuator electrical connectors.
6. Remove the water shield.
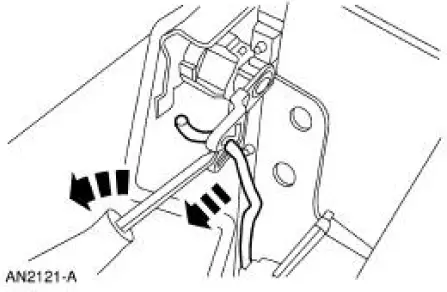
7. Release the interior door handle actuating cable.
8. Remove the door latch.
Installation
1. To install, reverse the removal procedure.
 Handles, Locks, Latches And Mechanisms (Description and Operation)
Lock Cylinders
Individual lock cylinders are repaired by discarding the inoperative
lock cylinder and building a new
lock cylinder using the appropriate lock repair package. The lock repair
...
 Latch - Luggage Compartment Lid
Removal
1. NOTE: The luggage compartment lid latch is equipped with
mechanical interior release handle.
Disconnect the luggage compartment lid lock actuator (432A38) cable.
2. Remove the lug ...
Other materials:
Component Tests
Heater Core
WARNING: Carbon monoxide gas is colorless, odorless and dangerous.
If it is necessary
to operate the engine with the vehicle in a closed area such as a garage,
always use an exhaust
collector to vent the exhaust gases outside the closed area ...
Engine Coolant Temperature (ECT) Sensor - Mach I
Material
Item
Specification
Pipe Sealant with Teflon
D8AZ-19554-A
WSK-M2G350-A2
Removal and Installation
1. Remove the air intake scoop. For additional information, refer to
Section.
2. Partially drain the engine cooling system. For ...
Installation
1. CAUTION: Install the brake pads in full axle sets. Do not
install new brake pads on
only one side of vehicle.
Install the new slipper and brake pads.
2. Position the caliper on the anchor plate and install the bolts.
3. Install the wheel and tire ...
