Ford Mustang (1999-2004) Service Manual: Oil Filter Adapter
Removal
1. Drain the cooling system. For additional information, refer to Section.
2. Disconnect the lower radiator hose.
3. Raise the vehicle. For additional information, refer to Section.
4. Drain the engine oil.
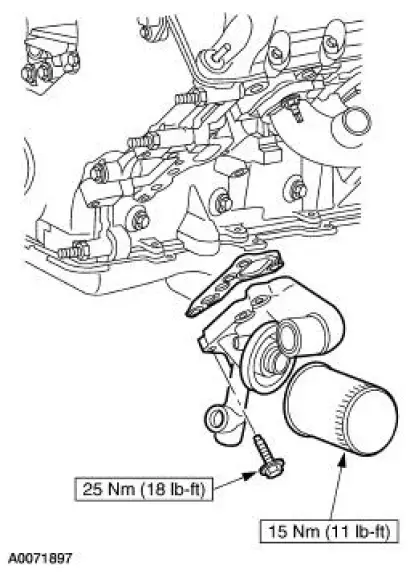
5. Remove the oil filter adapter.
1. Remove the oil filter.
2. Remove the bolts.
3. Remove the oil filter adapter.
4. Remove the gasket.

6. Clean and inspect the oil filter adapter.
- Flush the oil filter adapter with parts cleaner. If metal particles are present in the adapter, install a new adapter.
Installation
1. To install, reverse the removal procedure.
 Exhaust Manifold LH
Removal and Installation
1. Position the steering wheel straight ahead and lock the column.
2. Disconnect the battery ground cable. For additional information, refer to
Section.
3. Raise the vehicl ...
 Oil Level Indicator and Tube
Removal
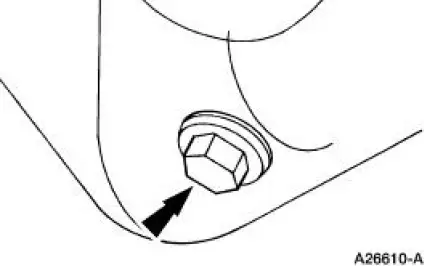
1. Remove the oil level indicator.
2. Remove the LH exhaust manifold. For additional information, refer to Exhaust
Manifold LH in
this section.
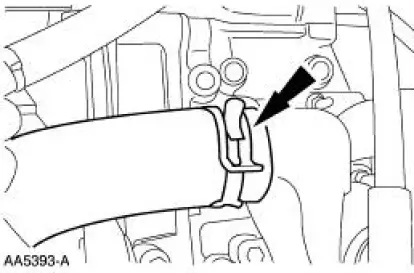
3. Remove the bolt.
4. Remove the oil level ...
Other materials:
Engine and Radiator Flushing
Special Tool(s)
Coolant System
Drain/Flush/Fill
164-R3673 or equivalent
Flush Kit
164-R3658 or equivalent
Drain Kit
164-R3662 or equivalent
Material
Item
Specification
Motorcraft Premium Cooling
...
Evaporative Emissions (Diagnosis and Testing)
Special Tool(s)
Evaporative Emission System
Leak Tester
310-F007 (134-00056) or
equivalent
Worldwide Diagnostic System
(WDS)
418-F224,
New Generation STAR (NGS)
Tester
418-F052, or equivalent scan
tool
Evaporative Em ...
Disassembly
1. WARNING: To avoid risk of serious personal injury, follow all
warnings, cautions,
notes and instructions in the driver air bag removal and installation procedure.
Remove the steering column (3C529). For additional information, refer to Column
in this
s ...
