Ford Mustang (1999-2004) Service Manual: Removal
1. Disconnect the battery ground cable. For additional information, refer to Section.
2. Raise and support the vehicle. For additional information, refer to Section.
3. Place a drain pan under the transmission fluid pan.
4. Drain transmission fluid.
- Loosen the transmission fluid pan bolts and allow fluid to drain. After fluid is drained remove the bolts.
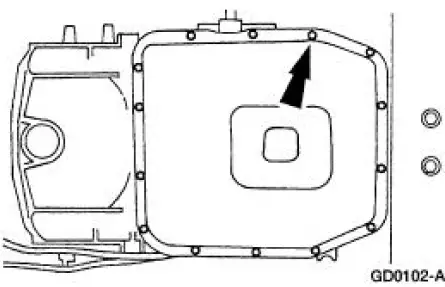
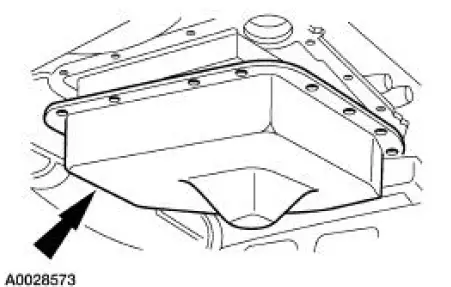
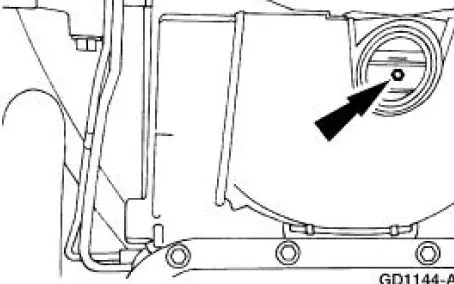
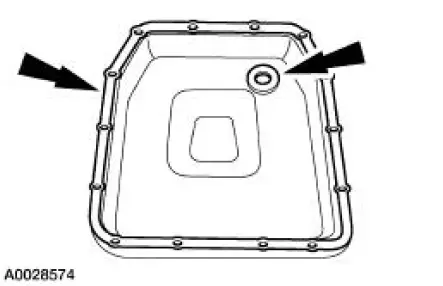
5. Remove the transmission fluid pan and transmission fluid pan gasket.
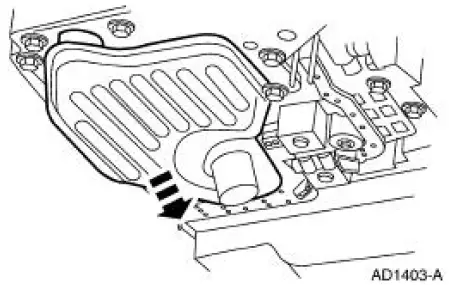
6. Pull down evenly and remove the transmission fluid filter and seal.
7. Remove torque converter housing plug.
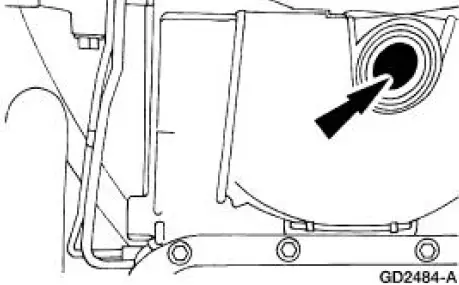
8. Remove the torque converter drain plug and drain the torque converter.
- Rotate the crankshaft to access the drain plug..
9. Clean and inspect the transmission fluid pan, gasket and magnet.
10. Flush the fluid cooler tubes. For additional information, refer to Transmission Fluid Cooler - Backflushing and Cleaning in this section.
 Fluid Pan, Gasket and Filter
Material
Item
Specification
MERCON V Automatic
Transmission Fluid
XT-5-QM, XT-5-DM
MERCON V
1. Normal maintenance requires periodic automatic transmission fluid changes.
If a ma ...
 Installation
1. NOTE: A new torque converter drain plug must be used.
Install the torque converter drain plug.
2. Install the torque converter housing plug.
3. CAUTION: If installing a new filter, and the se ...
Other materials:
Engine Dynamic Balance Shaft
Removal
1. Remove the timing chain (6268). For additional information, refer to
Timing Chain in this
section.
2. Disconnect and position the wire harness aside.
3. Remove the radiator fan and shroud assembly (8146).
4. Remove the engine dynamic balan ...
Pump and Intermediate Clutch Piston
Special Tool(s)
Installer, Front Pump Fluid
Seal
307-014 (T63L-77837-A)
Protector, Piston Seal
307-339 (T95L-77005-A)
Pump and Intermediate Clutch Piston - Disassembled View
...
Touchscreen climate controls
Press the CLIMATE hard button to access your climate control features.
Depending on your vehicle line and option package, your climate screen
may look different from the screen shown here.
Climate Control Voice Commands
If you are not viewing the climate co ...
