Ford Mustang (1999-2004) Service Manual: Retractor - Front Seat Safety Belt, Convertible
Special Tool(s)
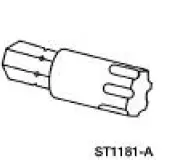 |
Torx Bit, Safety Belt Bolt 501-010 (T77L-2100-A) |
Removal
1. Remove the quarter trim panel (31012). For additional information, refer to Section.
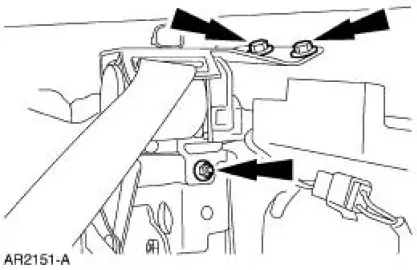
2. Remove the nut and bolts and safety belt retractor.
Installation
NOTE: Make sure the safety belt is not twisted.
1. The shipping clip must remain attached prior to the installation of the retractor into the vehicle.
The clip must be removed after the retractor is installed.
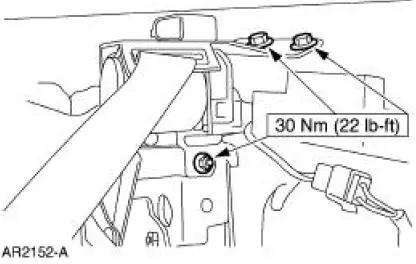
2. Position the safety belt retractor. Install the nut and bolts.
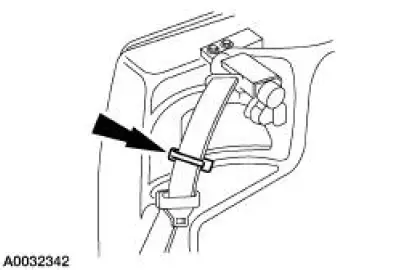
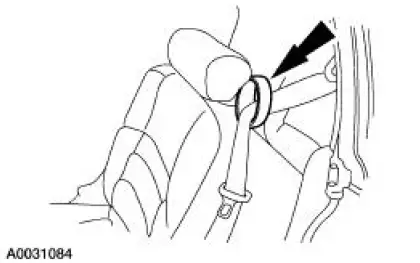
3. The shoulder belt must pass through the belt holder on the top of the seatback
4. Install the quarter trim panel. For additional information, refer to Section.
5. Check the active restraint system for correct operation.
 Retractor - Front Seat Safety Belt, Coupe
Special Tool(s)
Torx Bit, Safety Belt Bolt
501-010 (T77L-2100-A)
Removal
1. Remove the quarter trim panel (31012). For additional information, refer
to Section.
2. Using the special ...
 Retractor - Rear Seat Safety Belt, Coupe
Special Tool(s)
Torx Bit, Safety Belt Bolt
501-010 (T77L-2100-A)
Removal
1. Remove the quarter trim panel (31012) and the angel wing trim. For
additional information, refer
to Section ...
Other materials:
Heating and Defrosting
The heating and defrosting system has the following features:
Controls the temperature and, during A/C operation, reduces the relative
humidity of the air
inside the vehicle.
Delivers heated or cooled air to maintain the vehicle interior
temperature an ...
Engine - 3.8L
General Specifications
a - 20-200 seconds to leakdown 3.18 mm (0.125 in) with 225 Newtons (50
pounds) load and tappet filled
with leak-down fluid.
Torque Specifications
a - Refer to the procedure in this section
b - Advance one-half turn aft ...
Diagnostic Instructions - Air Bag Supplemental Restraint
System (SRS)
Special Tool(s)
Worldwide Diagnostic System
(WDS)
418-F224,
New Generation STAR (NGS)
Tester
418-F052, or equivalent scan
tool
The symptom chart can be used to help locate the air bag supplemental
restraint system (SRS)
concerns if n ...
