Ford Mustang (1999-2004) Service Manual: Retractor - Rear Seat Safety Belt, Coupe
Special Tool(s)
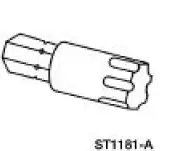 |
Torx Bit, Safety Belt Bolt 501-010 (T77L-2100-A) |
Removal
1. Remove the quarter trim panel (31012) and the angel wing trim. For additional information, refer to Section.
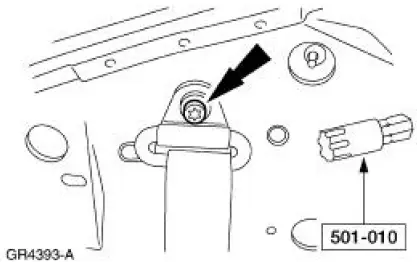
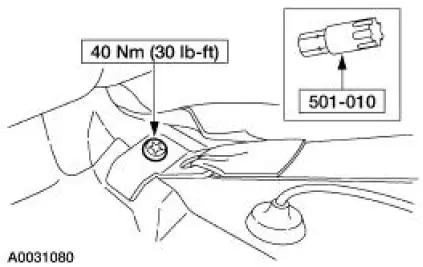
2. Using the special tool, remove the D-ring bolt.
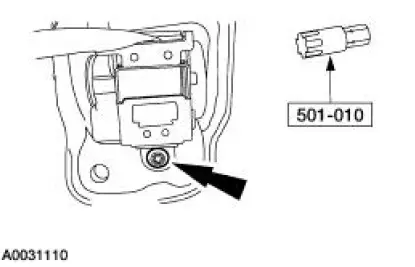
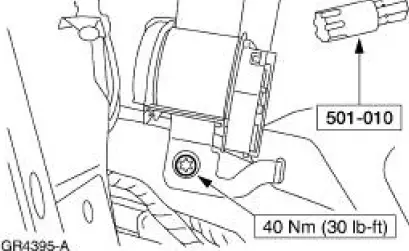
3. Using the special tool, remove the bolt and the safety belt retractor (611B68).
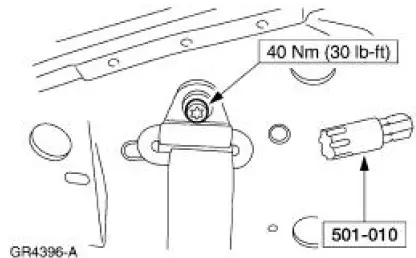
4. Remove the bolt.

Installation
NOTE: Make sure the safety belt is not twisted when inserting it in the quarter trim panel.
1. Install the bolt.
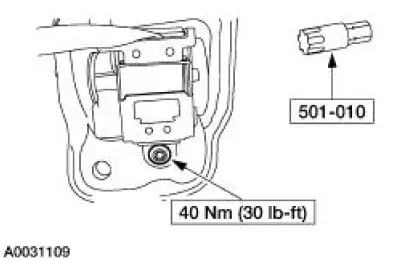
2. Using the special tool, install the safety belt retractor and the bolt.
3. Using the special tool, install the D-ring bolt.
4. Install the quarter trim panel (31012) and the angel wing trim. For additional information, refer to Section.
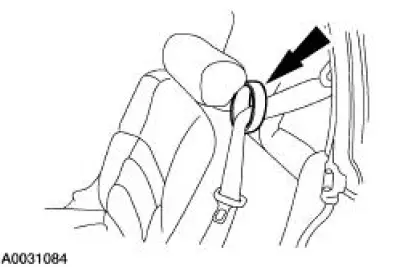
5. Make sure the shoulder belt passes through the belt holder on the top of the seatback.
6. Check the active restraint system for correct operation.
 Retractor - Front Seat Safety Belt, Convertible
Special Tool(s)
Torx Bit, Safety Belt Bolt
501-010 (T77L-2100-A)
Removal
1. Remove the quarter trim panel (31012). For additional information, refer
to Section.
2. Remove the nut and ...
 Retractor - Rear Seat Safety Belt, Convertible
Special Tool(s)
Torx Bit, Safety Belt Bolt
501-010 (T77L-2100-A)
Removal
1. Remove the rear seat cushion.
2. Remove the luggage compartment front lining board (45444).
3. Release the ...
Other materials:
Seat - Front Power
Removal and Installation
1. Remove the safety belt through the opening in the safety belt guide.
2. Move the seat forward.
3. Remove the bolt covers and remove the seat track bolts.
4. Move the seat rearward.
5. Remove the seat track nuts.
6. Move the ...
Disc and Pressure Plate - 3.8L and 4.6L (2V) Engines
Special Tool(s)
Clutch Aligner
308-020 (T74P-7137-K)
Material
Item
Specification
Premium Long Life Grease
XG-1-C
ESA-M1C75-B
1. Remove the transmission.
2. CAUTION: Loosen the bolts evenly to prevent clutch pressure plate
...
Pressure
1. Clean all dirt from and remove the brake master cylinder filler
cap and fill the brake master
cylinder reservoir with the specified brake fluid.
2. NOTE: Master cylinder pressure bleeder adapter tools are available
from various manufacturers
of pres ...
