
Ford Mustang (1999-2004) Service Manual: Sensor - Rear
Removal
1. Remove the rear passenger seat.
2. Disconnect the rear anti-lock brake sensor electrical connector.
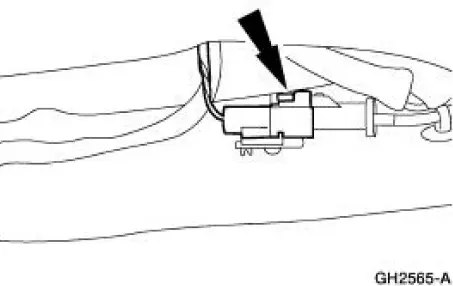
3. Raise and support the vehicle. 4. Remove the rear anti-lock brake sensor harness from the floor pan.
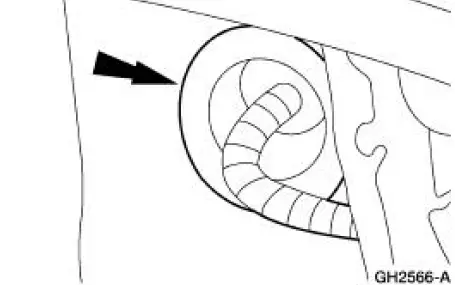
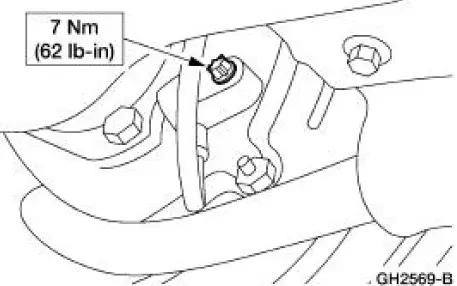
5. Remove the anti-lock brake sensor harness bracket bolt.
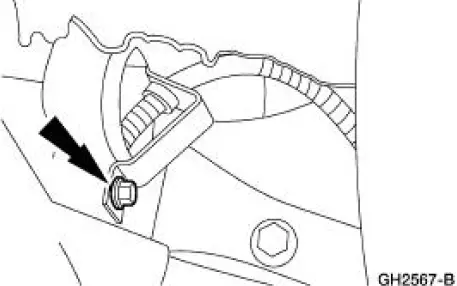
6. NOTE: The sensor may be siezed to the axle. Use Rust Penetrant and Inhibitor F2AZ-19A501- A meeting Ford specification ESR-M99C56-A to loosen the sensor for removal.
Remove the rear anti-lock brake sensor.
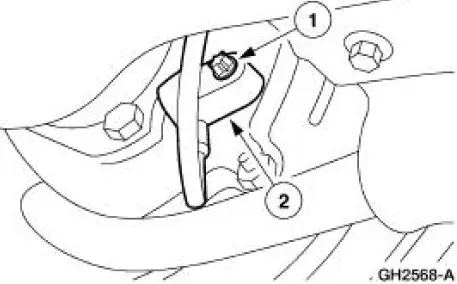
1. Remove the rear anti-lock brake sensor bolt.
2. Remove the rear anti-lock brake sensor.
Installation
1. NOTE: Be sure to apply High Temperature Nickel Anti-Sieze Lubricant F6AZ-9L494-AA meeting Ford specification ESE-M124A-A to the sensor body where it will make contact when installed.
To install, reverse the removal procedure.
 Switch - Traction Control
Removal and Installation
1. NOTE: If the vehicle is equipped with an automatic
transmission, position the shift lever in the 1
position before detaching the floor console finish panel.
Lifti ...
Other materials:
Output Shaft
Special Tool(s)
Pinion Bearing Cone Remove
205-D002 (D79L-4621-A) or
Equivalent
Spiral Snap Ring Replacer
308-096 (T85P-7025-A)
Disassembly
1. Using the special tool and a press, remove the third/fourth gear
synchronizer asse ...
Axle information
Traction-Lokâ„¢ Axle (If Equipped)
This axle provides added traction on slippery surfaces, particularly when
one wheel is on a poor traction surface. Under normal conditions, the
Traction-Lokâ„¢ axle functions like a standard rear axle.
Extended use of other ...
Refrigerant Lines
The condenser to evaporator tube (19835) contains the high pressure liquid
refrigerant upstream of the
evaporator core orifice.
The A/C manifold and tube (19D734) is attached to the A/C compressor, is sealed
with O-ring seals,
and has the following features ...
