Ford Mustang (1999-2004) Service Manual: Camshaft Roller Follower
Special Tool(s)
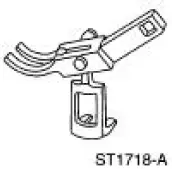 |
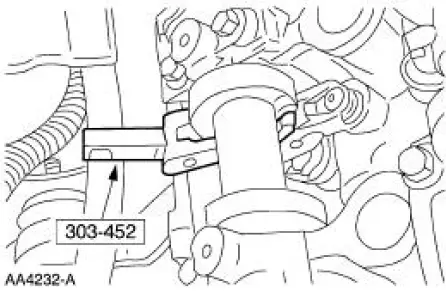
Compressor, Valve Spring (Intake) 303-452 (T93P-6565-AR) |
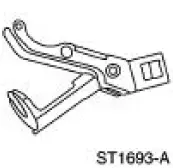 |
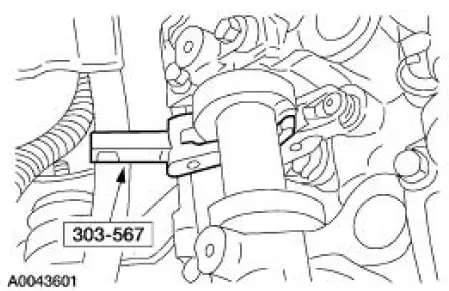
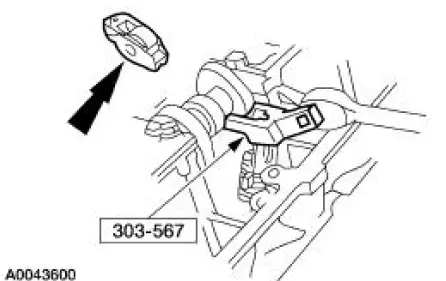
Compressor, Valve Spring (Exhaust) 303-567 (T97P-6565-AH) |
Removal
1. Remove the valve cover. For additional information, refer to Valve Cover LH or Valve Cover RH in this section.
2. Position the piston of the cylinder being serviced at the bottom of the stroke and the camshaft lobe at base circle.
3. Using the special tool compress the intake valve spring.
4. Remove the roller follower from the intake valve.

5. Using the special tool compress the exhaust valve spring.
6. Remove the camshaft roller follower from the exhaust valve.
7. Repeat Steps 2, 3 and 4 to remove all the necessary roller followers. Inspect roller finger followers and camshafts. For additional information, refer to Section.
Installation
1. To install, reverse the removal procedure.
 Hydraulic Lash Adjuster
Removal and Installation
1. Remove the roller followers. For additional information, refer to Camshaft
Roller Follower in this
section.
2. Remove the eight hydraulic lash adjusters.
3. Inspect the ...
 Camshaft
Removal and Installation
1. Remove the timing chains. For additional information, refer to Timing
Drive Components in this
section.
2. Remove the roller followers. For additional information, refer ...
Other materials:
Normal Schedule
The following checks or procedures should be carried out for all cars,
minivans, light trucks, sport
utilities, vans, 4x4s, natural gas and propane vehicles.
8,000 Km (5,000 Miles)
Change engine oil and install a new oil filter.
Rotate tires and inspect fo ...
1-2 Accumulator
Removal
1. Compress the 1-2 accumulator cover and remove the accumulator piston
retaining ring.
2. NOTE: Note the location of the 1-2 accumulator springs for
reference during assembly.
Remove the 1-2 accumulator.
1. Remove the 1-2 accumulator cover.
2. ...
Removal
CAUTION: Suspension fasteners are critical parts because they affect
performance of vital
components and systems and their failure can result in major service expense. A
new part with
the same part number must be installed if installation becomes necessary. ...
