Ford Mustang (1999-2004) Service Manual: Inspection and Verification
1. Verify customer concern by running the engine.
2. Inspect the drive belt for chunking, fraying and wear.
3. Check the drive belt for correct routing.
Drive Belt Cracking/Chunking/Wear
V Ribbed Serpentine Drive Belt With Cracks Across Ribs
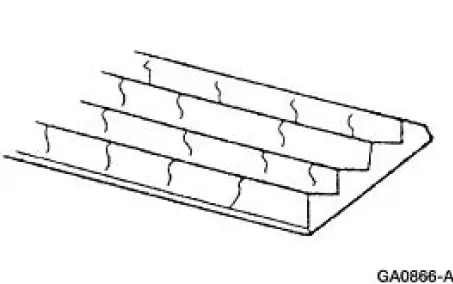
The accessory drive:
- has a single serpentine drive belt.
- has an automatic drive belt tensioner.
- does not require adjustment.
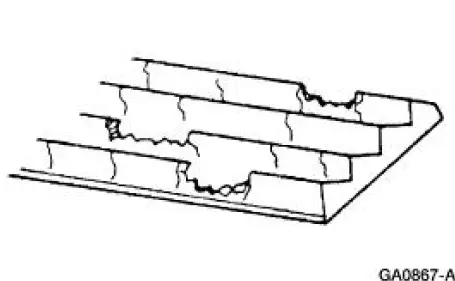
V Ribbed Belt With Chunks of Rib Missing
Symptom Chart
| Condition | Possible Sources | Action |
|
|
|
|
|
|

 Component Tests
Drive Belt Noise/Flutter
Drive belt chirp occurs due to pulley misalignment or excessive pulley runout.
It can be the result of a
damaged pulley or an incorrectly aligned pulley.
To correct, determi ...
Other materials:
Subwoofer Speaker - Convertible
Removal and Installation
1. Remove the rear quarter trim panel. For additional information,
refer to Section .
2. Remove the subwoofer assembly.
1. Disconnect the electrical connectors.
2. Remove the screws.
3. Remove the subwoofer assemb ...
Engine
WARNING: Do not operate the engine with the hood open until the fan
blade has been first
examined for possible cracks and separation.
The 4.6L (4V) (281 CID) is a V-8 engine with the following features:
dual overhead camshafts
four valves per cylinder
s ...
Component Tests
Pressure Test
1. Turn the engine OFF.
2. WARNING: Never remove the pressure relief cap under any conditions
while the
engine is operating. Failure to follow these instructions could result in damage
to the
cooling system or engine and/or personal injury. To ...
