Ford Mustang (1999-2004) Service Manual: Front Seat Cushion
Disassembly and Assembly
All vehicles
1. Remove the seat track. For additional information, refer to Seat Track in this section.
2. Remove the seat backrest. For additional information, refer to Front Seat Backrest in this section.
Vehicles with power seat
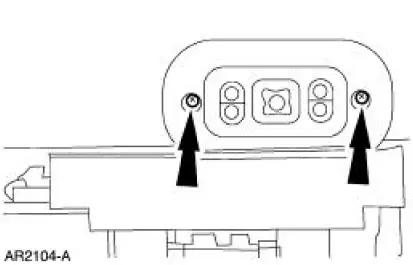
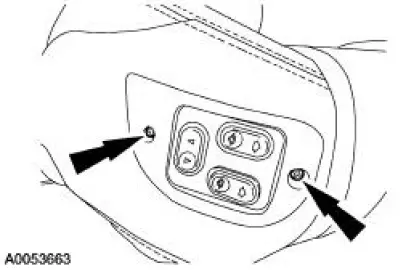
3. Remove the screws in the power seat control switch.
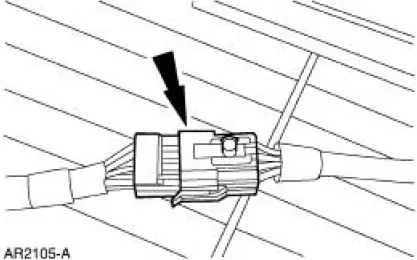
4. Disconnect the electrical connector and remove the power seat control switch.
Vehicles with standard power lumbar
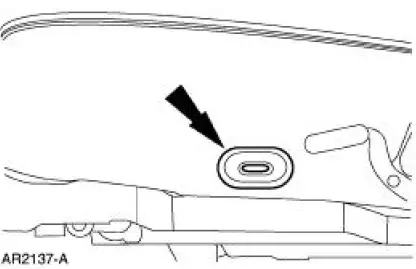
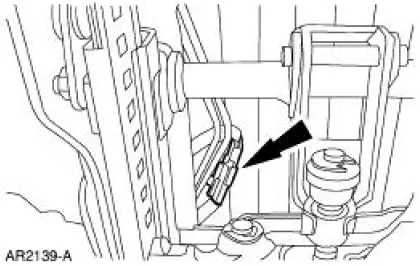
5. Remove the lumbar control switch (14C715).
6. Disconnect the power lumbar support air hoses.
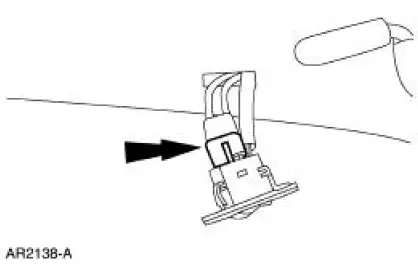
7. Disconnect the lumbar seat control switch electrical connector and remove the lumbar control switch.
Vehicles with power bolster and lumbar
NOTE: For vehicles with lumbar and bolster, the pump and solenoid module are serviced as part of the seat cushion frame.
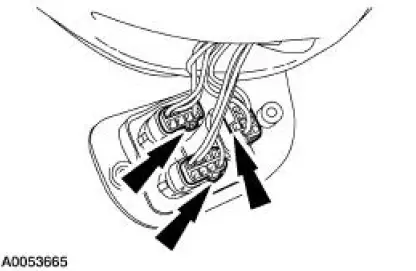
8. Remove the power lumbar and bolster seat switch screws.
9. Disconnect the lumbar and bolster control switches.
All vehicles
10. Remove the J-clips.
11. Remove the hog rings.
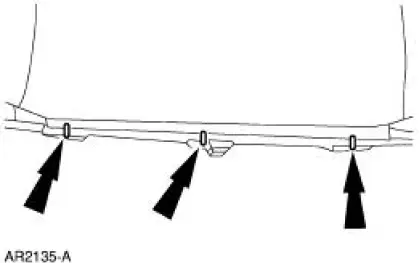
12. Remove the front seat cushion cover (62900) from the front seat cushion pad (632A22).
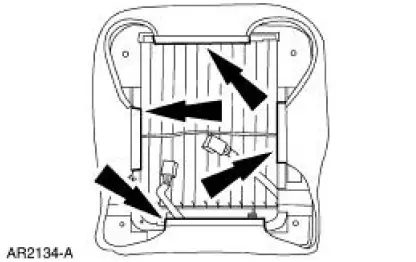
13. Remove the front seat cushion frame and spring (63100).
Vehicles with power cushion bolster
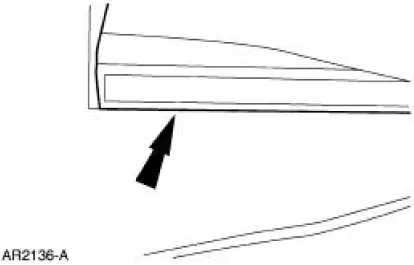
14. Disconnect the hoses from the two bolster adjuster pads (one shown) and slide the bolster adjuster pad up and off the seat cushion frame.

All vehicles
15. To assemble, reverse the disassembly procedure.
 Latch - Front Seat Backrest
Removal
NOTE: The power seat backrest adjuster assembly must be installed as a
new unit. Repair of the
power seat backrest adjuster assembly components is not acceptable and
should not be attemp ...
 Front Seat Backrest
Disassembly and Assembly
All vehicles
1. Remove the front seat backrest. For additional information, refer to
Front Seat Backrest in this
section.
2. Remove the front seat backrest head restrai ...
Other materials:
Link - Stabilizer Bar
Removal
CAUTION: Suspension fasteners are critical parts because they affect
performance of vital
components and systems and their failure can result in major service expense. A
new part with
the same part number must be installed if installation becomes nec ...
Installation
1. Install the RH engine insulator.
Install the nuts.
Install the bolts.
2. Install the LH engine insulator.
3. Connect the engine ground strap.
4. Install the bracket.
5. Lower the vehicle.
6. Lower the engine.
7. Raise the vehicle.
8. Ins ...
Engine Mount RH
Special Tool(s)
Lifting Bracket, Engine
303-D088 (D93P-6001-A2)
Support Bar, Engine
303-290-A
Removal
1. Install the special tool.
2. Install the special tools.
3. Remove the starter. For additional information, refer to Secti ...
