Ford Mustang (1999-2004) Service Manual: Disassembly
1. Remove the differential assembly from the differential housing. For additional information, refer to Differential Case in this section.
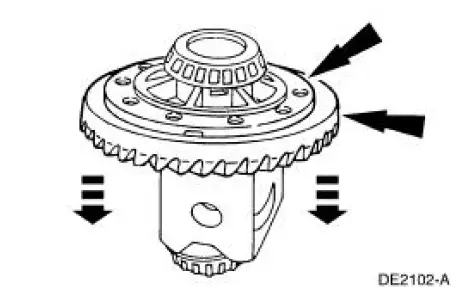
2. Remove the bolts.
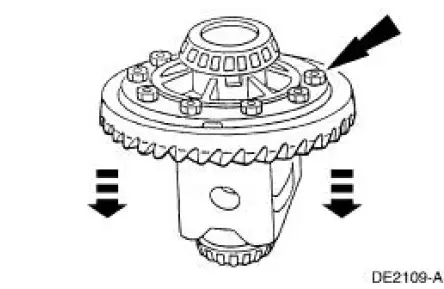
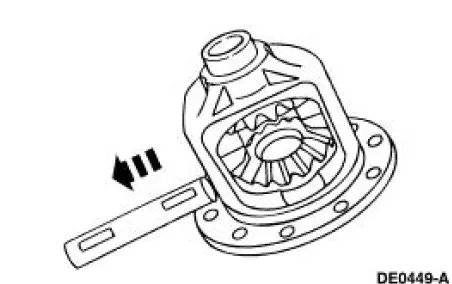
3. CAUTION: Do not damage the threads in the bolt holes.
Insert a punch in the bolt holes and drive off the ring gear.
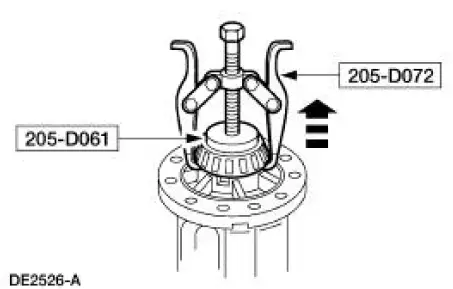
4. Using the special tools, remove the differential bearings (4221), if necessary.
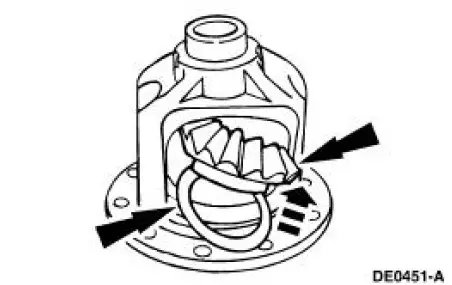
5. Remove the bolt.
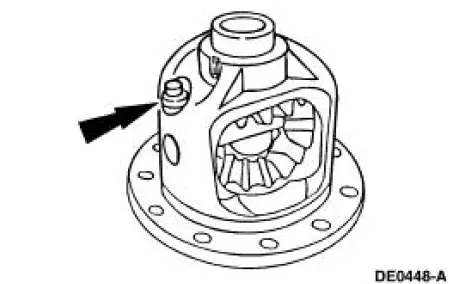
6. Remove the differential pinion shaft (4211).
7. Rotate and remove the differential pinion gears (4215) and differential pinion thrust washers (4230).

8. Remove the differential side gears (4236) and the differential side gear thrust washers (4228).
 Differential Case and Ring Gear - Conventional
Special Tool(s)
2-Jaw Puller
205-D072 (D97L-4221-A) or
equivalent
Installer, Differential Side
Bearing
205-010 (T57L-4221-A2)
Step Plate
205-D061 (D83T-4205-C2) or
...
 Assembly
1. Lubricate the differential side gear thrust washers and the differential
side gear journals, and
assemble the washers to the gears.
Use SAE 75W-140 High Performance Rear Axle Lubricant F1TZ-1958 ...
Other materials:
Audio Unit
Torque Specifications
Audio System
The Mustang is available with the following audio systems:
M100 CD AM/FM
CDX6-AM/FM with six CD in-dash
MP3 single CD AM/FM (optional)
The M100 system is equipped with four premium speakers. The CDX6 six
...
Air filter check
WARNING: To reduce the risk of vehicle damage and or
personal burn injuries, do not start your engine with the air
cleaner removed and do not remove it while the engine is running.
Note: Failure to use the correct air filter element may result in
severe
engin ...
Battery and Cables
Vehicles are equipped with a 12 volt maintenance-free battery that
contains a built-in hydrometer. The
hydrometer eye indication is as follows:
A green dot means the battery is OK.
A yellow dot, red dot, or when the green dot is not visible,
...
