
Ford Mustang (1999-2004) Service Manual: Input Shaft and Bearing
Special Tool(s)
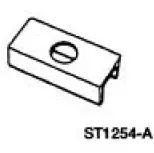 |
Plate, Bearing/Oil Seal 205-090 (T75L-1165-B) |
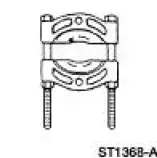 |
Puller, Bearing 205-D064 (D84L-1123-A) |
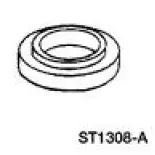 |
Installer, Drive Pinion Bearing Cone 205-004 (T53T-4621-B) |
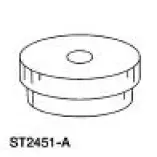 |
Adapter Set, Step Plate 205-DS011 (D80L-630-A) |
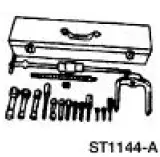 |
Universal Puller Set 303-DS005 (D80L-100-A) |
Disassembly and Assembly
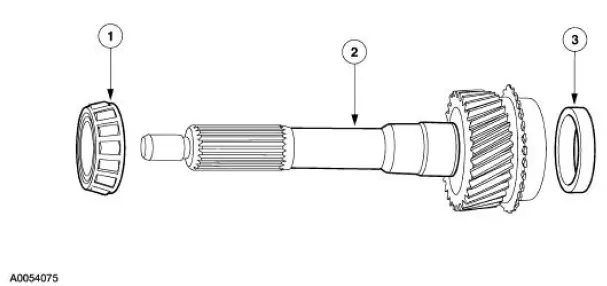
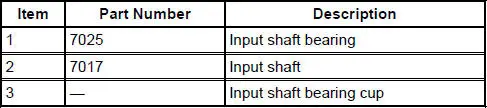
1. CAUTION: Use a vise with brass jaws or wood blocks.
Secure the input shaft in a vise. Using the special tools and a slide hammer, remove the input shaft bearing cup.
- Inspect the cup for wear or damage. Install a new bearing cup and bearing as necessary.
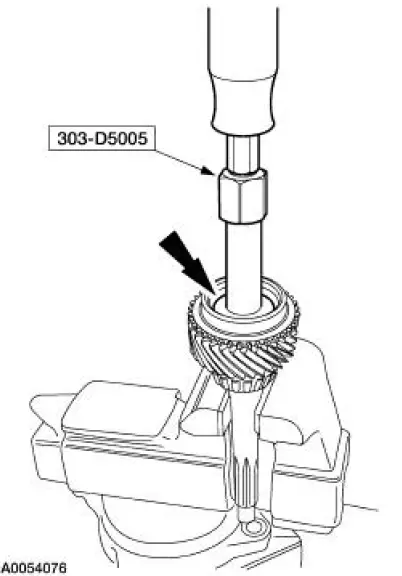
2. Using the special tool and a press, remove the input shaft front bearing.
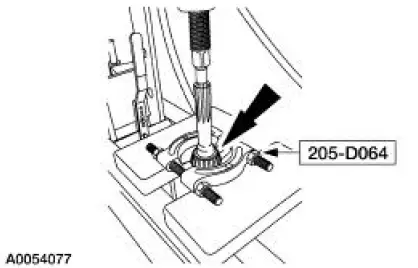
3. Inspect the input shaft and bearing for wear or damage. Install new components as necessary.
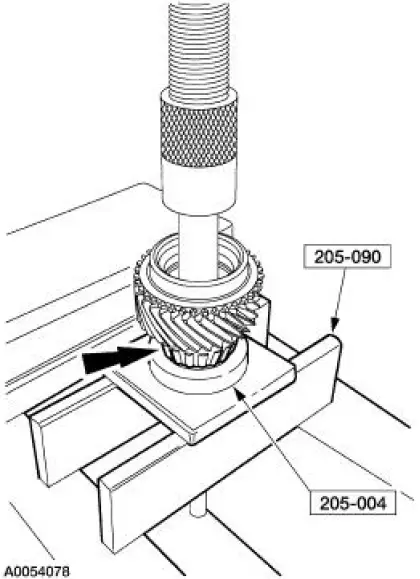
4. Using the special tools and a press, install a new input shaft bearing.
- Lubricate the bearing with petroleum jelly.
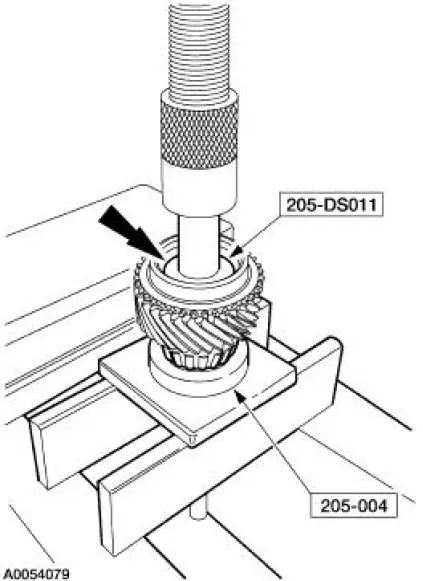
5. Using a suitable driver and the press, install the input shaft bearing cup.
- Lubricate the bearing cup with petroleum jelly.
 Transmission (Disassembly)
Special Tool(s)
Holding Fixture, Transmission
307-003 (T57L-500-B)
Puller, Bearing
205-D064 (D84L-1123-A)
2 or 3 Jaw Puller
205-D027 (D80L-1013-A)
...
 Output Shaft
Special Tool(s)
Puller, Bearing
205-D064 (D84L-1123-A)
Adapter for 303-224 (Handle)
205-153 (T80T-4000-W)
Installer, Output Shaft Rear
Bearing
308-401
...
Other materials:
Component Tests
Brake Booster
1. Check the hydraulic brake system for leaks or insufficient fluid.
2. With the transmission (7003) in NEUTRAL, stop the engine (6007) and
apply the parking brake
control (2780). Apply the brake pedal several times to exhaust all
va ...
Radiator
Material
Item
Specification
Motorcraft Premium Gold
Engine Coolant
VC-7-A (in Oregon VC-7-B)
(yellow color)
WSS-M97B51-
A1
Removal and Installation
NOTE: Radiator removal and installation is similar for both 3.8L and
4.6L vehicles. ...
Installation
1. NOTE: If the oil pan is not secured within four minutes, the
sealant must be removed and the
sealing area cleaned with metal surface cleaner. Allow to dry until there is
no sign of wetness,
or four minutes, whichever is longer. Failure to follow this ...
