Ford Mustang (1999-2004) Service Manual: Removal
CAUTION: Suspension fasteners are critical parts because they affect performance of vital components and systems and their failure can result in major service expense. A new part with the same part number must be installed if installation becomes necessary. If substitution is necessary, the part must be of the same finish and property class. Torque values must be used as specified during reassembly to make sure of correct retention of these parts.
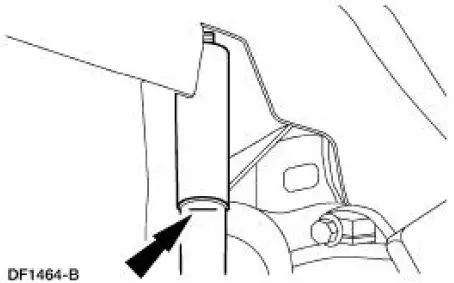
1. Mark the rear shock absorber (18125) relative to the protective sleeve with the vehicle in a static, level ground position (curb height).
2. Raise the vehicle on a hoist.
3. Support the differential housing with a jack stand.
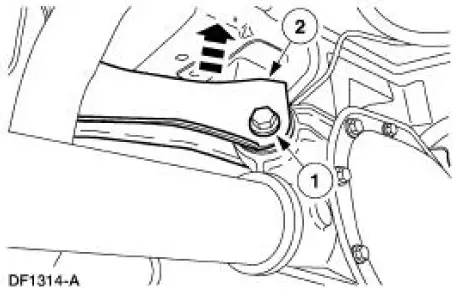
4. Disconnect the upper arm and bushing (5500) from the axle.
1. Remove and discard the nut and bolt.
2. Disconnect the arm and bushing from the axle.
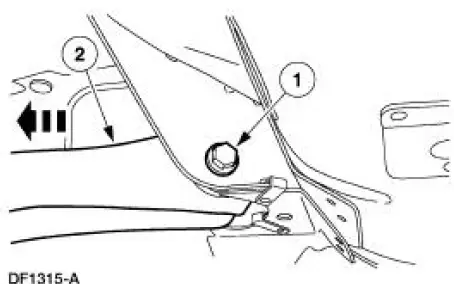
5. Remove the upper arm and bushing from the mounting bracket.
1. Remove and discard the nut and bolt.
2. Remove the arm and bushing.
 Upper Arm
...
 Installation
1. Install the upper arm and bushing to the mounting bracket.
1. Position the arm and bushing.
2. Install a new nut and bolt. Do not tighten at this time.
2. Connect the upper arm and bushing to ...
Other materials:
Engine block heater
WARNING: Failure to follow engine block heater instructions
could result in property damage or physical injury.
WARNING: Do not use your heater with ungrounded electrical
systems or two-pronged (cheater) adapters. There is a risk of
electrical shock.
Note: The ...
Electronic Leak Detection
Special Tool(s)
H10PM Refrigerant Leak
Detector With Battery
216-00001 or equivalent
CAUTION: Good ventilation is necessary in the area where electronic A/C
leak testing is to
be carried out. If the surrounding air is contaminated with refri ...
Moulding - Roof Side
Removal and Installation
1. Remove the weatherstrip.
2. Remove the exterior roof side moulding screws.
3. Remove the interior roof side moulding screws.
4. Remove the roof side moulding screw.
5. Release the clips.
1. Lift up to release the two ...
