Ford Mustang (1999-2004) Service Manual: Suction Accumulator
Material
| Item | Specification |
| PAG Refrigerant Compressor Oil (R-134a Systems) F7AZ-19589-DA (Motorcraft YN- 12-C) | WSH-M1C231- B |
Removal and Installation
1. Recover the refrigerant. For additional information, refer to Section.
2. Disconnect the A/C cycling switch electrical connector.
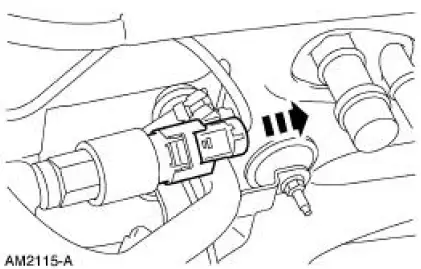
3. Remove the cycling switch.
4. Disconnect the suction line spring lock coupling.
- Discard the O-ring seals.
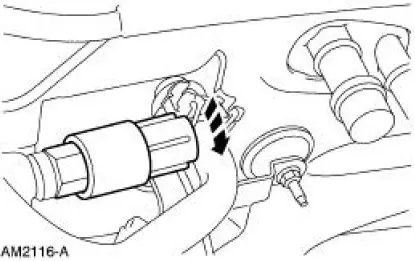
5. Remove the clamp nut.
6. Disconnect the suction accumulator from the evaporator outlet.
- Discard the O-ring seals.
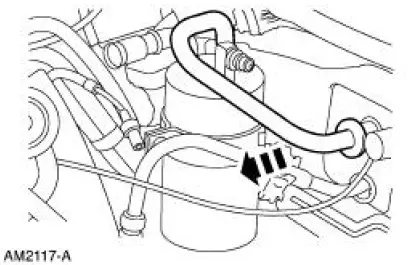
7. Remove the suction accumulator.
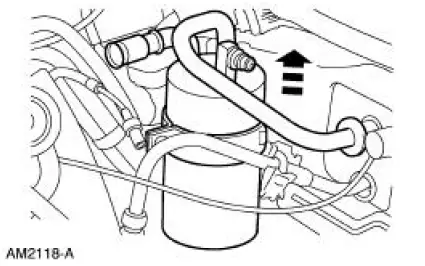
8. To install, reverse the removal procedure.
- Install new O-ring seals lubricated in clean PAG oil.
- Lubricate the refrigerant system with the correct amount of clean PAG oil. For additional information, refer to Section.
9. Evacuate, leak test and charge the refrigerant system. For additional information, refer to Section.
 Installation
1. CAUTION: To prevent refrigerant system contamination, do not allow
dirt or other
foreign materials to enter the A/C compressor.
Clean the A/C compressor nose area.
2. Place the shaft seal on the s ...
 Air Conditioning (A/C) Pressure Relief Valve - 3.8L
Material
Item
Specification
PAG Refrigerant Compressor
Oil (R-134a Systems)
F7AZ-19589-DA (Motorcraft YN-
12-C)
WSH-M1C231-
B
Removal and Installation
1. Recover the refriger ...
Other materials:
Oil Level Indicator and Tube
Removal and Installation
1. Remove the oil level indicator.
2. Remove the LH exhaust manifold. For additional information, refer to Exhaust
Manifold LH in
this section.
3. Remove the bolt.
4. Remove the oil level indicator tube.
5. To install, reverse t ...
Bypass Tube - Mach I
Material
Item
Specification
Motorcraft Premium Gold
Engine Coolant
VC-7-A (in Oregon VC-7-B)
(yellow color)
WSS-M97B51-
A1
Removal and Installation
1. Remove the air intake scoop and bracket. For additional information, refer
to Sec ...
Plenum Chamber
Removal
1. Remove the instrument panel. For additional information, refer to Section.
2. Remove the audio unit. For additional information, refer to Section.
3. If equipped, remove the CD player. For additional information, refer to
Section.
4. Remove the ...
