Ford Mustang (1999-2004) Service Manual: Accelerator Cable Bracket - 4.6L (2V)
Removal and Installation
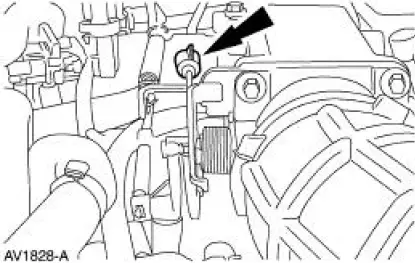
1. Disconnect the speed control cable from the throttle body and the bracket. For additional information, refer to Section.
2. Disconnect the accelerator cable from the throttle body by rotating the throttle body full open and aligning the cable with the release slot.
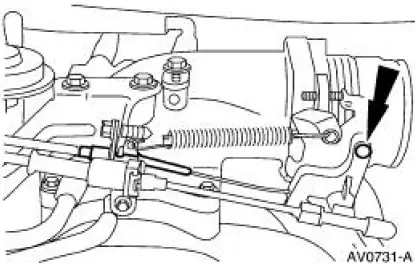
3. Compress the accelerator cable locking tabs and disconnect the accelerator cable from the accelerator cable bracket.
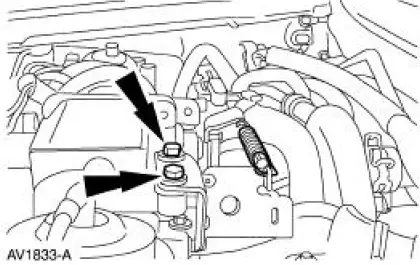
4. Remove the spring.

5. Remove the bolts and the accelerator cable bracket.
6. To install, reverse the removal procedure.
 Accelerator Cable Bracket - 3.8L
Removal and Installation
1. Disconnect the speed control cable from the throttle body and the bracket.
For additional
information, refer to Section.
2. Disconnect the accelerator cable from the thro ...
 Accelerator Cable Bracket - Supercharged Engine
Removal and Installation
1. Disconnect the accelerator cable and speed control cable.
2. Depress the tabs and disconnect the accelerator cable and speed control
cable from the
accelerator cable bra ...
Other materials:
Fuel Charging Wiring Harness
Removal and Installation
WARNING: Do not smoke or carry lighted tobacco or open flame of any
type when
working on or near any fuel related components. Highly flammable mixtures are
always present
and can ignite. Failure to follow these instructions can resul ...
Steering Column Shaft
Removal and Installation
1. CAUTION: Do not allow the steering column shaft to rotate while
intermediate shaft
is disconnected or damage to the clockspring can result. If there is evidence
that the
steering column shaft has rotated the clockspring must be re ...
Crankshaft Front Seal
Special Tool(s)
Installer, Front Cover Oil Seal
303-335 (T88T-6701-A)
Installer, Crankshaft Front Oil
Seal
303-474 (T94P-6701-AH)
Remover, Oil Seal
303-409 (T92C-6700-CH)
Material
Removal
1. Remove the crankshaft pulley. ...
