Ford Mustang (1999-2004) Service Manual: Parking Brake Control
Removal
1. CAUTION: If any component in the parking brake system requires repair or if the rear axle housing (4010) is removed, the cable tension must be released.
Place the parking brake control (2780) in the released position.
2. Remove the console.
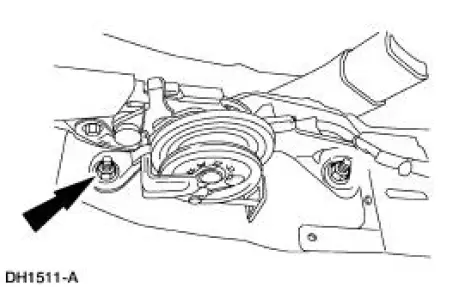
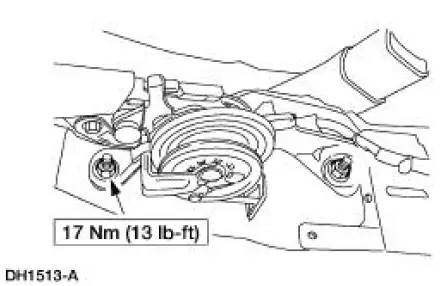
3. Remove the parking brake control studs.
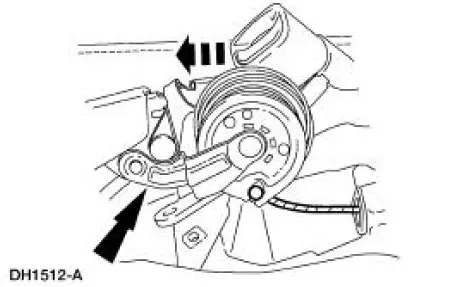
4. NOTE: Self adjust pawl must be off to allow wind up.
Place the control handle in the fully downward position, then pull the control handle forward to wind-up the self-adjusting mechanism.
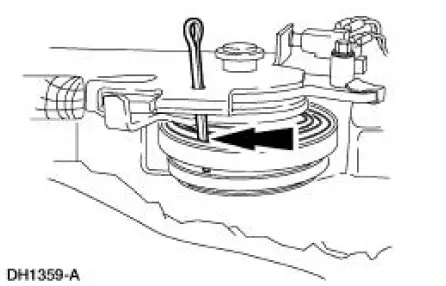
5. Insert a steel pin through hole in the lever to the ratchet wheel, then carefully release the spring tension onto the pin.
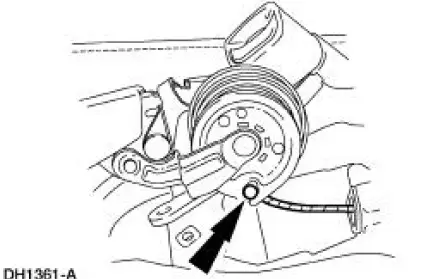
6. NOTE: Keep tension on the cable so cable end does not fall out of equalizer.
Disconnect the parking brake cable.
Installation
1. NOTE: Make sure cable ends are attached to the equalizer.
Follow the removal procedure in reverse order.
 Parking Brake Cable Tension Release
1. CAUTION: If any component in the parking brake system requires
repair or if the
rear axle housing (4010) is removed, the cable tension must be released.
Place the parking brake control (2780) ...
 Cable and Conduit - Front
Removal
1. CAUTION: If any component in the parking brake system requires
repair or if the
rear axle housing (4010) is removed, the cable tension must be released.
Release the cable tension. For ...
Other materials:
Scheduled Maintenance
GENERAL MAINTENANCE INFORMATION
Why Maintain Your Vehicle?
Carefully following the maintenance schedule helps protect against major
repair expenses resulting from neglect or inadequate maintenance and
may help to increase the value of your vehicle when you sel ...
Brake Caliper - Cobra
Removal
1. Raise and support the vehicle.
2. Remove the tire and wheel assembly.
3. Remove the caliper locating pin E-clip.
4. Remove the caliper locating pin.
5. Remove the front brake flow bolt.
6. Remove the caliper.
7. Remove the brake pa ...
Supercharger Cooling (Diagnosis and Testing)
Special Tool(s)
Pressure Test Kit
014-R1072 or equivalent
Battery/Antifreeze Tester
014-R1060 or equivalent
Material
Item
Specification
Motorcraft Premium
Engine Coolant
VC-4-A (in Oregon
VC-5, in Canada
C ...
