
Ford Mustang (1999-2004) Service Manual: Removal
Convertible
1. For removal of the back window glass, refer to Section.
Coupe
WARNING: To prevent glass splinters from entering eyes or cutting hands, wear safety glasses and heavy gloves when cutting glass from the vehicle.
2. Remove the roof side trim moulding. For additional information, refer to Section.
3. Lower the rear portion of the headliner.
4. Remove the outer lip of the moulding using a utility knife.
5. Using a soft brush or vacuum, remove any dirt or foreign material from the pinch weld.
6. CAUTION: Care must be taken to prevent scratching the pinch weld.
NOTE: Lubricate the existing urethane adhesive with water to aid the special tool while cutting.
Using the special tool, starting at the top center of the back window glass, cut the urethane adhesive from the glass and work down the sides.
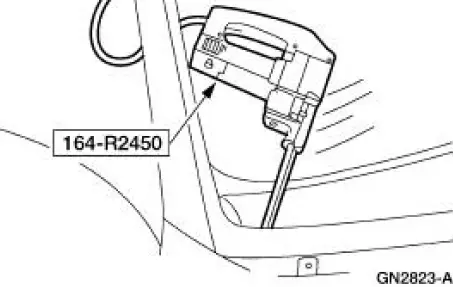
7. Using the special tool, distance the back window glass from the body.
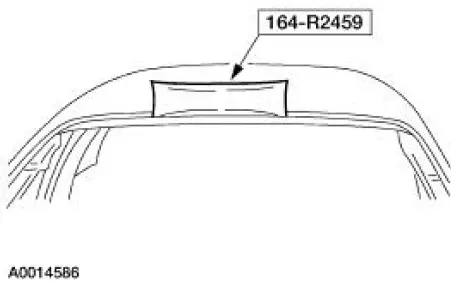
8. Using the special tool, cut the remaining urethane adhesive and remove the back window glass
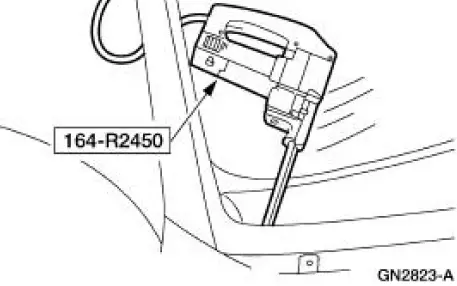
9. Using a soft brush or vacuum, clean the pinch weld.
 Rear Window Glass
Special Tool(s)
Rotunda Pneumatic Knife with
Offset Blade
107-R1511 or equivalent
The Pumper
164-R2459 or equivalent
Rotunda Interior Auto Glass
Cut-Out Knif ...
 Installation
Convertible
1. For installation of the back window glass, refer to Section.
Coupe
CAUTION: After installing the urethane installed back window
glass, the vehicle should
not be driven until ...
Other materials:
Supplementary Restraints System
PRINCIPLES OF OPERATION
WARNING: Airbags do not inflate slowly or gently, and the risk
of injury from a deploying airbag is the greatest close to the trim
covering the airbag module.
WARNING: All occupants of your vehicle, including the driver,
should always p ...
Key Release Button
Removal
1. Disconnect the battery ground cable.
2. Remove the ignition switch lock cylinder.
1. Insert the ignition key into the ignition switch lock cylinder and
turn to RUN position.
2. Push the ignition switch lock cylinder release tab with a p ...
Shield
Removal
1. Remove the brake disc (1125). For additional information, refer to
Disc in this section.
2. Remove the brake disc shield (2K004).
1. Drill out three brake disc shield rivets.
2. Remove the brake disc shield.
Installation
1. I ...
