Ford Mustang (1999-2004) Service Manual: Removal
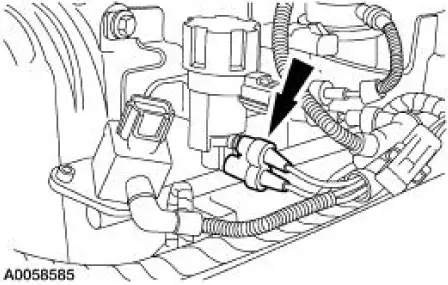
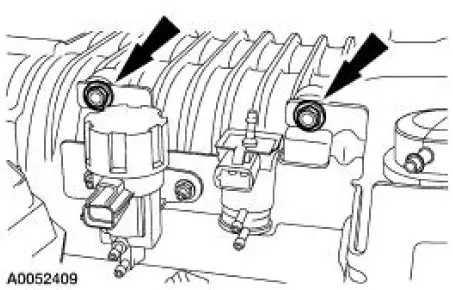
1. Disconnect the electrical connectors from the EGR vacuum regulator solenoid, the supercharger bypass vacuum solenoid, and the differential pressure feedback EGR system.
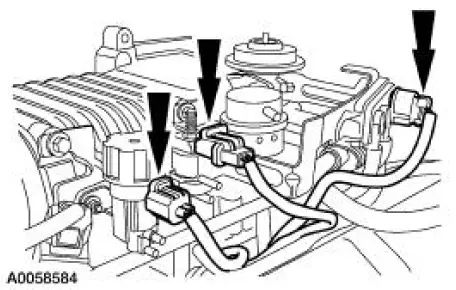
2. Disconnect the vacuum hoses from the differential pressure feedback EGR system.

3. Disconnect the vacuum hoses from the supercharger bypass vacuum solenoid, and the actuator.
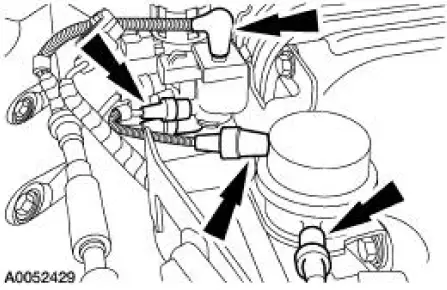
4. Disconnect the vacuum hoses from the EGR vacuum regulator solenoid.
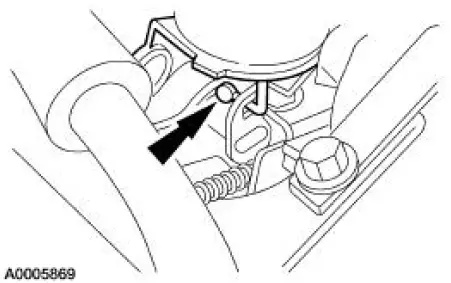
5. Remove the vacuum accessory bracket mounting nut.
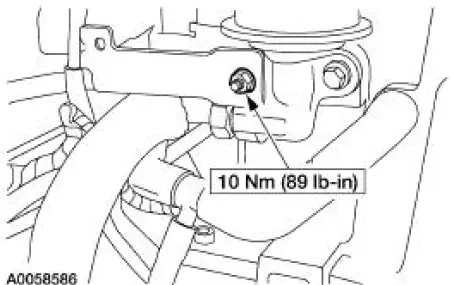
6. Remove the mounting bolts and the vacuum accessory bracket.
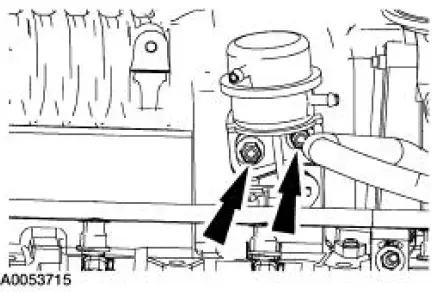
7. Remove the actuator mounting bolts.
8. Align the actuator rod with the slot in the actuator linkage, and remove the actuator.

 Installation
1. CAUTION: The actuator adjustment tool included with the
replacement actuator kit
must be used when installing the supercharger bypass vacuum actuator.
Failure to
correctly adjust the actu ...
Other materials:
Window Regulator - Power
Removal
1. Remove the door window glass. For additional information, refer to
Window Glass-Door in this
section.
2. Disconnect the electrical connector.
3. Remove the channel.
4. Remove the regulator.
Installation
1. To install, reverse the r ...
Manual Transmission
The T56 six-speed manual transmission features the following:
six forward speeds and one reverse speed.
forward gears are synchronized and helical cut.
a reverse gear operates through a constant-mesh, fully synchronized
system.
a shift interlock system ...
Bulb
Removal and Installation
1. Remove the floor console. For additional information, refer to
Section.
2. Remove the bolts, then position the bezel upward.
3. Remove the bulb socket from the bezel.
4. Remove the bulb.
5. To install, reverse the removal ...
