Ford Mustang (1999-2004) Service Manual: Trim Panel - Door
Removal
All vehicles
1. CAUTION: Use a shop towel or similar material between the tool and the front door trim panel or damage to the front door trim panel may occur.
Position the window regulator switch plate (14527) aside.
1. Pull at the service notch.
2. Lift to release the clip at the rear edge.
2. Remove the window regulator switch plate.
1. Disconnect the power mirror electrical connector.
2. Remove the screws and the window regulator switch plate.

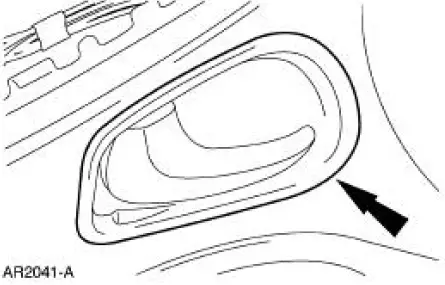
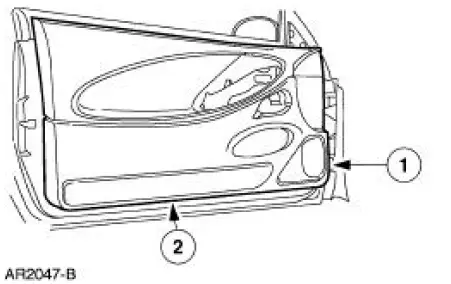
3. Remove the door latch release handle cup (22634).
4. Remove the cover.
Vehicles with Mach 460 Premium Sound System
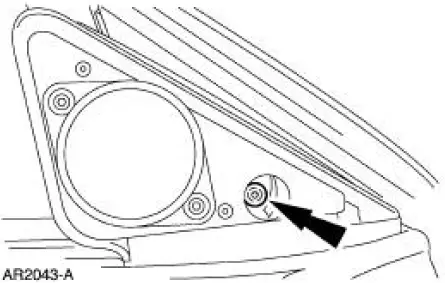
5. Remove the screw and the speaker.
- Disconnect the electrical connector.
All vehicles
6. Remove the screws.

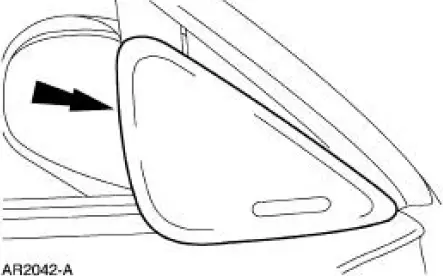
7. Remove the door trim panel (23942).
1. Remove the pin-type retainer.
2. Lift up the door trim panel to remove.
Installation
1. To install, reverse the removal procedure.
 Interior Trim and Ornamentation
General Specifications
Torque Specifications
Interior Trim
The interior trim consists of:
A-pillar lower trim panels
door trim panels
headliner (coupe)
package tray trim panel (coup ...
 Trim Panel - Quarter, Coupe
Removal and Installation
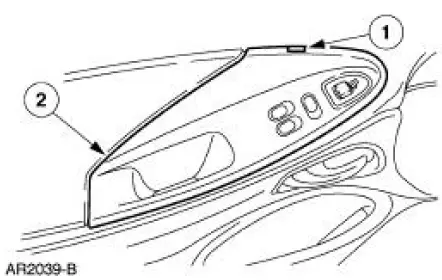
1. Remove the upper quarter trim panel. For additional information,
refer to Trim Panel-Upper
Quarter in this section.
2. Remove the scuff plate.
3. Remove the pin ...
Other materials:
Accelerator Cable - 4.6L (2V)
Removal and Installation
1. Push the accelerator cable nylon bushing out of the accelerator pedal and
shaft arm.
2. Remove the bolts retaining the accelerator cable to the dash panel.
3. Disconnect the accelerator cable from the throttle body by rotating ...
Rear seats
Rear Seat Entry and Exit
Use the seatback release to fold the
back of the front seat forward for
rear seat access. This release handle
is located on the upper back of the
front seat. The seatback locks
automatically when returned to the
normal position.
Use ...
Purging - CIII Power Steering Pump
Special Tool(s)
Vacuum Pump
416-D002 (D95L-7559-A) or
Equivalent
CAUTION: If the air is not purged from the power steering system
correctly, premature
power steering pump failure can result. This condition can occur on pre-delivery
vehicles ...
