Ford Mustang (1999-2004) Service Manual: Disassembly
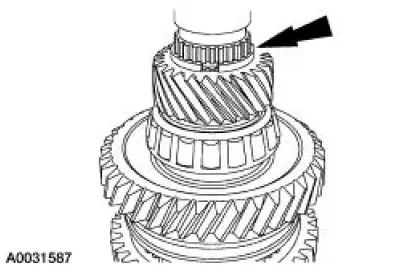
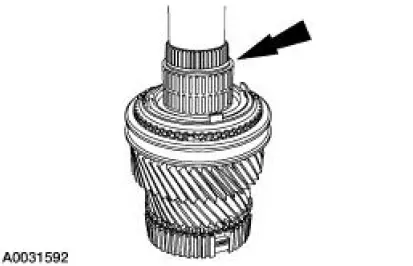
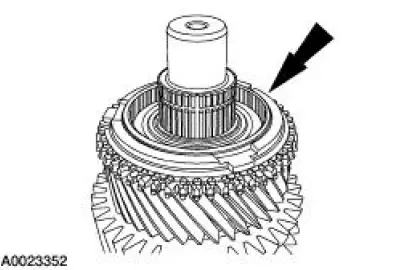
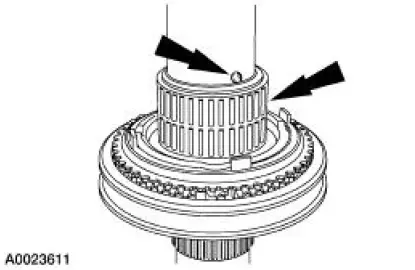
1. Remove the retaining ring above fifth gear.
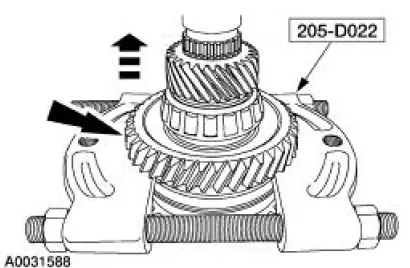
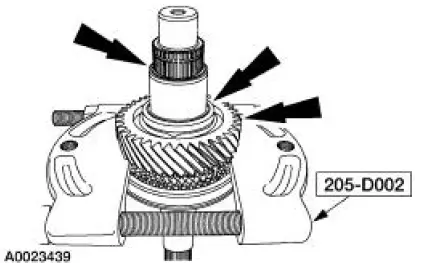
2. CAUTION: Hand tighten the special tool to prevent gear damage.
CAUTION: Support the output shaft while using the press to prevent damage to the shaft or gears.
Using the special tool, press fifth gear, the spacer, the output shaft bearing and reverse gear from the output shaft.
- Discard the output shaft bearing.
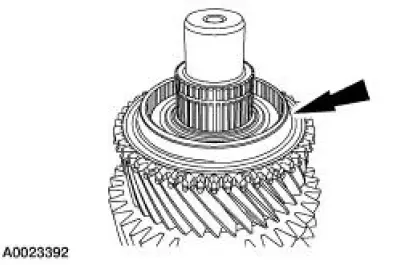
3. Remove reverse gear needle bearing.
- Inspect the needle bearing for wear or damage. Install a new needle bearing as necessary.
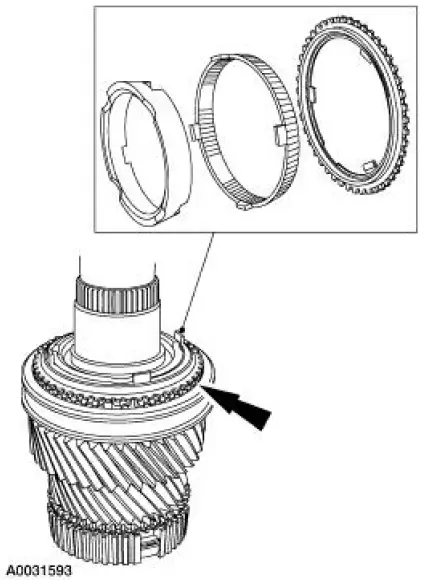
4. Remove the check ball and the blocking ring.
- Inspect the blocking ring for wear or damage. Install new blocking rings as necessary.

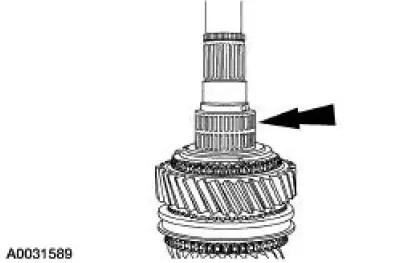
5. NOTE: Install the special tool with the flat side facing first gear.
Using the special tools, press the bearing spacer, the reverse gear synchronizer cone and first gear from the output shaft.
6. Remove the first gear needle bearing.
- Inspect the needle bearing for wear or damage. Install a new needle bearing as necessary.
7. Remove the first gear synchronizer inner cone, the first gear synchronizer outer cone and the first gear synchronizer blocking ring.
- Inspect all components for wear or damage. Install new components as necessary.
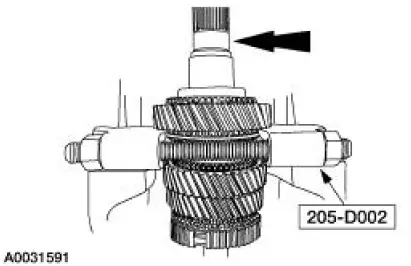
8. NOTE: Reposition the output shaft on the press with the input shaft end facing upward.
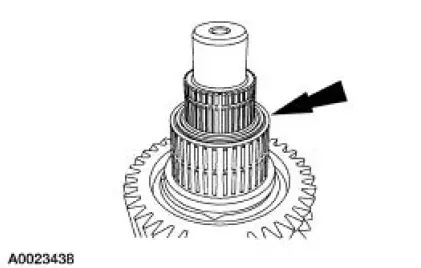
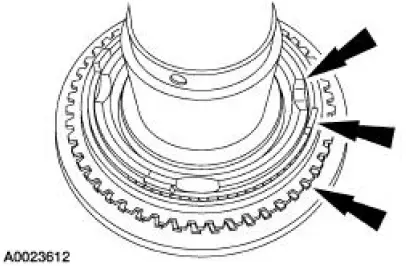
- Remove and discard the retaining ring.
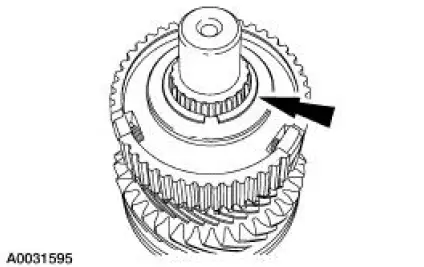
9. Remove the third/fourth synchronizer hub.
10. Remove the third/fourth blocking ring.
11. Remove the third gear.
- Inspect the gear for wear or damage. Install a new gear as necessary.
12. Remove the third gear needle bearing.
- Inspect the needle bearing for wear or damage. Install a new needle bearing as necessary.
13. NOTE: Install the special tool behind second gear with the flat side of the tool facing second gear.
Using the special tool, remove the spacer, second gear thrust washer and second gear.
- Inspect the gear for wear or damage. Install a new gear as necessary.
14. Remove the check ball and second gear needle bearing.
- Inspect the needle bearing for wear or damage. Install a new needle bearing as necessary.
15. Remove the second gear synchronizer inner cone, second gear synchronizer outer cone and the second gear synchronizer blocking ring.
- Inspect all components for wear or damage. Install new components as necessary.
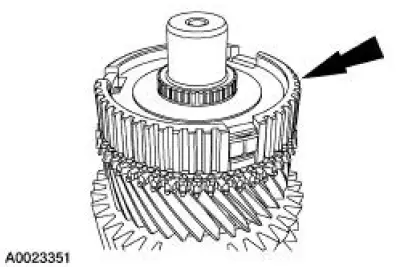
16. Remove the snap ring, then using the special tool, press off the first/second gear synchronizer.
 Output Shaft
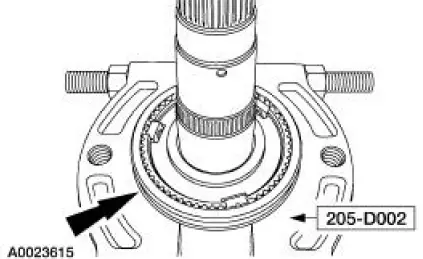
Special Tool(s)
Remover, Drive Pinion Bearing
Cone
205-D002 (D79L-4621-A) or
equivalent
Installer, Drive Pinion Bearing
Cone
205-011 (T57L-4621-B)
...
 Assembly
1. Carry out the following before reassembling:
Inspect the gears for broken or cracked teeth. Check for unusual wear
patterns.
Inspect the thrust washers for face wear, cracks, scoring and for s ...
Other materials:
Vibration When Brakes are Applied
For vibration concerns when brakes are applied, perform the following
procedure.
Visually inspect:
tire condition and pressure.
suspension bushings and ball joints.
Correct as necessary.
1. Verify and isolate the concern. Brake roughness can be felt in: ...
Troubleshooting
Your SYNC system is easy to use. However, should questions arise, see
the tables below.
Use the website at any time to check your phone’s compatibility,
register your account and set preferences as well as access a
customer representative via an online chat ...
Power seats
WARNING: Never adjust the driver’s seat or seat back when the
vehicle is moving.
WARNING: Before returning the seat back to its original
position, make sure that cargo or any objects are not trapped
behind the seat back.
The power seat control is located
on ...
