
Ford Mustang (1999-2004) Service Manual: Installation
1. Position the side rail and install the bolts.
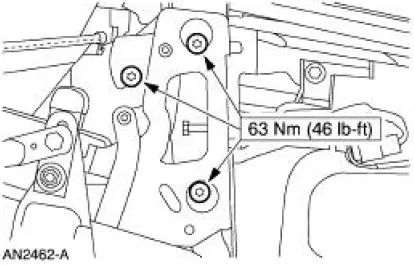
2. NOTE: Tighten the bottom bolt first.
Connect the mounting bracket and install the bolts.
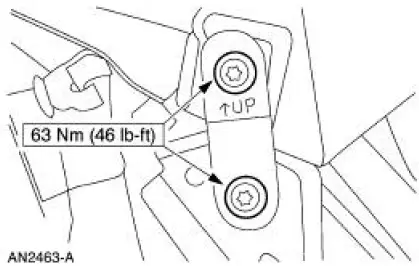
3. NOTE: Line up the marks in the number four bow.
Tighten the bolt.
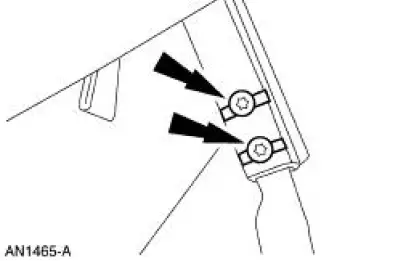
4. Connect the number two and number three bows to the side rail assembly.
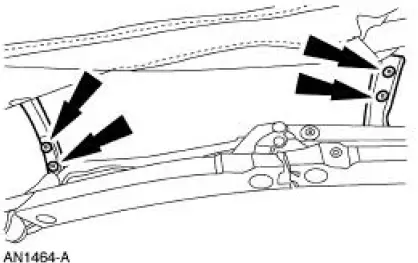
5. Tighten the bolt.
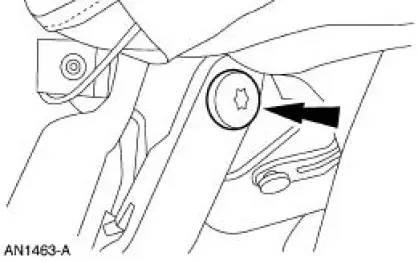
6. Hand-tighten the two bolts.
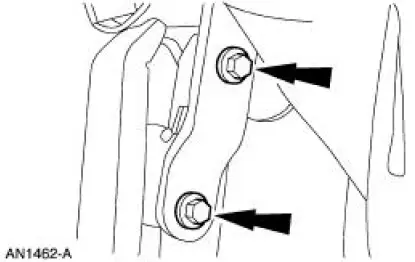
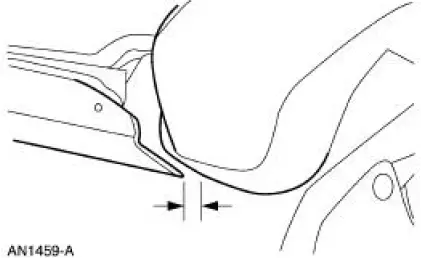
7. Adjust the gap between the front of the side rail and the header to the previously recorded dimensions.
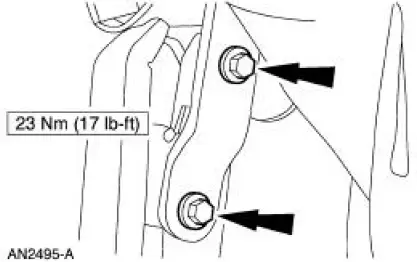
8. Tighten the bolts.
9. Connect the cable to the rear rail.
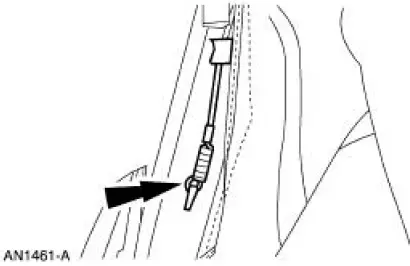
10. Attach the vinyl top cover flap to the rear rail.
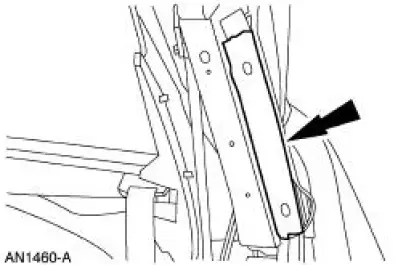
11. Install the speed nut.
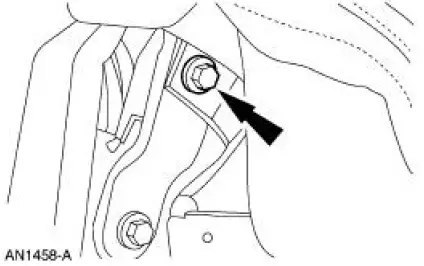
12. Install the headliner screws.
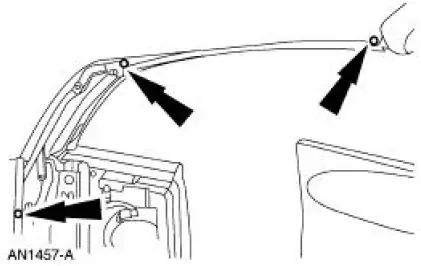
13. Attach the headliner pin-type retainers.
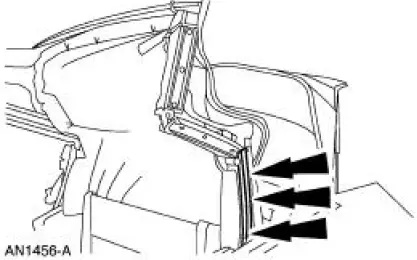
14. Install the rail seal screws.
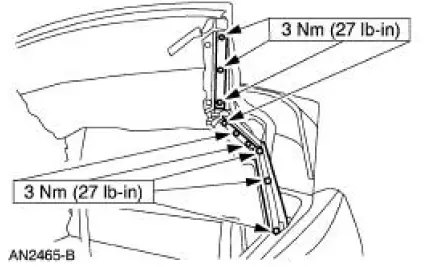
15. Install the rail seals.
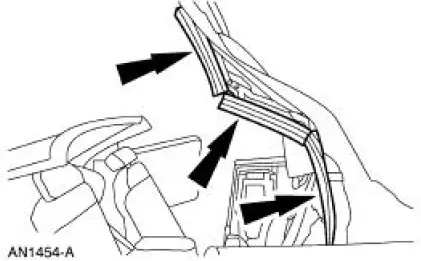
16. Install the screws and the front seal.
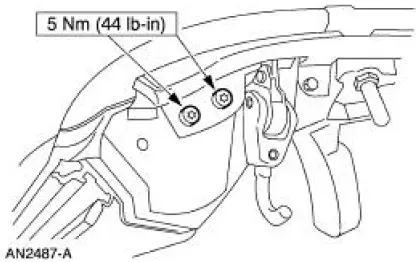
17. Install the speaker.
18. Install the screw.
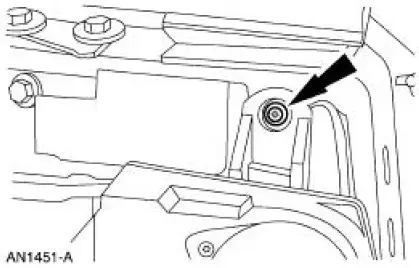
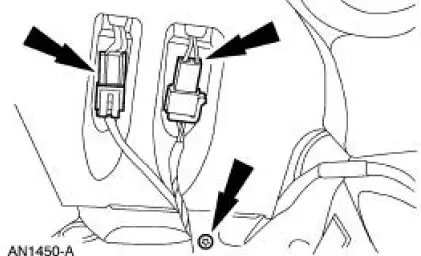
19. Install the screw and connect the electrical connectors.
20. Position the cylinders and install the nuts.
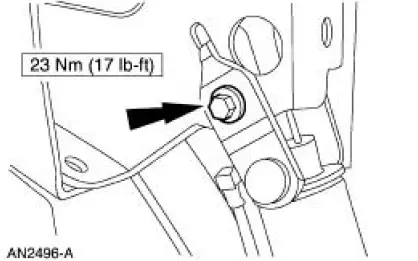
21. Install the two cylinder rod mounting bolts.
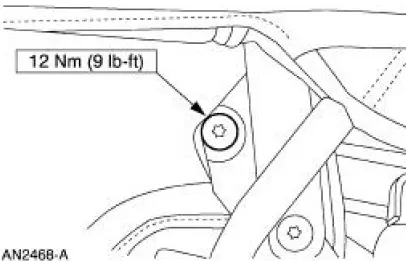
22. Install the front safety belt retractor.
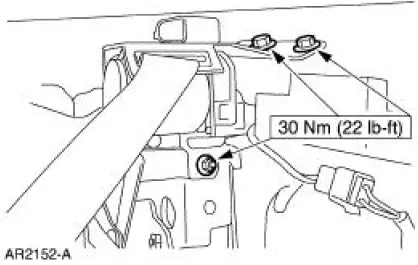
23. Install the bolts.
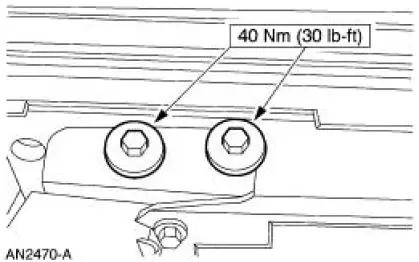
24. Install the side quarter trim panel.
 Material
Item
Specification
Threadlock and
Sealer
E0AZ-19554-AA
WSK-M2G351-A5 (type
II)
Shoulder Bolt Kit
F5ZZ-76539A04-A
-
NOTE: Before starting the adjustment process, inspe ...

Other materials:
Tire care
Information About Uniform Tire Quality Grading
Tire Quality Grades apply to new
pneumatic passenger car tires. The Tire
Quality Grades can be found where
applicable on the tire sidewall between
tread shoulder and maximum section
width. For example:
• Treadw ...
Timing Chain
Removal
1. Remove the timing cover. For additional information, refer to Engine
Front Cover in this section.
2. Remove the camshaft position sensor drive gear.
1. Remove the bolt.
2. Remove the camshaft position sensor drive gear.
3. Rotate the ...
Component Tests
Engine Oil Leaks
NOTE: When diagnosing engine oil leaks, the source and location of
the leak must be positively
identified prior to repair.
Prior to carrying out this procedure, clean all sealing surface areas with a
suitable solvent to remove all
tra ...
