Ford Mustang (1999-2004) Service Manual: Cable and Conduit
Removal
NOTE: The RH rear is shown, the LH is similar.
1. CAUTION: If any component in the parking brake system requires repair or if the rear axle housing (4010) is removed, the cable tension must be released.
Release the cable tension. For additional information, refer to Parking Brake Cable Tension Release in this section.
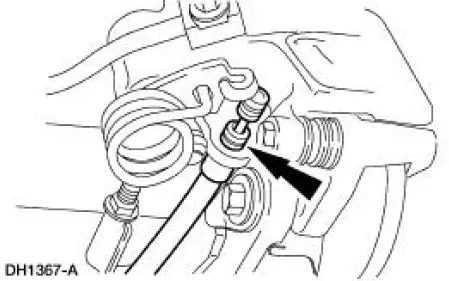
2. Disconnect the parking brake rear cable and conduit.
3. Using a 13 mm (0.52 in) box-end wrench, depress the conduit retaining prongs and remove the parking brake rear cable and conduit.
4. Remove the parking brake rear cable and conduit from the routing clip bolts.
5. Disconnect the parking brake rear cable and conduit from the parking brake lever (2A637).
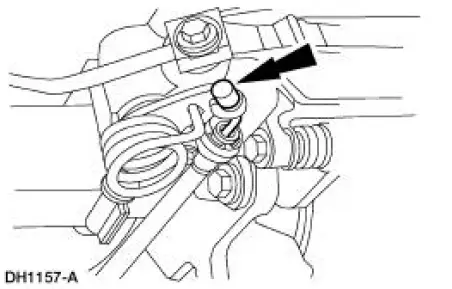
6. Remove the clip from the rear disc brake caliper (2552).
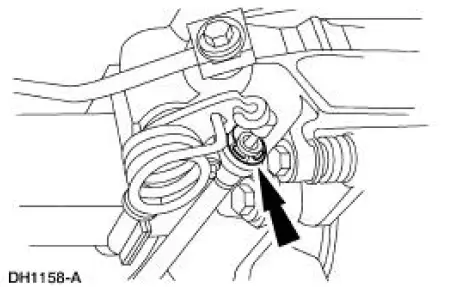
7. Remove the parking brake rear cable and conduit from the rear disc brake caliper.
Installation
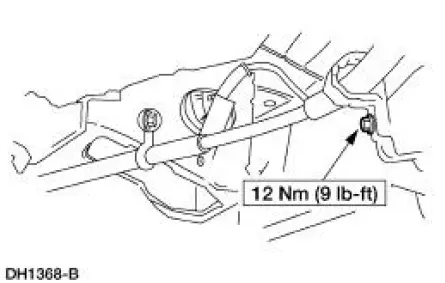
1. Follow the removal procedure in reverse order.
 Cable and Conduit - Front
Removal
1. CAUTION: If any component in the parking brake system requires
repair or if the
rear axle housing (4010) is removed, the cable tension must be released.
Release the cable tension. For ...
 Hydraulic Brake Actuation
Torque Specifications
...
Other materials:
Installation
1. NOTE: If the lower intake manifold is not secured within four
minutes, the sealant must be
removed and the sealing area cleaned with metal surface cleaner. Allow to
dry until there is no
sign of wetness, or four minutes, whichever is longer. Failure t ...
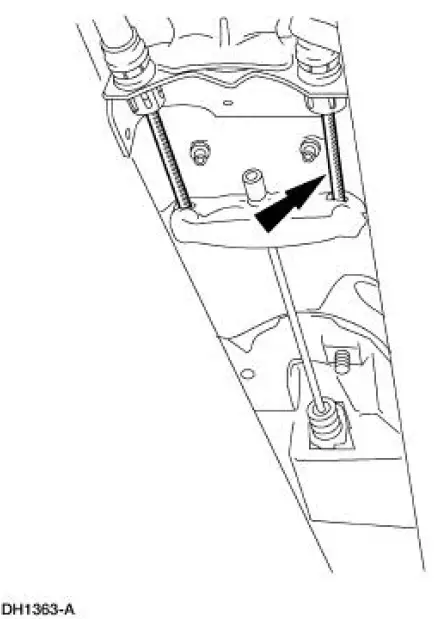
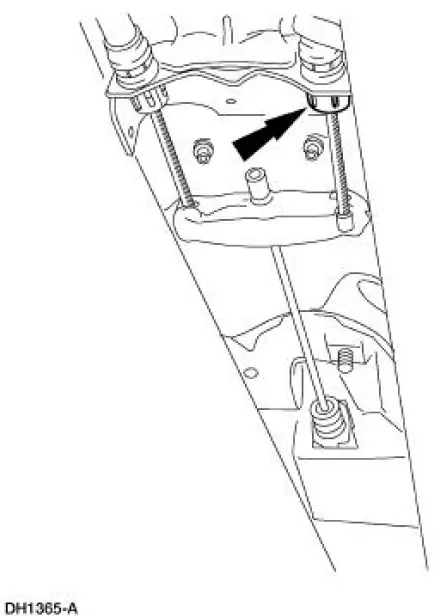
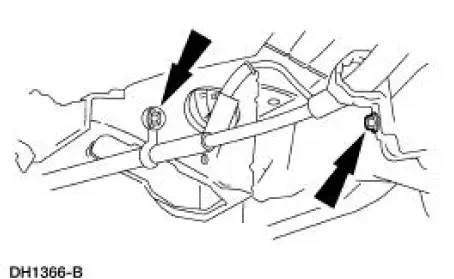
Stabilizer Bar
Removal
CAUTION: Suspension fasteners are critical parts because they affect
performance of vital
components and systems and their failure can result in major service expense. A
new part with
the same part number must be installed if installation becomes nec ...
Charge Air Cooler
Material
Item
Specification
Silicone Gasket and Sealant
F7AZ-19554-EA or equivalent
WSE-M4G323-EA
Removal and Installation
1. Drain the supercharger coolant. For additional information, refer to
Section.
2. Release the fuel pressure. F ...
