
Ford Mustang (1999-2004) Service Manual: Camshaft End Play - OHC Engines
Special Tool(s)
|
|
Dial Indicator Gauge with Holding Fixture 100-002 (TOOL-4201-C) or equivalent |
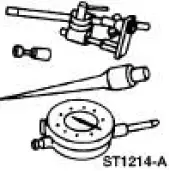
1. Remove the roller followers. Refer to the appropriate section in Group 303 for the procedure.
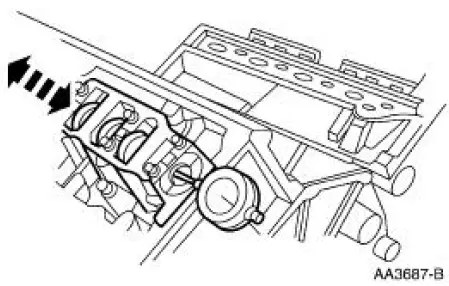
2. Use a Dial Indicator Gauge with Holding Fixture to measure camshaft end play.
3. Position the camshaft to the rear of the cylinder head.
4. Zero the indicator.
5. Move the camshaft to the front of the cylinder head. Note and record the camshaft end play.
- If camshaft end play exceeds specifications, install new camshaft
and recheck end play.
Refer to the appropriate section in Group 303 for the procedure.
- If camshaft end play exceeds specification after camshaft installation, install a new cylinder head. Refer to the appropriate section in Group 303 for the procedure.
Camshaft -Lobe Surface
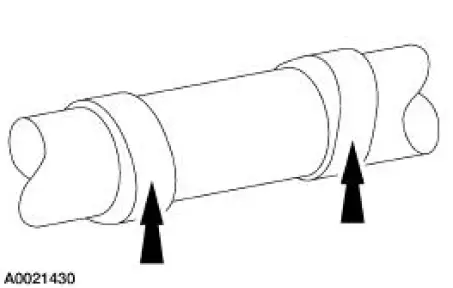
1. Inspect camshaft lobes for pitting or damage in the contact area. Minor pitting is acceptable outside the contact area.
- If excessive pitting or damage is present, install new components as necessary. Refer to the appropriate section in Group 303 for the procedure.
 Camshaft End Play - Push Rod Engines
Special Tool(s)
Dial Indicator Gauge with
Holding Fixture
100-002 (TOOL-4201-C) or
equivalent
1. Remove the valve tappets. Refer to the appropriate section in Group 303
for the pr ...
 Camshaft Lobe Lift
Special Tool(s)
Dial Indicator Gauge with
Holding Fixture
100-002 (TOOL-4201-C) or
equivalent
1. Use a Dial Indicator Gauge with Holding Fixture to measure camshaft
intake/exhaust ...
Other materials:
Rear Ride Height Measurement - GT and Base
Item
Description
1
Body reinforcement
2
Ride height (shortest distance)
3
Rear axle
Wheel Track
Item
Part Number
Description
1
-
Front track
2
-
Rear track
Dogtracking
Item
Part N ...
Speed Control (Diagnosis and Testing)
Refer to Wiring Diagrams Cell 31 , Speed Control for schematic and connector
information.
Special Tool(s)
Worldwide Diagnostic System
(WDS)
418-F224,
New Generation STAR (NGS)
Tester
418-F052, or equivalent
diagnostic tool
7 ...
Electronic compass
The compass heading displays in the center-integrated display.
Note: Driving near large buildings, bridges, power lines and powerful
broadcast antenna may affect the compass reading. Magnetic or metallic
objects placed in, on or near your vehicle may also aff ...
