Ford Mustang (1999-2004) Service Manual: Engine (Installation)
Special Tool(s)
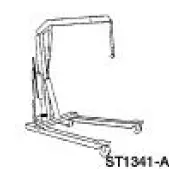 |
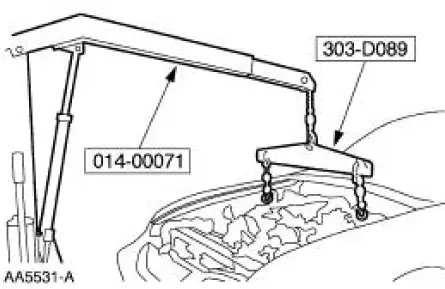
Heavy Duty Floor Crane 014-00071 or equivalent |
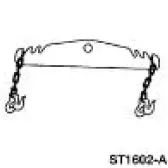 |
Spreader Bar 303-D089 (D93P-6001-A3) or equivalent |
Material
| Item | Specification |
| SAE 5W-20 Premium Synthetic Blend Motor Oil XO-5W20-QSP or equivalent | WSS-M2C153- H |
Installation
All vehicles
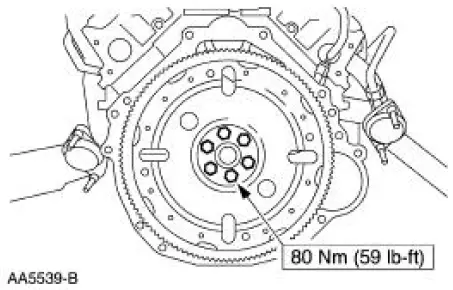
1. Install the separator plate and the flywheel.
2. Using the special tools, position the engine in the vehicle.
3. Remove the special tools.
4. Raise and support the vehicle.
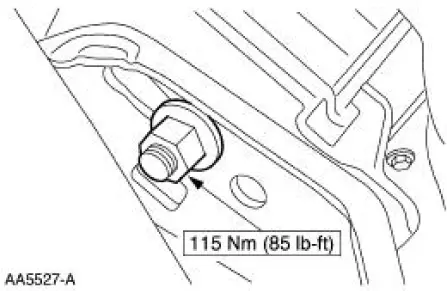
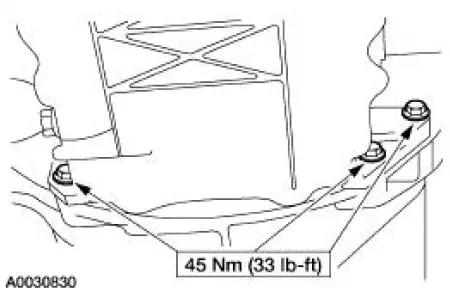
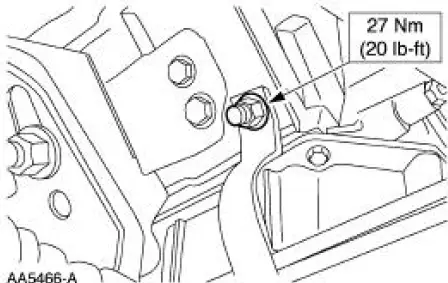
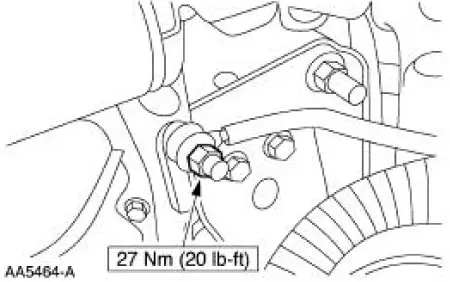
5. Install the LH engine mount nut.
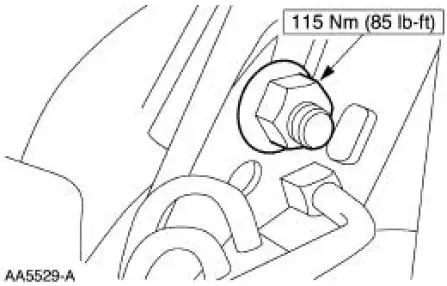
6. Install the RH engine mount nut.
Vehicles equipped with manual transmission
7. Install the transmission.
8. Install the transmission oil filler tube.
Vehicles equipped with automatic transmission
9. Install the five bellhousing upper bolts.
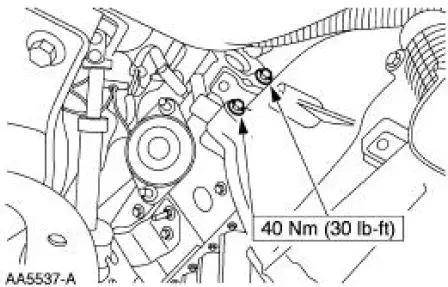
10. Install the bolts.
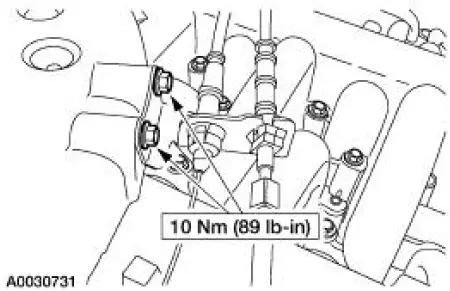
11. Install the four torque converter nuts.
All vehicles
12. Install the access cover.
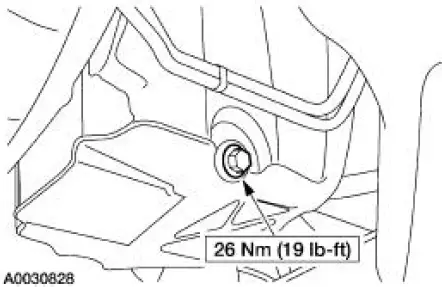
13. Install the oil pan drain plug.
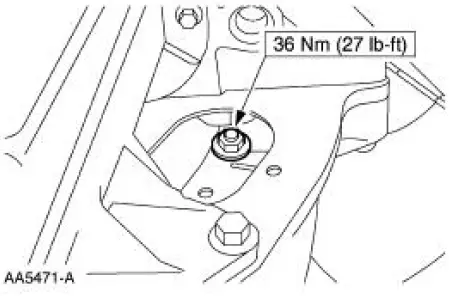
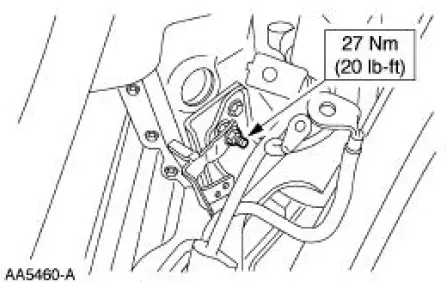
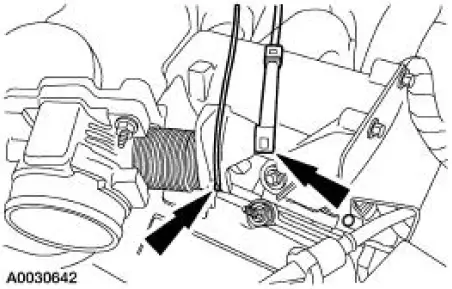
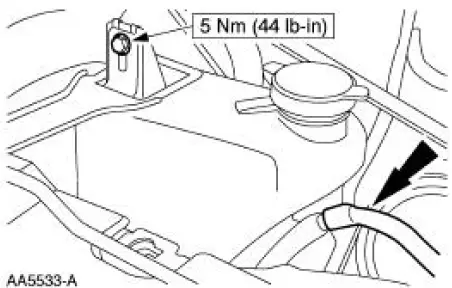
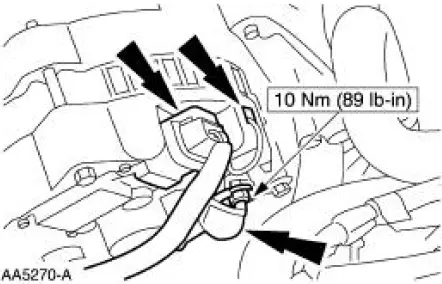
14. Install the bracket.
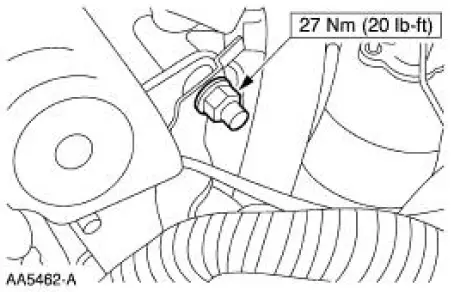
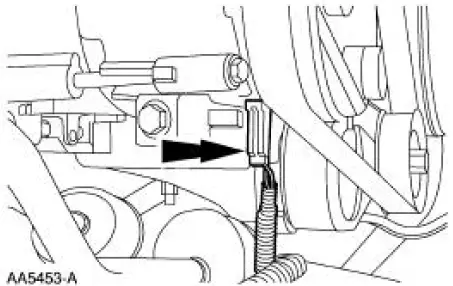
15. Connect the engine ground strap.
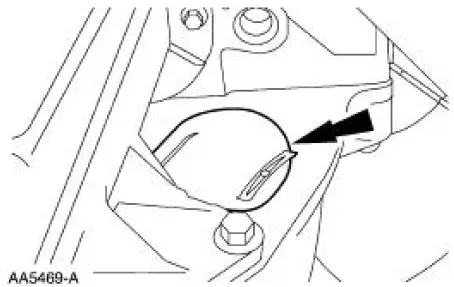
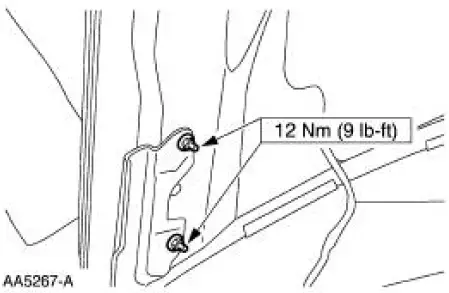
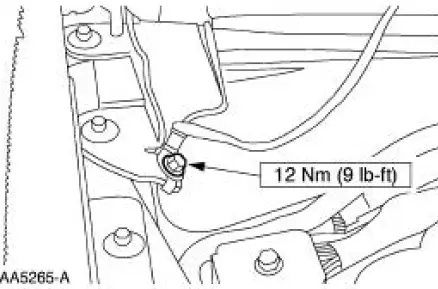
16. Install the bracket.
17. Install the bracket.
18. Install the dual converter Y-pipe.
19. Install the starter motor.
20. Lower the vehicle.
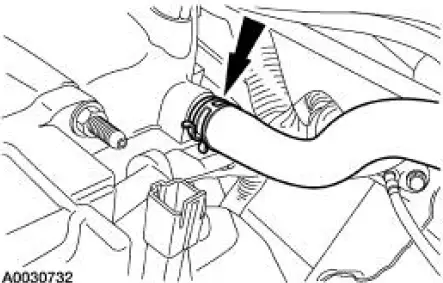
21. Connect the evaporative emissions (EVAP) return tube.
22. Connect the connector and vacuum tube.
23. Position the wiring harness.
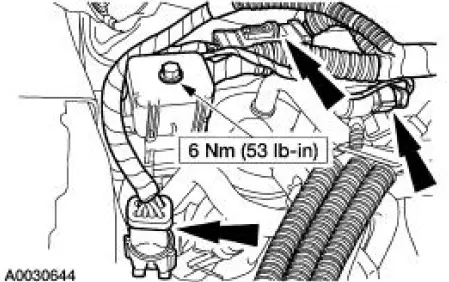
24. Connect the following connectors:
- 42-pin electrical connector
- 16-pin electrical connector
- 8-pin electrical connector
- A/C pressure switch
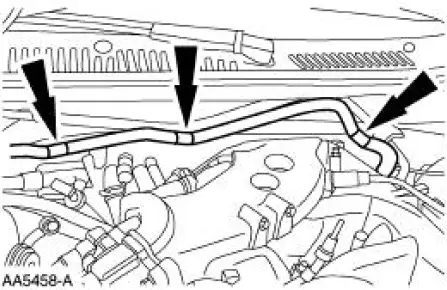
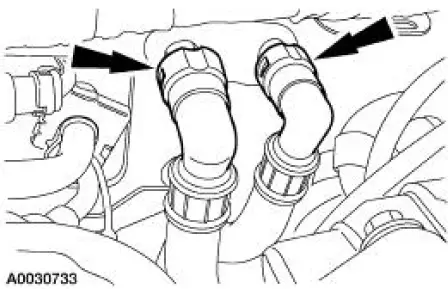
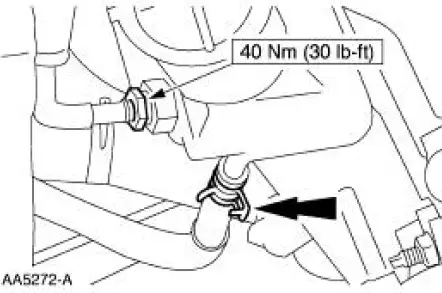
25. Connect the heater hoses.
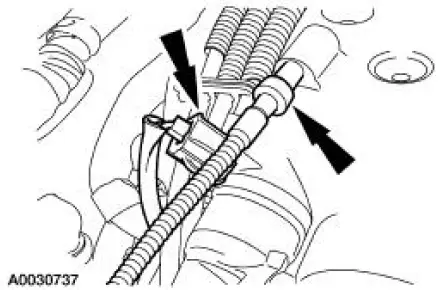
26. Connect the fuel supply tube spring lock coupling.
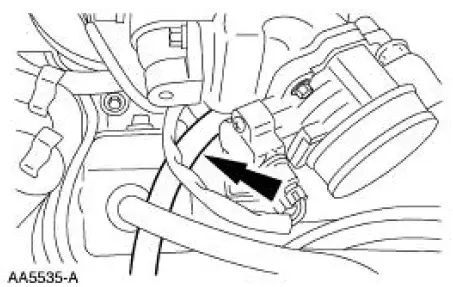
27. Connect the A/C compressor electrical connector.
28. Connect the A/C manifold and tube.
29. Install the air cleaner outlet tube.
30. Install the accelerator cable bracket.
31. Connect the accelerator cable.
32. Install the radiator coolant recovery reservoir.
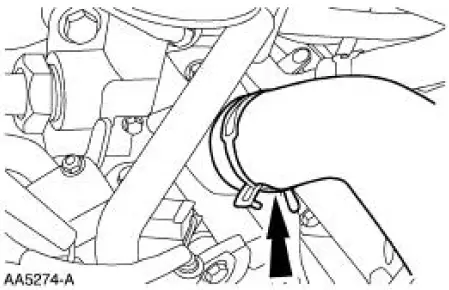
33. Connect the upper radiator hose.
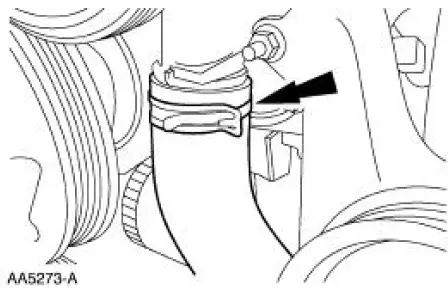
34. Connect the lower radiator hose.
35. Connect the power steering pump.
- Connect the power steering return hose.
- Position the clamp.
- Connect the power steering pressure tube.
36. Connect the generator electrical connections.
37. Connect the vacuum hose.
38. Install the hood.
39. Connect the hood ground strap.
40. Connect the battery negative cable.
41. Fill the engine with clean engine oil.
42. Fill the engine cooling system.
43. Recharge the A/C refrigerant system.
44. Fill and bleed the power steering system.
 Engine (Assembly)
Special Tool(s)
Slide Hammer
307-005 (T59L-100-B)
Remover Adapter, Vibration
Damper
303-176 (T82L-6316-B)
Installer, Crankshaft Front Seal
303-474 (T94P-6701 ...
 Engine - 4.6L (2V)
General Specifications
a - With installation of a new filter.
b - Distance front edge of bearing is installed below front face of cylinder
block.
c - Time necessary for plunger to leak down 1 ...
Other materials:
Using MyKey with remote start systems
MyKey is not compatible with non-Ford-approved aftermarket remote
start systems. If you choose to install a remote start system, please see
your Ford authorized dealer for a Ford-approved remote start system.
Vehicles With Ford-approved Aftermarket Remote Sta ...
Inspection and Verification
CAUTION: Do not hold the steering wheel (3600) at the stops for an
extended amount of
time. Damage to the power steering pump (3A674) will result.
NOTE: Make the following preliminary checks before repairing the
steering system:
1. Verify the customer conce ...
Reverse Clutch
Special Tool(s)
Dial Indicator Gauge with
Holding Fixture
100-002 (TOOL-4201-C)
Compressor, Clutch Spring
307-015 (T65L-77515-A)
Protector, Transmission
Reverse Clutch Outer Fluid
Seal
307-424
Protecto ...
