Ford Mustang (1999-2004) Service Manual: Pinion Seal
Special Tool(s)
|
|
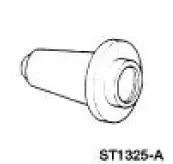
Installer, Drive Pinion Oil Seal 205-133 (T79P-4676-A) |
Removal
1. Remove the pinion flange (4851). For additional information, refer to Drive Pinion Flange in this section.
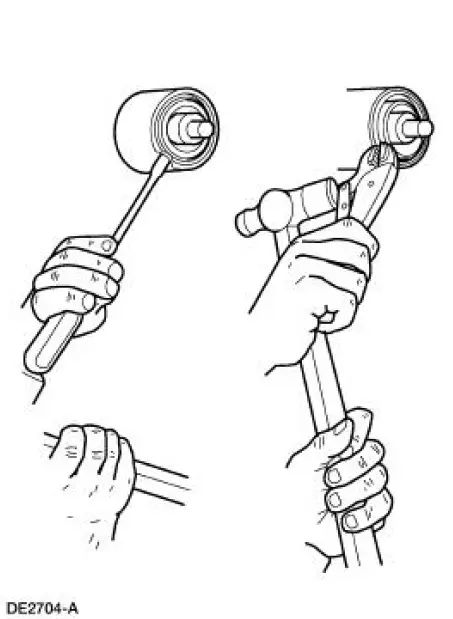
2. Force up the metal flange of the rear axle drive pinion seal (4676).
- Install gripping pliers and strike with a hammer to remove the seal.
Installation
1. Lubricate the new rear axle drive pinion seal.
- Use Premium Long-Life Grease XG-1-C or equivalent meeting Ford specification ESAM1C75- B.
2. CAUTION: Installation without the proper tool can result in early seal failure.
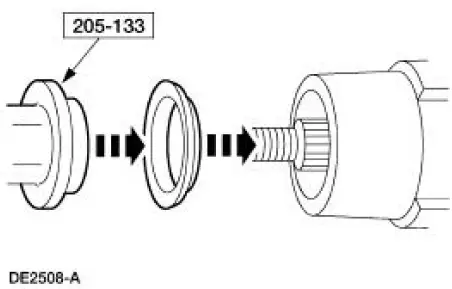
CAUTION: If the rear axle drive pinion seal becomes misaligned during installation, remove it and install a new one.
Using the special tool, install the rear axle drive pinion seal.
3. Install the pinion flange.
 Installation
1. Inspect the rear axle pinion flange seal journal for rust, nicks, and
scratches prior to installing
the flange. Polish the seal journal with fine crocus cloth, if necessary.
2. Lubricate the rear ...
 Axle Housing
Special Tool(s)
Plug Set, Differential
205-294 (T89P-4850-B)
Protector, Differential Seal
(Pair)
205-461
Remover, Halfshaft
205-475
Remover, Steering Arm
2 ...
Other materials:
General information on radio frequencies
This device complies with part 15 of the FCC Rules and with Industry
Canada license-exempt RSS standard(s). Operation is subject to the
following two conditions: (1) This device may not cause harmful
interference, and (2) This device must accept any interferen ...
Unique Calibration
The Emissions/CAFE/CO2 Compliance Department is responsible for assigning
these calibration
numbers. Unique calibration identifications are assigned to cover similar
vehicles to differentiate tires,
drive configurations, final drive ratios and other calibrat ...
Camshaft Lobe Lift
Special Tool(s)
Dial Indicator Gauge with
Holding Fixture
100-002 (TOOL-4201-C) or
equivalent
1. Use a Dial Indicator Gauge with Holding Fixture to measure camshaft
intake/exhaust lobe lift.
Rotate the camshaft and subtract the lowest ...
