Ford Mustang (1999-2004) Service Manual: Refrigerant System Filtering Following Air Conditioning (A/C) Component Installation
Special Tool(s)
 |
Set, A/C Fittings 412-DS028 (014-00333, D93L- 19703-B) or equivalent |
1. Install the new A/C compressor. For additional information, refer to Section.
2. Install the new suction accumulator/drier. For additional information, refer to Section.
3. Install the new A/C evaporator core orifice. For additional information, refer to Section.
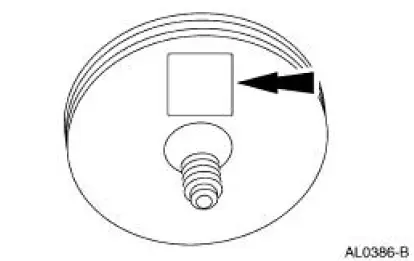
4. Orient the filter inlet toward the A/C condenser core.
5. NOTE: The pancake filter is not permanently installed and will be removed at the end of this procedure.
Temporarily install the pancake filter between the A/C condenser core and the condenser to evaporator tube.
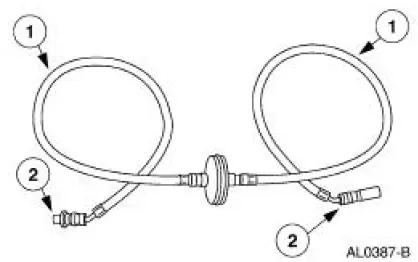
1. Use flexible refrigerant hose of 17,238 kPa (2,500 psi) burst rating.
2. Make the connections using the A/C Test Fitting Set.
6. Correctly oil match the system. For additional information, refer to Refrigerant Oil Adding in this section.
7. Evacuate and charge the system. For additional information, refer to Air Conditioning (A/C) System Recovery, Evacuation and Charging in this section.
8. Check all refrigerant system hoses, lines and the position of the newly installed filters to be sure they do not interfere with other engine compartment components. If necessary, use tie straps to make adjustments.
9. Provide adequate airflow to the front of the vehicle (with a fan, if necessary). Select MAX A/C operation and set the blower motor speed to maximum. Start the engine and let it idle briefly.
Make sure the A/C system is operating correctly.
10. Gradually bring the engine up to 1,200 rpm by running it at lower rpms for short periods (first at 800 rpm, then at 1,000 rpm). Set the engine at 1,200 rpm and run it for one hour with the A/C system operating.
11. Stop the engine.
12. Recover the refrigerant from the system. For additional information, refer to Air Conditioning (A/C) System Recovery, Evacuation and Charging in this section.
13. Remove the fittings, flexible hoses and pancake filter from between the and the condenser to evaporator tube.
14. Discard the pancake filter. It can be used one time only.
15. Reconnect the condenser to evaporator tube to the A/C condenser core.
16. Evacuate and charge the system. For additional information, refer to Air Conditioning (A/C) System Recovery, Evacuation and Charging in this section.
 Air Conditioning (A/C) System Recovery, Evacuation and Charging
Special Tool(s)
R-134a A/C Refrigerant Center
176-00002 or equivalent
R-134a A/C Refrigerant Center
023-00153 or equivalent
R-134a Manifold Gauge Set
176-R032A ...
 Refrigerant Oil Adding
CAUTION: During normal A/C operation, oil is circulated through the
system with the
refrigerant, and a small amount is retained in each component. If certain
components of the
system are removed for ...
Other materials:
Handles, Locks, Latches and Mechanisms
General Specifications
Torque Specifications
LOCK REPAIR/REPLACEMENT SPECIFICATIONS
...
Rear Drive Axle/Differential - Ford 7.5-Inch Ring Gear
General Specifications
a: In-vehicle repair refill capacities are determined by filling the rear axle
with the specified lubricant to
6.4-14.3-mm (1/4-9/16-in) below the bottom of the fill hole.
Torque Specifications
...
Evaporative Emissions (Description and Operation)
Component Location
The evaporative emission system:
is equipped with an on-board refueling vapor recovery (ORVR) system.
prevents hydrocarbon emissions from reaching the atmosphere.
stores fuel vapors in the evaporative emission (EVAP) canis ...
