Ford Mustang (1999-2004) Service Manual: Retractor - Rear Seat Safety Belt, Coupe
Special Tool(s)
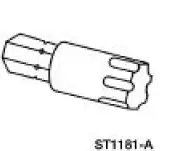 |
Torx Bit, Safety Belt Bolt 501-010 (T77L-2100-A) |
Removal
1. Remove the quarter trim panel (31012) and the angel wing trim. For additional information, refer to Section.
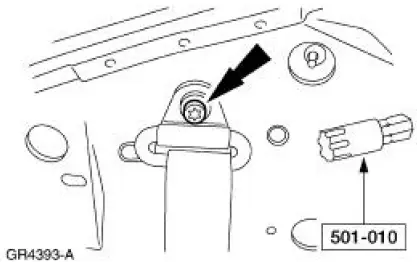
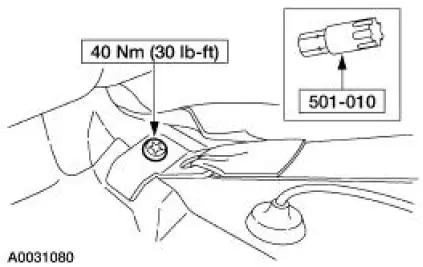
2. Using the special tool, remove the D-ring bolt.
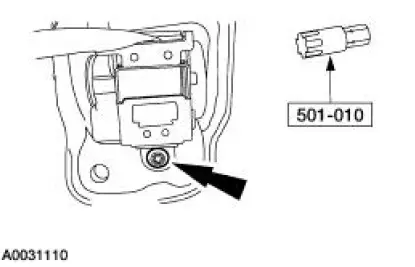
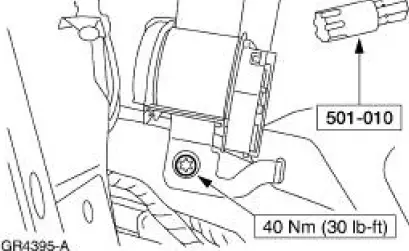
3. Using the special tool, remove the bolt and the safety belt retractor (611B68).
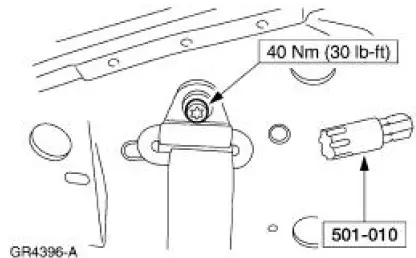
4. Remove the bolt.

Installation
NOTE: Make sure the safety belt is not twisted when inserting it in the quarter trim panel.
1. Install the bolt.
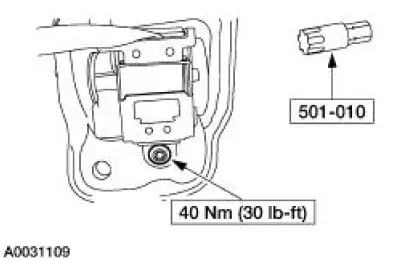
2. Using the special tool, install the safety belt retractor and the bolt.
3. Using the special tool, install the D-ring bolt.
4. Install the quarter trim panel (31012) and the angel wing trim. For additional information, refer to Section.
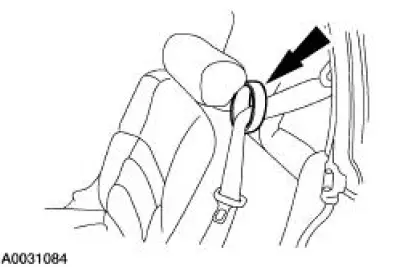
5. Make sure the shoulder belt passes through the belt holder on the top of the seatback.
6. Check the active restraint system for correct operation.
 Retractor - Front Seat Safety Belt, Convertible
Special Tool(s)
Torx Bit, Safety Belt Bolt
501-010 (T77L-2100-A)
Removal
1. Remove the quarter trim panel (31012). For additional information, refer
to Section.
2. Remove the nut and ...
 Retractor - Rear Seat Safety Belt, Convertible
Special Tool(s)
Torx Bit, Safety Belt Bolt
501-010 (T77L-2100-A)
Removal
1. Remove the rear seat cushion.
2. Remove the luggage compartment front lining board (45444).
3. Release the ...
Other materials:
Safety Belt System (Description and Operation)
WARNING: All safety belt assemblies include retractors, buckles, front
seat belt buckle
support assemblies (slide bar, if so equipped), shoulder belt height adjuster
(if equipped), child
safety seat tether bracket assemblies (if equipped) and attaching hardw ...
Torque Converter Cleaning And Inspection
Material
Item
Specification
MERCON V Automatic
Transmission Fluid
XT-5-QM, XT-5-DM
MERCON V
1. If a new torque converter is being installed, continue with Substep 2 of
Step 2.
2. If a new torque converter is not being installed, the fol ...
Child seat positioning
WARNING: Airbags can kill or injure a child in a child seat.
Never place a rear-facing child seat in front of an active airbag.
If you must use a forward-facing child seat in the front seat, move the
vehicle seat upon which the child seat is installed all th ...
