Ford Mustang (1999-2004) Service Manual: Retractor - Front Seat Safety Belt, Convertible
Special Tool(s)
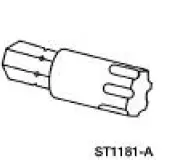 |
Torx Bit, Safety Belt Bolt 501-010 (T77L-2100-A) |
Removal
1. Remove the quarter trim panel (31012). For additional information, refer to Section.
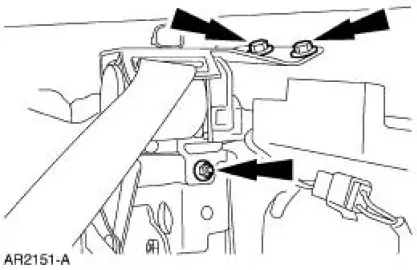
2. Remove the nut and bolts and safety belt retractor.
Installation
NOTE: Make sure the safety belt is not twisted.
1. The shipping clip must remain attached prior to the installation of the retractor into the vehicle.
The clip must be removed after the retractor is installed.
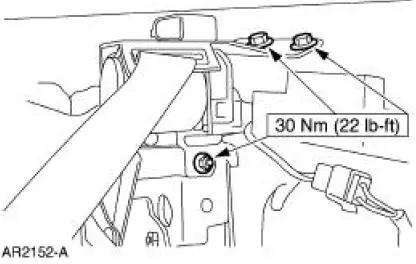
2. Position the safety belt retractor. Install the nut and bolts.
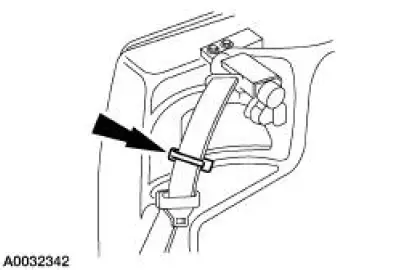
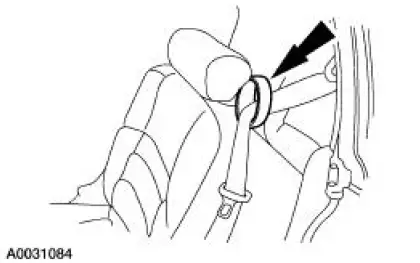
3. The shoulder belt must pass through the belt holder on the top of the seatback
4. Install the quarter trim panel. For additional information, refer to Section.
5. Check the active restraint system for correct operation.
 Retractor - Front Seat Safety Belt, Coupe
Special Tool(s)
Torx Bit, Safety Belt Bolt
501-010 (T77L-2100-A)
Removal
1. Remove the quarter trim panel (31012). For additional information, refer
to Section.
2. Using the special ...
 Retractor - Rear Seat Safety Belt, Coupe
Special Tool(s)
Torx Bit, Safety Belt Bolt
501-010 (T77L-2100-A)
Removal
1. Remove the quarter trim panel (31012) and the angel wing trim. For
additional information, refer
to Section ...
Other materials:
Component Tests
Pressure Test
1. Turn the engine OFF.
2. WARNING: Never remove the pressure relief cap under any conditions
while the
engine is operating. Failure to follow these instructions could result in damage
to the
cooling system or engine and/or personal injury. To ...
Hydraulic Control Unit
Removal
1. Disconnect the battery ground cable(14301).
2. Disconnect the anti-lock-brake control module electrical connector.
3. NOTE: The 4 wheel anti-lock brake system (4WABS) with traction
control is shown , the
4WABS without traction control system is ...
Control Components (Description and Operation)
Manual A/C
The climate control system heats or cools the vehicle interior depending on
the function selector
position and the temperature selected. Function selector position determines
heating or cooling and air
distribution. The temperature blend control s ...
