Ford Mustang (1999-2004) Service Manual: Crankshaft Rear Seal
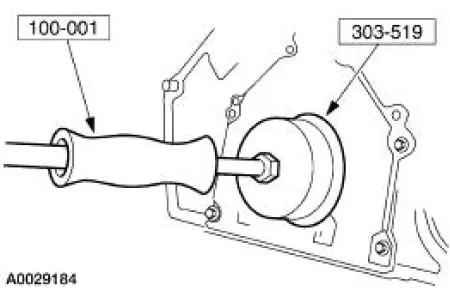
Special Tool(s)
 |
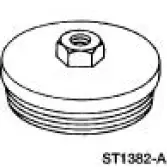
Impact Slide Hammer 100-001 (T50T-100-A) |
 |
Remover, Crankshaft Rear Seal 303-519 (T95P-6701-EH) |
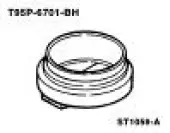 |
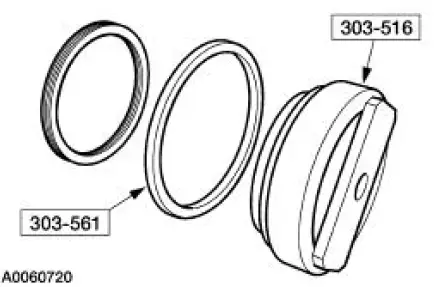
Replacer, Rear Crankshaft Seal 303-516 (T95P-6701-BH) |
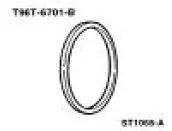 |
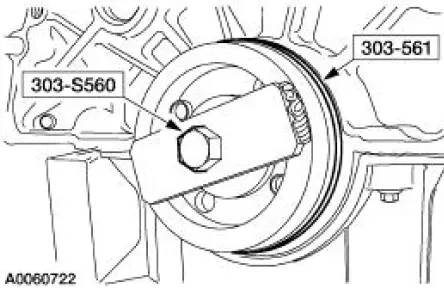
Spacer, Rear Crank Seal Replacer 303-561 (T96T-6701-B) |
 |
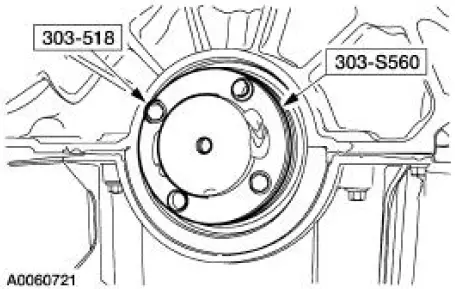
Adapter, Crankshaft Rear Seal (Use only the adapter retaining bolts) 303-518 (T95P-6701-DH) |
 |
Adapter, Crankshaft Rear Seal (Use only the adapter and the center jack screw) 303-S560 (T96T-6701-A) |
Material
| Item | Specification |
| SAE 5W-20 Premium Synthetic Blend Motor Oil XO-5W20-QSP or equivalent | WSS-M2C153- H |
Removal
1. Remove the flywheel or the flexplate. For additional information, refer to Flexplate in this section.
2. Using the special tools, remove the crankshaft rear seal.
Installation
1. Clean and inspect the mating surface.
2. NOTE: Lubricate the crankshaft rear seal lips with clean engine oil prior to installation.
Assemble the special tools and the crankshaft rear seal.
3. Install the special tools on the rear of the crankshaft.
4. Install the crankshaft rear seal. Tighten the center jack screw (303-S560) until the spacer (303- 561) contacts the engine block.
5. Install the flywheel or the flexplate. For additional information, refer to Flexplate in this section.
 Flexplate
Removal and Installation
1. Remove the transmission.
2. Remove the six bolts retaining the flexplate to crankshaft, and remove
the flexplate.
3. To install, reverse the removal procedure. ...
 Engine Support Insulators
Special Tool(s)
3 Bar Engine Support Kit
303-F072
Engine Lift Bracket Set
303-D095 (D94L-6001-A) or
equivalent
...
Other materials:
Engine (Assembly)
Special Tool(s)
Guides, Connecting Rod
303-442 (T93P-6136-A)
Installer, Crankshaft Vibration
Damper
303-102 (T74P-6316-B)
Installer, Front Cover Oil Seal
303-335 (T88T-6701-A)
Installer, Crankshaft Rear ...
Evaporative Emission Repair Verification Drive Cycle
Special Tool(s)
Worldwide Diagnostic System
(WDS)
418-F224,
New Generation STAR (NGS)
Tester
418-F052, or equivalent scan
tool
Drive Cycle Recommendations
NOTE: The following procedure is designed to execute and
complete the evap ...
Striker Adjustment
NOTE: After adjusting the door latch striker plate, verify that the
door can be closed easily and fits
tightly.
1. Loosen the door latch striker plate bolts.
2. Reposition the door latch striker plate from side to side or up and down
as necessary.
...
