Ford Mustang (1999-2004) Service Manual: Trim Panel - Door
Removal
All vehicles
1. CAUTION: Use a shop towel or similar material between the tool and the front door trim panel or damage to the front door trim panel may occur.
Position the window regulator switch plate (14527) aside.
1. Pull at the service notch.
2. Lift to release the clip at the rear edge.
2. Remove the window regulator switch plate.
1. Disconnect the power mirror electrical connector.
2. Remove the screws and the window regulator switch plate.

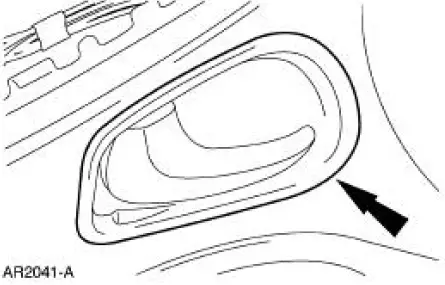
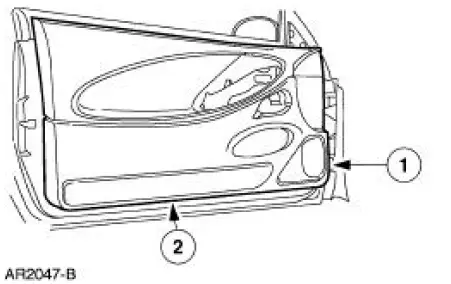
3. Remove the door latch release handle cup (22634).
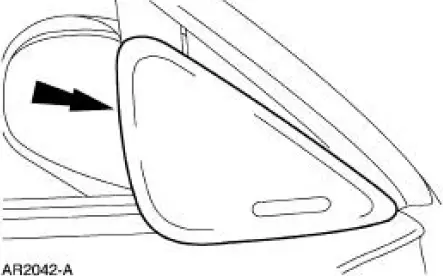
4. Remove the cover.
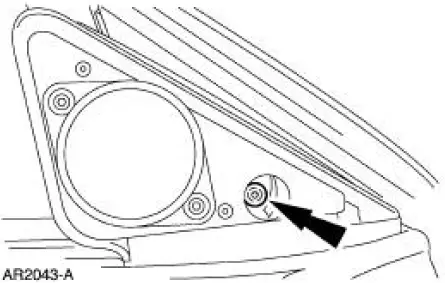
Vehicles with Mach 460 Premium Sound System
5. Remove the screw and the speaker.
- Disconnect the electrical connector.
All vehicles
6. Remove the screws.

7. Remove the door trim panel (23942).
1. Remove the pin-type retainer.
2. Lift up the door trim panel to remove.
Installation
1. To install, reverse the removal procedure.
 Interior Trim and Ornamentation
General Specifications
Torque Specifications
Interior Trim
The interior trim consists of:
A-pillar lower trim panels
door trim panels
headliner (coupe)
package tray trim panel (coup ...
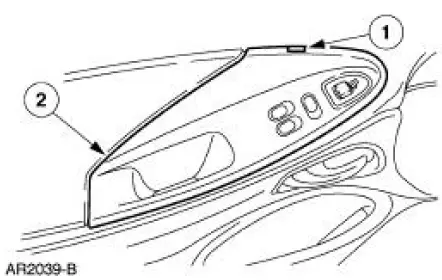
 Trim Panel - Quarter, Coupe
Removal and Installation
1. Remove the upper quarter trim panel. For additional information,
refer to Trim Panel-Upper
Quarter in this section.
2. Remove the scuff plate.
3. Remove the pin ...
Other materials:
Diagnostics
Special Tool(s)
Transmission Fluid Pressure
Gauge
307-004 (T57L-77820-A)
Air Test Plate, Transmission
307-246 (T92P-7006-A)
Alignment Gauge, TR Sensor
307-351 (T97L-70010-A)
Breakout Box, EEC-V Control
S ...
Roadside assistance
Vehicles Sold in the U.S.: Getting Roadside Assistance
To fully assist you should you have a vehicle concern, Ford Motor
Company offers a complimentary roadside assistance program.
This program is separate from the New Vehicle Limited Warranty.
The service i ...
Component Tests
Engine Oil Leaks
NOTE: When diagnosing engine oil leaks, the source and location of
the leak must be positively
identified prior to repair.
Prior to carrying out this procedure, clean all sealing surface areas with a
suitable solvent to remove all
tra ...
