
Ford Mustang (1999-2004) Service Manual: Brake Pads - Cobra
Removal
1. Remove brake fluid in the master cylinder reservoir until the reservoir is half full.
2. Raise and support the vehicle.
3. Remove the tire and wheel assembly.
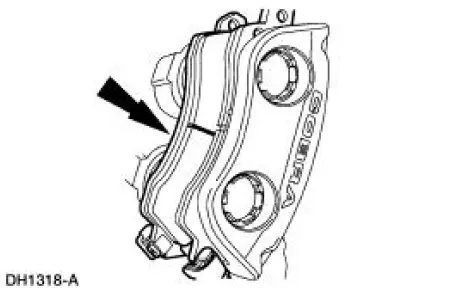
4. CAUTION: Install new pads if worn to or past the specified thickness above the metal backing plate or rivets. Install new pads in complete axle sets.
Inspect the pads for wear and contamination.
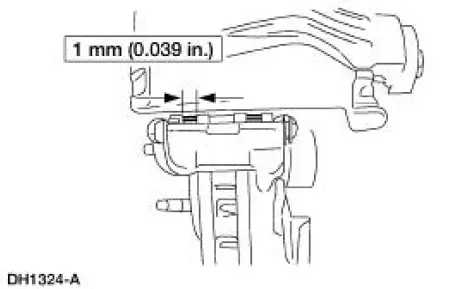
5. Remove the caliper locating pin E-clip.
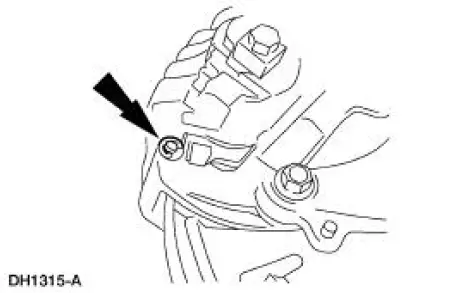
6. Remove the caliper locating pin.
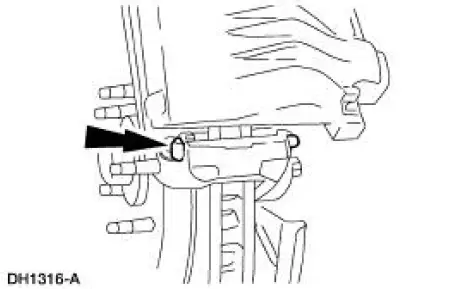
7. Remove the caliper.
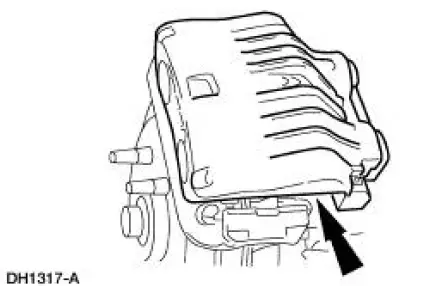
8. Remove the brake pads.
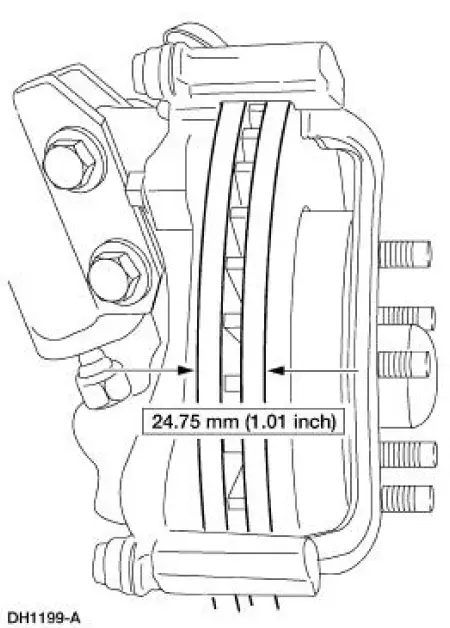
9. Measure the brake disc thickness.
- Install a new brake disc if not within specification.
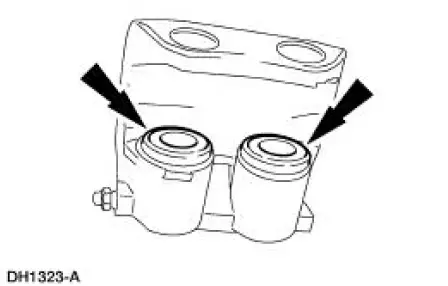
10. Inspect the disc brake caliper.
- If leaks or damaged boots are found, disassembly is required. For additional information, refer to Caliper in this section.
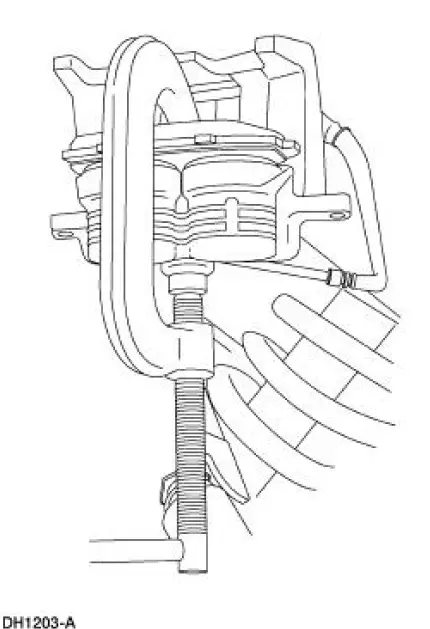
11. NOTE: Use a wood block or used pad to protect pistons and boots.
Compress the caliper pistons (2196).
Installation
1. Follow the removal procedure in reverse order.
 Installation
1. CAUTION: Do not allow grease, oil, brake fluid or other
contaminants to contact the
pad lining material. Do not install contaminated pads.
NOTE: Install all hardware supplied with pad kits. ...
 Caliper
...
Other materials:
Thermostat - 4.6L(2V)
Material
Item
Specification
Motorcraft Premium Gold
Engine Coolant
VC-7-A (in Oregon VC-7-B)
(yellow color)
WSS-M97B51-
A1
Removal and Installation
1. Drain the engine coolant. For additional information, refer to Cooling
System Dra ...
Installation
Using special tool 205-054
NOTE: This is the preferred method for installing the pinion bearing
cups. If necessary, proceed to
Using special tools 205-153, 205-054, and 205-D055 in this procedure for an
alternate method.
1. Position the special tools and th ...
Driveshaft (Removal and Installation)
Material
Item
Specification
Threadlock and
Sealer
E0AZ-19554-AA
WSK-M2G351-A5 (type
II)
Removal and Installation
1. Raise and support the vehicle.
2. Carry out the following:
1. Place an index mark on the rear axle pinion flange and ...
