Ford Mustang (1999-2004) Service Manual: Connect
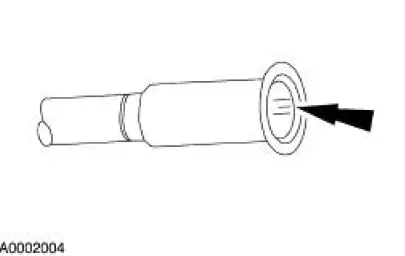
1. Install the A/C tube lock coupling spring.
2. Lubricate the inside of the coupling with PAG Refrigerant Compressor Oil (R-134a Systems) or equivalent.
3. CAUTION: Use only the new O-ring seals. The use of any O-ring seals other than those specified in the Ford Master Parts Catalog may result in intermittent leakage during vehicle operation.
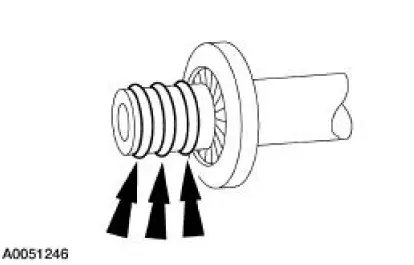
Install the O-ring seals.
- Lubricate the O-ring seals with PAG Refrigerant Compressor Oil (R-134a Systems) or equivalent.
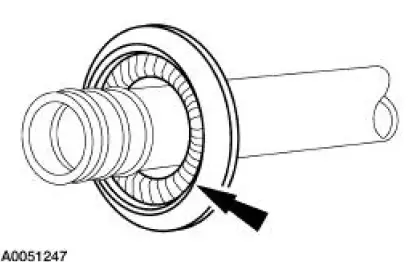
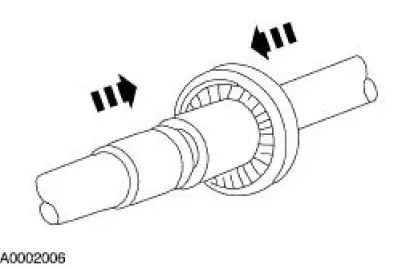
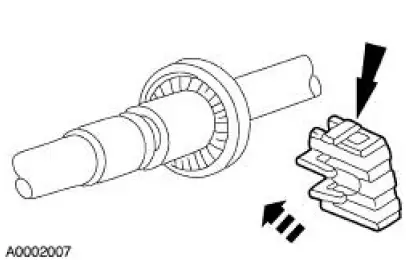
4. Connect the spring lock coupling fittings with a twisting motion until the A/C tube lock coupling spring snaps over the flared end of the female fitting.
5. Install the A/C tube lock coupling clip.
 Cleaning
1. Fabricate a cleaning tool from a 1/8 inch diameter brazing rod.
2. Cut an abrasive pad from maroon colored 3M Scotch Brite with the
dimensions corresponding
to the coupling size.
3. Assemble th ...
 Heater Hose Coupling
Special Tool(s)
Remover, Heater Hose Inlet
Tube
412-042 (T85T-18539-AH)
Disconnect Tool, Heater Hose
412-127
Material
Item
Specification
MERPOL
-
ESE-M ...
Other materials:
Transmission (Disassembly)
Special Tool(s)
Holding Fixture, Transmission
307-003 (T57L-500-B)
Puller, Bearing
205-D064 (D84L-1123-A)
2 or 3 Jaw Puller
205-D027 (D80L-1013-A)
Remover, Mainshaft Bearing
308-058 (T77J-7025-H)
...
Installation
CAUTION: Electronic modules are sensitive to static electrical
charges. If exposed to
these charges, damage may result.
1. NOTE: Two technicians are necessary to carry out this step.
Install the instrument panel.
2. Install the upper instrument pa ...
Gearshift Rail and Fork
Disassembly and Assembly
1. Disassemble the first/second and third/fourth shift rail as follows:
Rotate the interlock plate until it is opposite of the shift links.
Slide off the third/fourth shift fork and shift link. Separate the link
from the ...
