Ford Mustang (1999-2004) Service Manual: Crankshaft Pulley
Special Tool(s)
 |
Remover, Crankshaft Vibration Damper 303-009 (T58P-6316-D) |
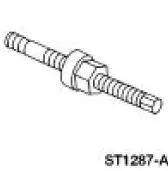 |
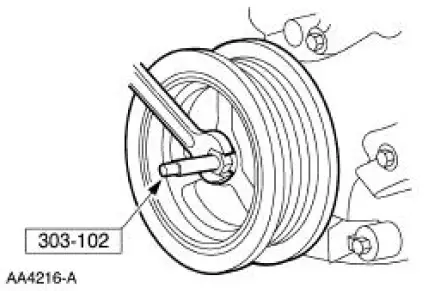
Installer, Crankshaft Vibration Damper 303-102 (T74P-6316-B) |
Material
| Item | Specification |
| Silicone Gasket and Sealant F7AZ-19554-EA or equivalent | WSE-M4G323-A4 |
Removal
1. Remove the drive belt. For additional information, refer to Section.
2. Raise and support the vehicle. For additional information, refer to Section.
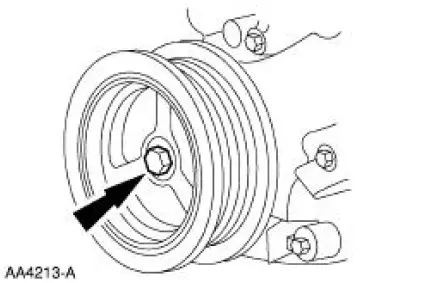
3. Remove the bolt.
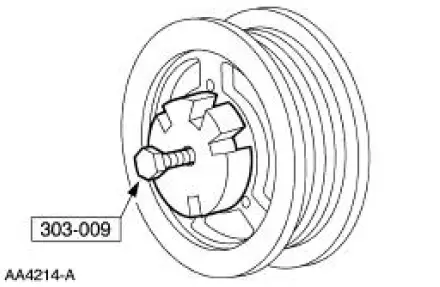
4. Using the special tool, remove the crankshaft pulley (6312).
Installation
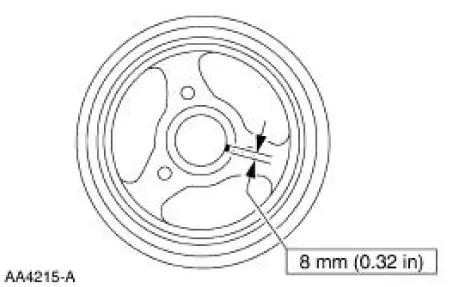
1. NOTE: The crankshaft pulley must be installed within four minutes of applying the sealant.
Apply sealant to the woodruff key slot on the crankshaft pulley.
2. Using the special tool, install the crankshaft pulley.
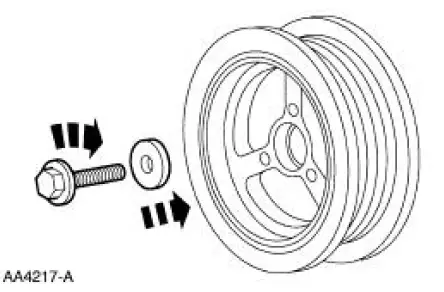
3. Install the washer and the bolt. Tighten the bolt in four stages.
- Stage 1: Tighten the bolt to 90 Nm (66 lb-ft).
- Stage 2: Loosen the bolt one full turn.
- Stage 3: Tighten the bolt to 50 Nm (37 lb-ft).
- Stage 4: Tighten the bolt an additional 90 degrees.
4. Lower the vehicle.
5. Install the drive belt. For additional information, refer to Section.
 Valve Cover LH
Material
Item
Specification
Silicone Gasket and Sealant
F7AZ-19554-EA or equivalent
WSE-M4G323-A4
Removal and Installation
1. Position the oil level tube (6754) out of the way.
2 ...
 Crankshaft Front Oil Seal
Special Tool(s)
Crankshaft Seal
Installer/Aligner
303-335 (T88T-6701-A)
Front Cover Seal Remover
303-107 (T74P-6700-A)
Crankshaft Seal Installer
303-635
...
Other materials:
Differential Pressure Feedback Exhaust Gas Recirculation
(EGR) System
Removal and Installation
1. NOTE: The 4.6L (2V) is shown. The 4.6L (4V) and 3.8L are
similar.
NOTE: Bolts may be used in place of nuts on some applications.
Remove the differential pressure feedback EGR.
1. Disconnect the connector.
2. Remove the ...
Spark Plug
Removal
1. Remove the ignition coil on plug. For additional information, refer to
Ignition Coil-Coil On Plug
in this section.
2. NOTE: Use compressed air to remove any foreign material from the
spark plug well before
removing the spark plugs (12405).
...
On-board Diagnostics (OBD-II)
Your vehicle is equipped with a computer that monitors the engine’s
emission control system. This system is commonly known as the
on-board diagnostics system (OBD-II). The OBD-II system protects
the environment by ensuring that your vehicle continues to meet ...
