
Ford Mustang (1999-2004) Service Manual: Disc
Removal
1. Remove the front disc brake caliper anchor plate (2B292). For additional information, refer to Brake Caliper Anchor Plate in this section.
2. Match mark the hub (1104) and the brake disc (1125).
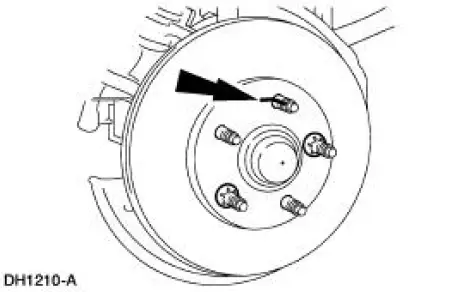
3. If necessary, remove and discard the keeper nuts.
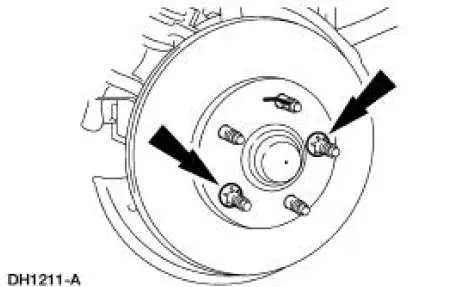
4. NOTE: If the brake disc cannot be easily removed, apply Rust Penetrant and Inhibitor F2AZ- 19A501-A or equivalent meeting Ford specification ESR-M99C56-A to the mating surfaces.
Remove the brake disc from the hub.
Installation
1. Clean rust and foreign material from the mating surfaces of the hub and brake disc.
- Use Metal Brake Parts Cleaner F3AZ-19579-SA or equivalent to clean the brake disc and hub.
2. Apply High Temperature Nickel Anti-Seize Lubricant F6AZ-9L494-AA or equivalent meeting Ford specification ESE-M12A4-A to the hub flange.
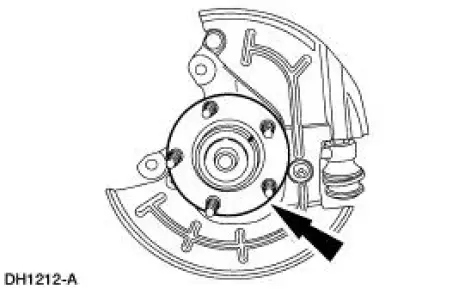
3. Align the match marks and install the brake disc.
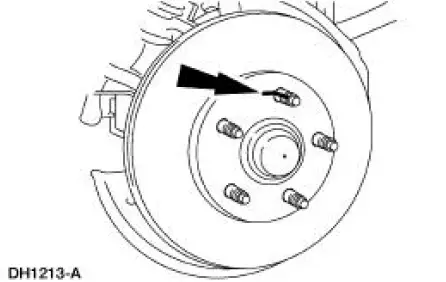
4. Install the anchor plate (2B292). 5. Check the total indicated runout (TIR).
 Brake Caliper Anchor Plate
Removal
1. Remove the pads. For additional information, refer to Pads in this
section.
2. Remove the anchor plate (2B292).
1. Remove and discard the anchor plate bolts.
2. Remove the ...
 Shield
Removal
1. Remove the brake disc (1125). For additional information, refer to
Disc in this section.
2. Remove the brake disc shield (2K004).
1. Drill out three brake disc shield rivets.
...
Other materials:
Interior luggage compartment release
WARNING: Keep vehicle doors and luggage compartment locked
and keep keys and remote transmitters out of a child’s reach.
Unsupervised children could lock themselves in the trunk and risk
injury. Children should be taught not to play in vehicles.
WARNING: Do ...
Turn Signal and Hazard Lamps
Refer to Wiring Diagrams Cell 90 , Turn/Stop/Hazard Lamps for schematic
and connector information.
Special Tool(s)
73 III Automotive Meter
105-R0057 or equivalent
Inspection and Verification
1. Verify the customer concern.
2. Visually ins ...
Flexplate
Removal and Installation
1. Remove the transmission. For additional information, refer to Section.
2. Remove the six bolts retaining the flexplate to crankshaft, and remove the
flexplate.
3. To install, reverse the removal procedure.
Tighten the bolts in ...
