
Ford Mustang (1999-2004) Service Manual: Extension Housing
Special Tool(s)
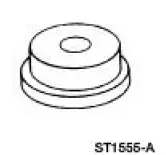 |
Installer, Bearing Cup 204-039 (T77F-1217-B) |
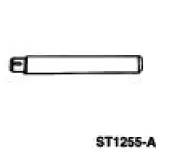 |
Adapter for 303-224 (Handle) 205-153 (T80T-4000-W) |
Disassembly and Assembly
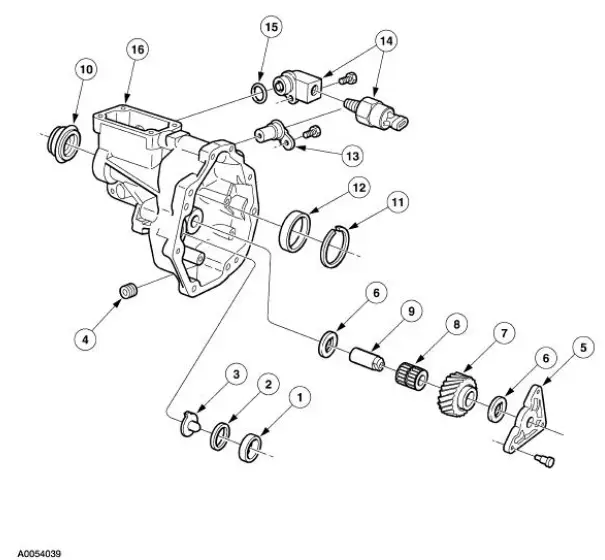
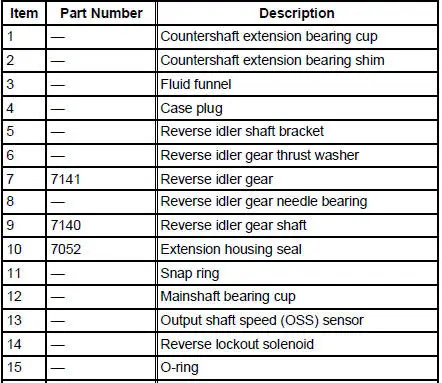

1. Remove the bolt and the output shaft speed (OSS) sensor.
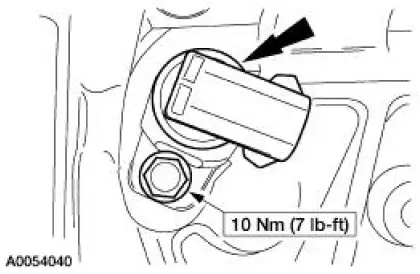
2. Remove the bolt and the reverse lockout solenoid.
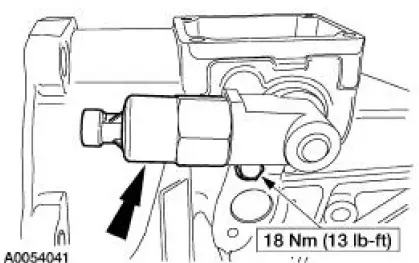
3. Remove the bolts and the reverse idler shaft bracket.
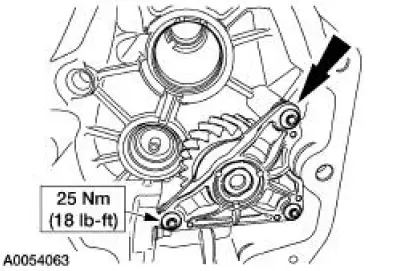
4. Remove the reverse idler gear thrust washer.
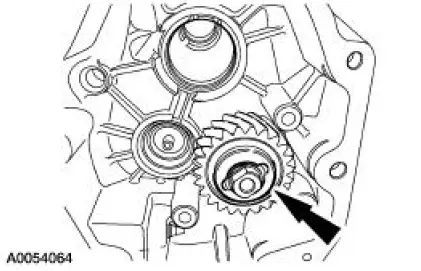
5. Remove the reverse idler gear.
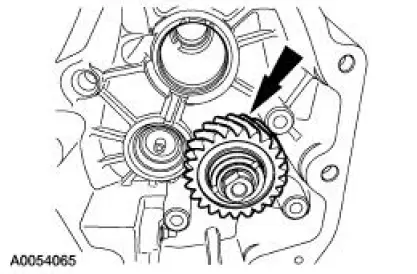
6. NOTE: If the countershaft extension bearing was installed new, install a new bearing cup.
Remove the reverse idler gear needle bearing and countershaft extension bearing cup.
- Inspect the needle bearing for wear or damage. Install a new bearing as necessary.
- Inspect the bearing cup for wear or damage. Install a new bearing and bearing cup as necessary.
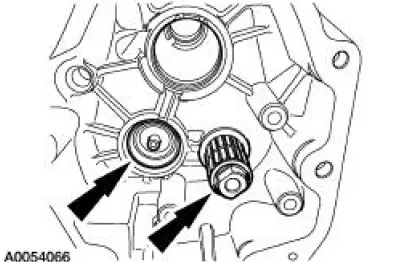
7. Remove the reverse idler gear thrust washer and the reverse idler gear shaft.
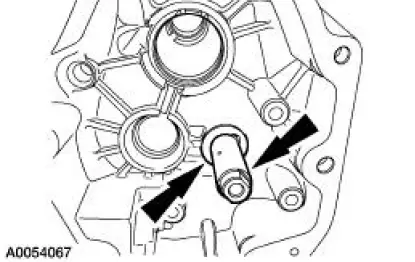
8. Remove the countershaft extension bearing shim and the fluid funnel.
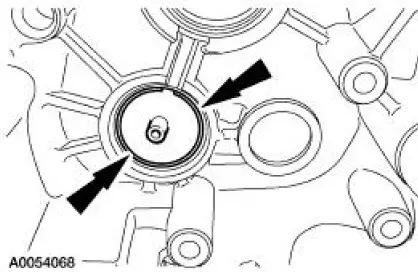
9. Remove the snap ring.
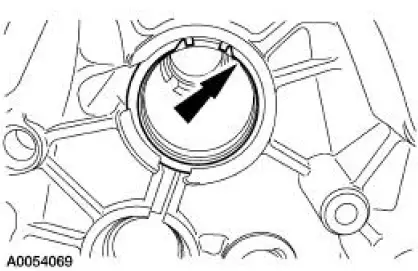
10. NOTE: If the mainshaft bearing was install new, install a new bearing cup.
Position the extension housing with the seal facing upward. Using a brass drift, remove the mainshaft bearing cup.
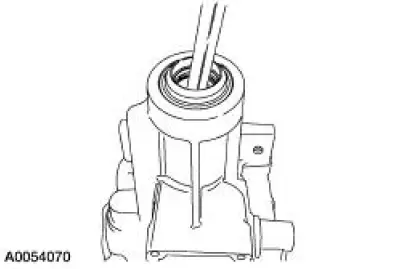
11. Remove and discard the extension housing seal.
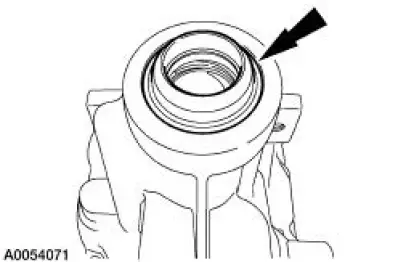
12. WARNING: Make sure protective eye wear is in place.
Clean the housing with solvent and dry with compressed air. Clean and check the sealing surface for nicks or scratches. Inspect the housing for cracks.
- If the housing is cracked, install a new housing. If the sealing surface has nicks or scratches, use a soft stone or crocus cloth to remove.
13. Using the special tools, install the mainshaft bearing cup.
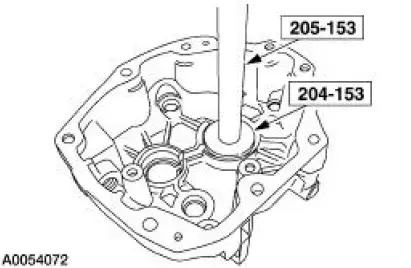
14. Using a suitable driver, install the extension housing seal.
- Install the seal with the drain hole at the six o'clock position.
15. To assemble, reverse the disassembly procedure.
 Gearshift Rail and Fork
Disassembly and Assembly
1. Disassemble the first/second and third/fourth shift rail as follows:
Rotate the interlock plate until it is opposite of the shift links.
Slide off the third/fo ...
 Transmission Case
Special Tool(s)
Handle
205-D055 (D81L-4000-A)
Installer, Bearing Cup
204-039 (T77F-1217-B)
Installer, Drive Pinion Bearing
Cup
205-054 (T71P-4616-A)
...
Other materials:
Installation
WARNING: To reduce the risk of serious personal injury, read
and follow all warnings,
cautions and notes at the beginning of the removal procedure.
Vehicles receiving a new clockspring
1. NOTE: A new clockspring is supplied in a centralized position a ...
Battery and Cables
Vehicles are equipped with a 12 volt maintenance-free battery that
contains a built-in hydrometer. The
hydrometer eye indication is as follows:
A green dot means the battery is OK.
A yellow dot, red dot, or when the green dot is not visible,
...
Vehicle identification number
The vehicle identification number
is located on the driver’s side
instrument panel.
Please note that in the graphic,
XXXX is representative of your
vehicle identification number.
The Vehicle Identification Number (VIN) contains the following
information:
...
