Ford Mustang (1999-2004) Service Manual: Extension Housing Seal and Gasket
Special Tool(s)
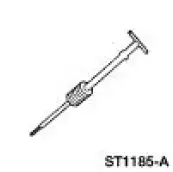 |
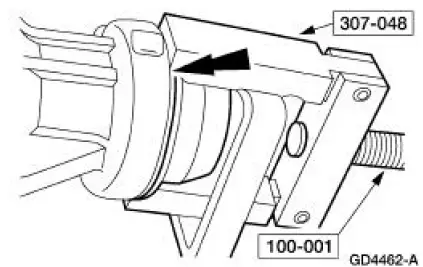
Slide Hammer 100-001 (T50T-100-A) |
 |
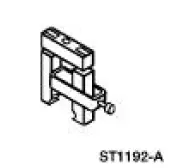
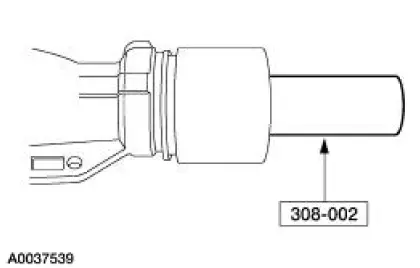
Installer, Transmission Extension Housing Fluid Seal 308-002 (T61L-7657-A) |
 |
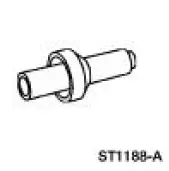
Remover, Transmission Fluid Seal 307-048 (T74P-77248-A) |
Removal
1. Drain the transmission fluid. For additional information, refer to Fluid Pan, Gasket and Filter in this section.
2. NOTE: The output shaft and driveshaft are a balanced assembly.
Mark the driveshaft flange and the rear companion flange for correct alignment during assembly.
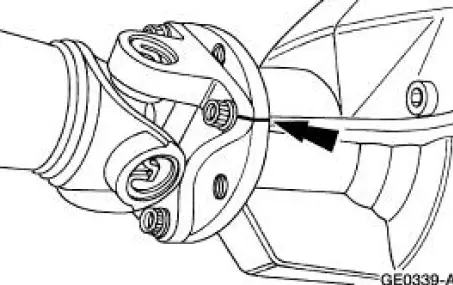
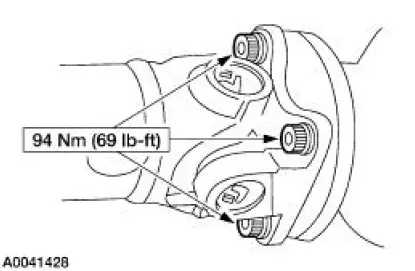
3. Remove the four driveshaft bolts.
4. Separate the driveshaft from the transmission.
5. Use a high-lift transmission jack to support the transmission.
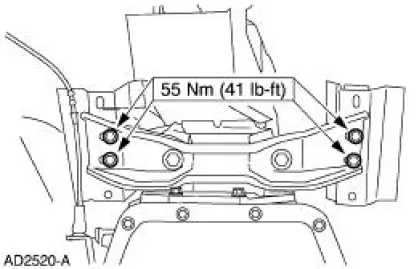
6. Remove the transmission crossmember bolts.
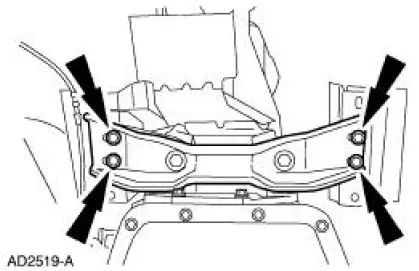
7. Remove the transmission mount and crossmember.

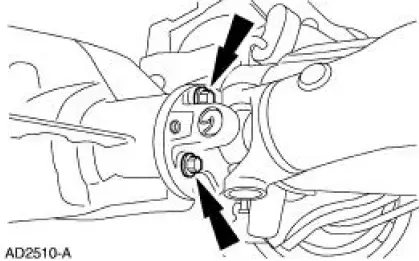
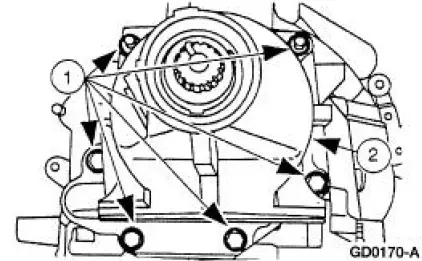
8. Using the special tools, remove the extension housing seal.
9. Lower the transmission to access the extension housing bolts.
10. Remove the extension housing and gasket.
1. Remove the bolts and the nuts.
2. Remove the extension housing and gasket.
Installation
1. Install the extension housing and gasket.
1. Install the extension housing gasket and housing.
2. Install the bolts and the nuts.
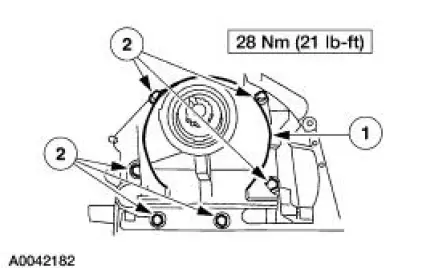
2. Using the special tool, install the new extension housing seal.
3. Raise and position the transmission.
4. Install the transmission mount and crossmember.
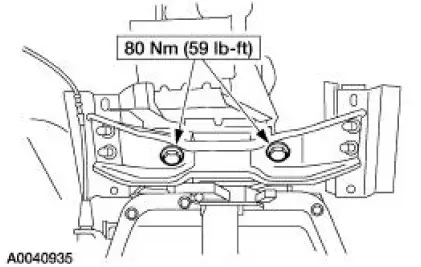
5. Install the transmission crossmember bolts.
6. Remove high-lift transmission jack.
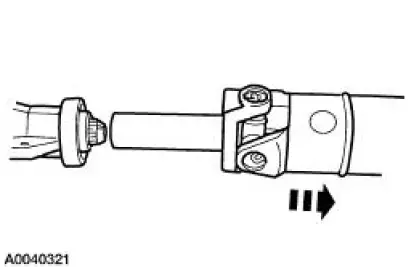
7. NOTE: The output shaft and the driveshaft are a balanced assembly.
Install the driveshaft.
- Align the yellow dots and position the driveshaft on the transmission.
- Install the driveshaft.
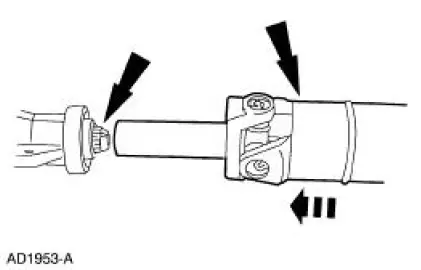
8. NOTE: To maintain driveshaft balance, align the marks made during disassembly for the rear axle flange and the driveshaft yoke.
Install the four bolts.
9. Install the filter and pan. For additional information, refer to Fluid Pan, Gasket and Filter in this section.
 Main Control Valve Body
Special Tool(s)
Gauge, Transmission Solenoid
Connectors
307-426
Removal
1. Drain transmission fluid and remove the transmission fluid pan and
filter. For additional
information, ...
 Electronic Pressure Control (EPC) Solenoid
Special Tool(s)
Gauge, Transmission Solenoid
Connectors
307-426
Removal
1. Remove the manual control lever. For additional information, refer to
Manual Control Lever
Shaft and Se ...
Other materials:
Removal
CAUTION: Suspension fasteners are critical parts because they affect
performance of vital
components and systems and their failure can result in major service expense. A
new part with
the same part number must be installed if installation becomes necessary. ...
Inspection and Verification
NOTE: Upon installation of a new GEM, the module must be
reconfigured. For additional information,
refer to Section.
1. The warning lamps are a GEM controlled system; refer to Section.
2. Verify the customer concern by operating the system in questio ...
Essential towing checks
Follow these guidelines for safe towing:
• Do not tow a trailer until you drive your vehicle at least 1000 miles
(1600 kilometers).
• Consult your local motor vehicle laws for towing a trailer.
• See the instructions included with towing accessories for ...
