Ford Mustang (1999-2004) Service Manual: Lumbar Assembly
Removal and Installation
All vehicles
1. Remove the front seat. For additional information, refer to Seat-Front Power in this section.
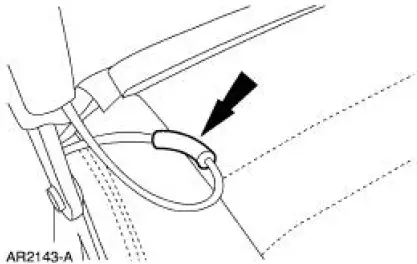
2. Release the J-clip.
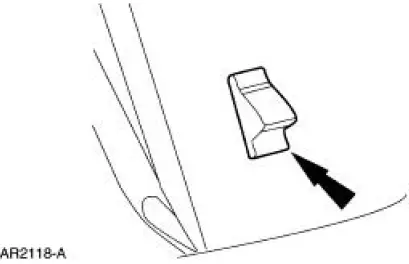
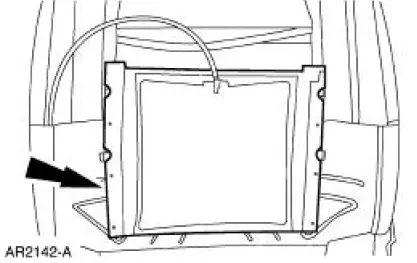
3. Remove the seat backrest latch handle knob (62762).
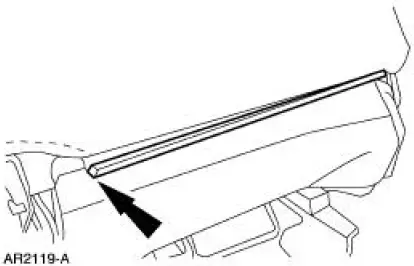
4. Pull the seat backrest trim cover up to the top of the seat.
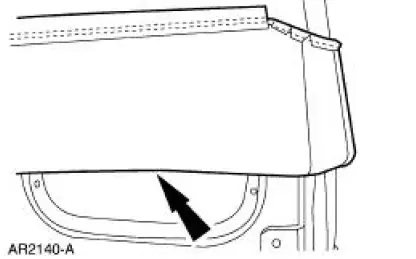
5. Remove the seat backrest foam pad from the seat backrest frame.
Vehicles with standard power lumbar
6. Disconnect the power lumbar support air hose.
7. Remove the seat backrest adjuster (65500).
Vehicles with power bolster and lumbar
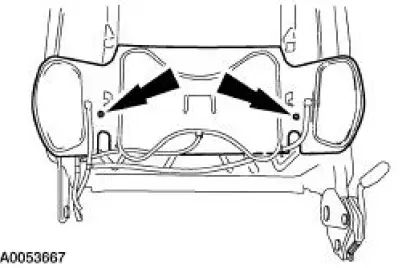
8. Disconnect the lumbar and bolster air supply hoses.

9. Remove the two screws and remove the lumbar and bolster adjuster pad.
All vehicles
10. To install, reverse the removal procedure.
 Front Seat Backrest
Removal and Installation
All vehicles
1. Remove the seat. For additional information, refer to Seat-Front Power
in this section.
2. Remove the front seat backrest latch. For additional informati ...
 Seat - Front Power
Removal and Installation
1. Remove the safety belt through the opening in the safety belt guide.
2. Move the seat forward.
3. Remove the bolt covers and remove the seat track bolts.
4. Move the ...
Other materials:
Cooling System Draining, Filling and Bleeding
Material
Item
Specification
Motorcraft Premium Gold
Engine Coolant
VC-7-A (in Oregon VC-7-B)
(yellow color)
WSS-M97B51-
A1
Draining
WARNING: Never remove the pressure relief cap while the engine is
operating or when the
cooling syst ...
Pinpoint Test N: DTC B1869 - Air Bag Indicator Inoperative
Normal Operation
The air bag indicator is designed to illuminate for 6 (+/-2) seconds when
the ignition switch is turned to
the RUN position. This initial 6 seconds of illumination is considered
normal operation and is called
proveout of the air bag ind ...
Differential Case and Ring Gear - Conventional
Special Tool(s)
2-Jaw Puller
205-D072 (D97L-4221-A) or
equivalent
Installer, Differential Side
Bearing
205-010 (T57L-4221-A2)
Step Plate
205-D061 (D83T-4205-C2) or
equivalent
...
