
Ford Mustang (1999-2004) Service Manual: Multifunction Switch
Removal
1. Disconnect the battery ground cable.
2. Remove the ignition switch lock cylinder.
1. Insert the ignition key into the ignition switch lock cylinder and turn to RUN position.
2. Push the ignition switch lock cylinder release tab with a punch while pulling out the ignition switch lock cylinder.
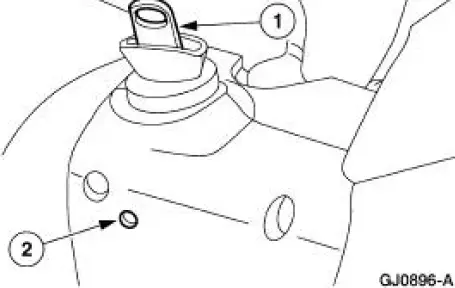
3. Remove the tilt wheel handle.
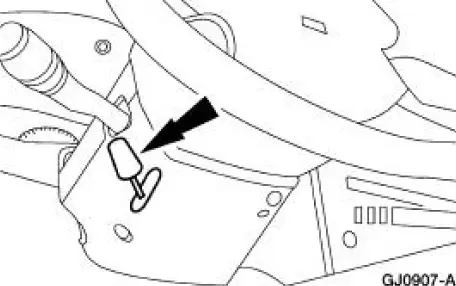
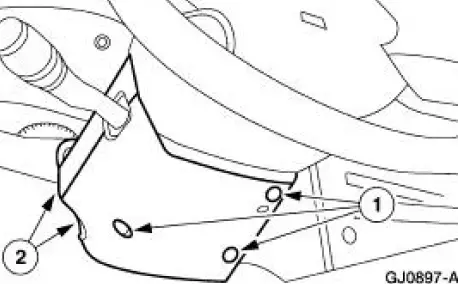
4. Remove the upper and lower steering column shrouds.
1. Remove the screws.
2. Remove the upper and lower steering column shrouds.
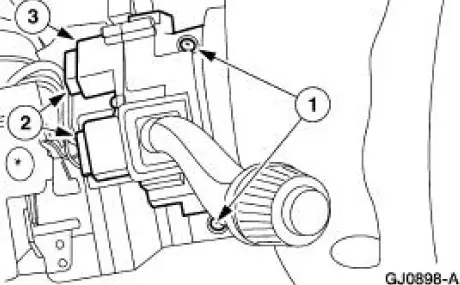
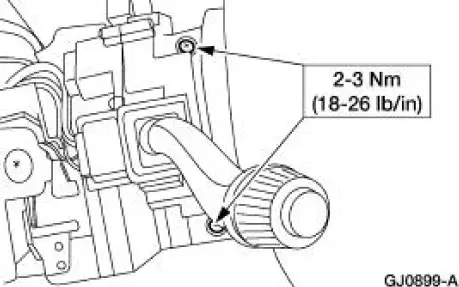
5. Remove the multifunction switch.
1. Remove the screws.
2. Disconnect the electrical connectors.
3. Remove the multifunction switch.
Installation
1. NOTE: When the battery is disconnected and reconnected, some abnormal drive symptoms may occur while the vehicle relearns its adaptive strategy. The vehicle may need to be driven 16 km (10 mi) or more to relearn the strategy.
To install, reverse the removal procedure.
 Steering Column Switches (Diagnosis and Testing)
Refer to Wiring Diagrams Cell 13 , Power Distribution for schematic and
connector information.
Refer to Wiring Diagrams Cell 81 , Interval Wiper/Washer for schematic and
connector information.
Refer ...
 Ignition Switch
Removal
1. Disconnect the battery ground cable.
2. Remove the lower instrument panel steering column cover.
1. Remove the screws.
2. Remove the lower instrument panel steering column cover.
...
Other materials:
Road Test
NOTE: It may be necessary to have the customer ride along or drive the
vehicle to point out the
concern. During the road test, take into consideration the customer's driving
habits and the driving
conditions. The customer's concern just may be an acceptable ...
Brake Booster - Hydro-Boost (Removal and Installation)
Special Tool(s)
Installer Set, Teflon Seal
211-D027 (D90P-3517-A) or
equivalent
Removal
WARNING: The power brake booster should not be carried by the
accumulator, nor
should it ever be dropped on the accumulator. Check the snap ring on th ...
Rear Disc Brake (Description and Operation)
WARNING: Brake fluid contains polyglycol ethers and polyglycols.
Avoid contact with
eyes. Wash hands thoroughly after handling. If brake fluid contacts
eyes, flush eyes with
running water for 15 minutes. Get medical attention if irritation
persist ...
