Ford Mustang (1999-2004) Service Manual: Torque Converter End Play Check
Special Tool(s)
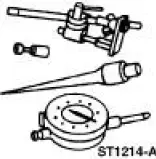 |
Dial Indicator Gauge with Holding Fixture 100-002 (TOOL-4201-C) or equivalent |
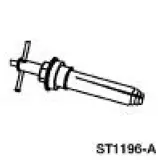 |
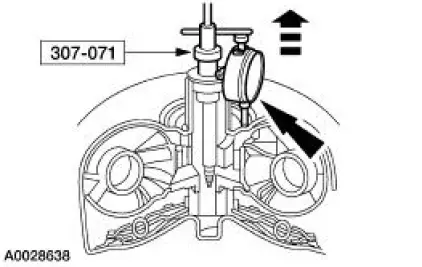
End Play Gauge, Torque Converter 307-071 (T80L-7902-A) or equivalent |
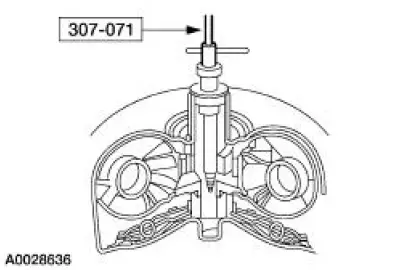
1. Install the special tool into the torque converter pump drive.
- Tighten the inner post until the tool is securely locked.
2. Install the special tool on the converter pump drive hub and zero the dial indicator.
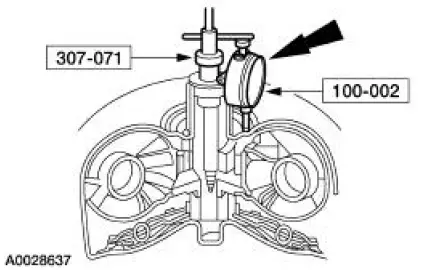
3. Lift up on the special tool and note the dial indicator reading.
- If the reading exceeds end play limits, install a new or remanufactured torque converter.
Torque Converter End Play

4. Remove the special tools.
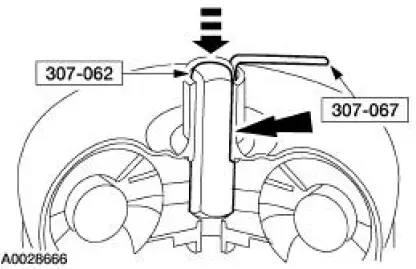
Torque Converter One-Way Clutch Check
Special Tool(s)
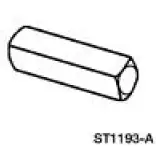 |
Holding Tool, One-Way Clutch 307-062 (T76L-7902-C) or equivalent |
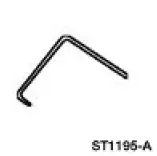 |
Holding Tool, Torque Converter Clutch 307-067 (T77L-7902-R) or equivalent |
1. Install the special tool in one of the grooves in the stator thrust washer.
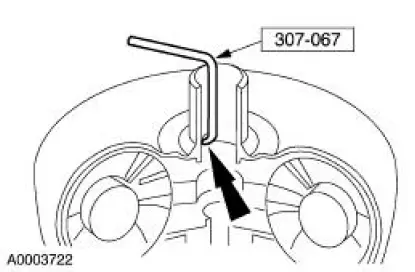
2. Install the special tool in the converter pump drive.
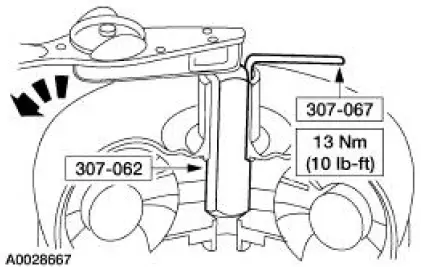
3. Use a torque wrench to turn the special tool counterclockwise while holding the special tool stationary.
- The converter should lock up and hold torque.
- The torque converter one-way clutch should rotate freely in the clockwise direction.
- Try the clutch for lockup and hold in at least five positions.
- If the torque converter fails the lockup test torque, install a new or remanufactured torque converter.
 Torque Converter Impeller to Pump Stator Interference
Check
Torque Converter Impeller to Pump Stator Interference
Check
1. NOTE: Front pump support may remain in front pump support and gear
during this test.
Position the front pump support with the splines up.
2. Mount the torque converter on the front pump support wi ...
 Torque Converter Turbine to Pump Stator Interference
Check
Torque Converter Turbine to Pump Stator Interference
Check
1. NOTE: Front pump support may remain in front pump support and gear
during this test.
Position the torque converter with the pump drive up.
2. Install the front pump support to engage the mating sp ...
Other materials:
Sensing system
WARNING: To help avoid personal injury, please read and
understand the limitations of the system as contained in this
section. Sensing is only an aid for some (generally large and fixed)
objects when moving in reverse on a flat surface at parking speeds.
Traf ...
Security Access - Procedure
Special Tool(s)
Worldwide
418-F224,
New Generation STAR (NGS)
Tester
418-F052, or equivalent
diagnostic tool
NOTE: The security access procedure is utilized to obtain passive anti-theft
system (PATS) security
access. PATS security acce ...
Crankshaft Position (CKP) Sensor - 4.6L
Removal
1. Disconnect the battery ground cable. For additional information,
refer to Section.
2. Remove the A/C compressor. For additional information, refer to
Section.
3. Remove the crankshaft position (CKP) sensor.
Disconnect the connect ...
