Ford Mustang (1999-2004) Service Manual: Transmission (REMOVAL)
Special Tool(s)
|
|
Retainer, Torque Converter 307-346 (T97T-7902-A) |
CAUTION: Whenever a transmission has been disassembled to install new parts the transmission fluid cooler tubes must be cleaned and backflushed. Use a suitable torque converter/fluid cooler cleaner. If equipped a new oil-to-air cooler must also be installed.
When internal wear or damage has occurred in the transmission, metal particles, clutch plate material or band material may have been carried into the torque converter and fluid cooler.
These contaminants are a major cause of recurring transmission troubles and must be removed from the system before the transmission is put back into use.
CAUTION: After transmission is removed for a major overhaul, it is important to completely clean all transmission components, including torque converter, oil-to-air cooler if equipped, cooler inlet tube, main control valve body, clutches and all coasting booster valve shuttle balls after any transmission repair that generates contamination. These contaminants are a major cause for recurring transmission concerns and must be removed from the system before the transmission is returned to use.
The cleaning of foreign material from the direct clutch check ball is often omitted. This omission can lead to repeat repair of the transmission.
If equipped a new oil-to-air cooler must be installed under the following conditions; for installation refer to Section.
- Evidence of transmission assembly or fluid contamination is found due to the following transmission or converter failure modes:
- major metallic failure
- multiple clutches or clutch plate failures
- sufficient component wear which results in metallic contamination.
1. Place the transmission range selector lever in NEUTRAL.
2. Disconnect the battery ground cable. For additional information, refer to Section.
3. Raise and support the vehicle. For additional information, refer to Section.
4. Remove the dual converter Y pipe. For additional information, refer to Section.
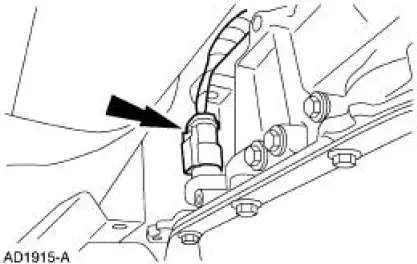
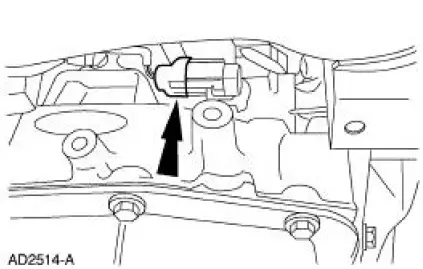
5. Disconnect the transmission harness electrical connector.
6. If transmission disassembly is required, drain the transmission fluid.
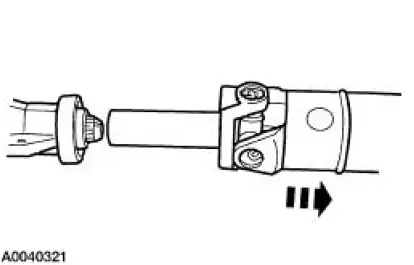
7. NOTE: To maintain the initial driveshaft balance, mark the REAR driveshaft yoke and the axle pinion flange so they may be installed in their original positions.
Remove the driveshaft bolts.
8. Separate the driveshaft from the transmission.
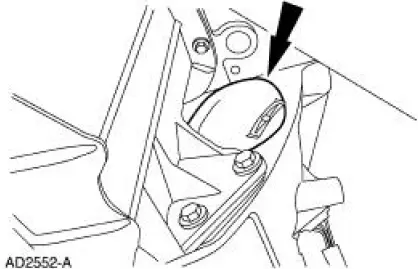
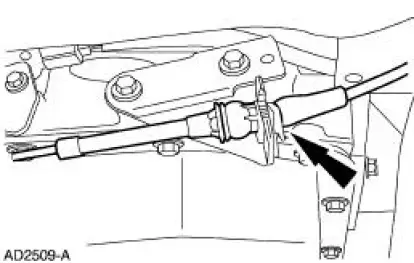
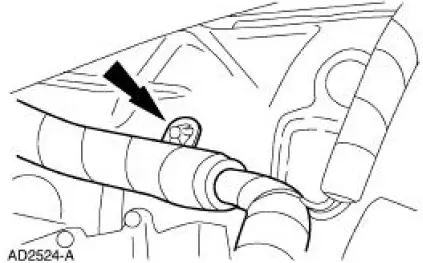
9. Disconnect the connector.
10. Disconnect the connector.
11. Remove the cover.
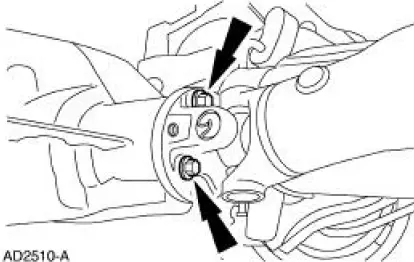
12. Remove the four nuts.
13. Remove the starter.
1. Disconnect the electrical connectors.
2. Remove the bolts.
3. Remove the starter.
14. Disconnect the transmission shift linkage.
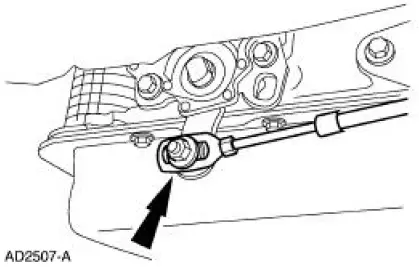
15. Remove the cable from the bracket.
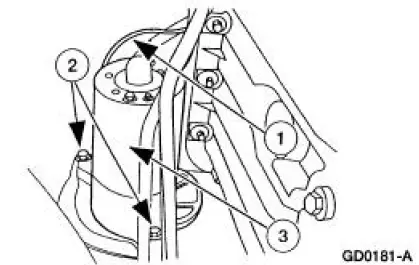
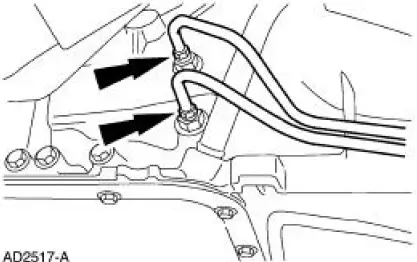
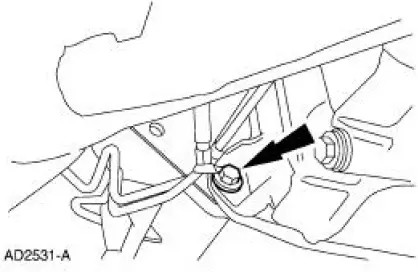
16. Disconnect the transmission fluid cooler tubes.
17. Position the high-lift jack under the transmission.
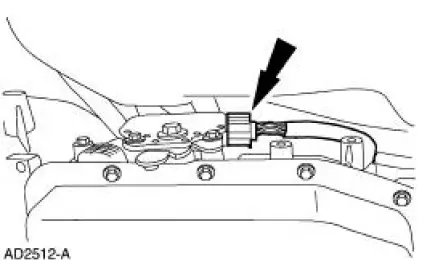
18. Unclip the connectors.
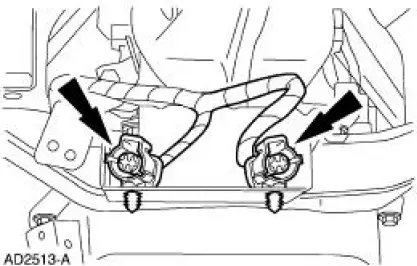
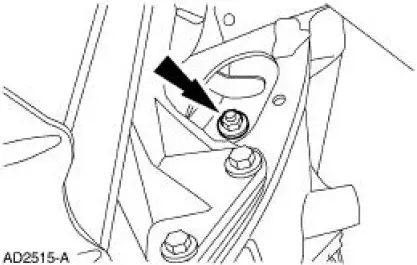
19. Remove the bolts.
20. Remove the bolts.
21. Remove the bolts.
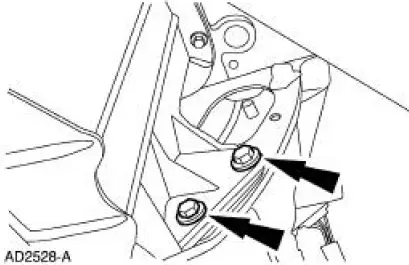
22. Remove the bolt.
23. Remove the bolts.
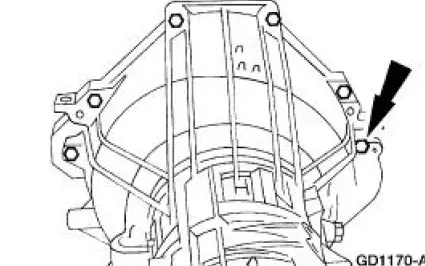
24. Unclip the harness.
25. WARNING: The torque converter is heavy and may result in injury if it falls out of the transmission. Secure the torque converter in the transmission.
Using the special tool, secure the torque converter in the transmission then lower the transmission from the vehicle.

26. Carry out the transmission fluid cooler backflushing and cleaning. For additional information, refer to Transmission Fluid Cooler - Backflushing and Cleaning .
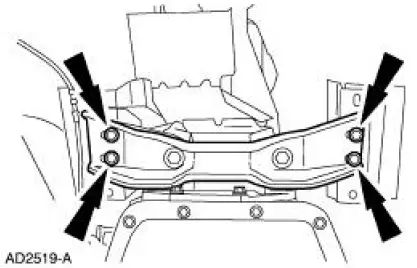
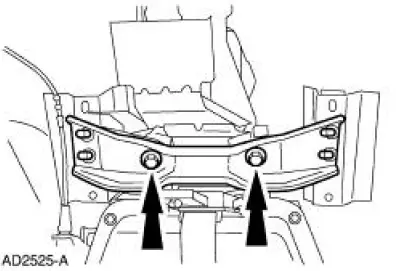
 Transmission Support Crossmember
Removal and Installation
1. Raise and support the vehicle. For additional information, refer to
Section.
2. Support the transmission with a suitable transmission jack.
3. Remove the crossmember.
...
 Transmission (DISASSEMBLY)
Special Tool(s)
Slide Hammer
100-001 (T50T-100-A)
Holding Fixture, Transmission
307-003 (T57L-500-B)
Slide Hammer
307-005 (T59L-100-B)
Remover, Tra ...
Other materials:
Pinpoint Tests
PINPOINT TEST A: THE ENGINE DOES NOT CRANK AND THE
RELAY DOES CLICK
Test Step
Result / Action to Take
A1 CHECK THE VOLTAGE TO THE STARTER RELAY
YesGO to A2 .
No
REPAIR circuit 1050 (LG/VT) for an open. TEST the
system for normal operation. ...
Supercharger Cooling System Flushing
1. WARNING: Never remove the pressure relief cap while the engine is
operating or
when the cooling system is hot. Failure to follow these instructions can result
in damage
to the cooling system or engine or personal injury. To avoid having scalding hot
cool ...
External Controls (Diagnosis and Testing)
Refer to Wiring Diagrams Cell 37 , Shift Lock for schematic and connector
information.
Refer to Wiring Diagrams Cell 29 , Transmission Control for schematic and
connector information.
Special Tool(s)
73 Digital Multimeter
105-R0051 or equivalent ...
