Ford Mustang (1999-2004) Service Manual: Trim Panel - Package Tray
Special Tool(s)
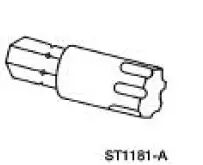 |
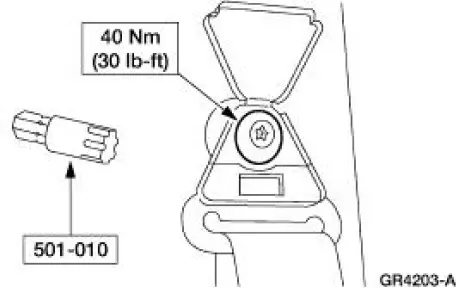
Torx Bit, Safety Belt Bolt 501-010 (T77L-2100-A) |
Removal and Installation
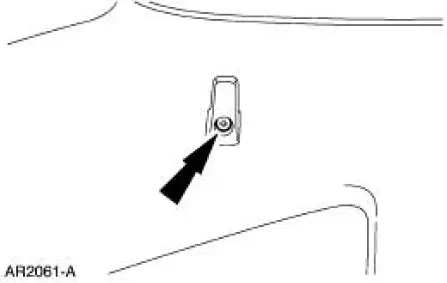
1. Remove the screw and the coat hook.
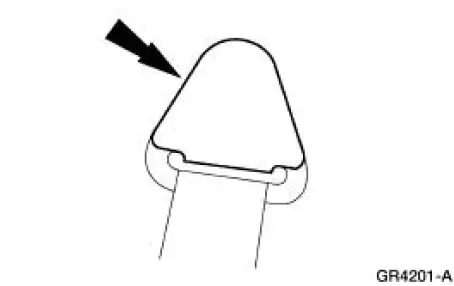
2. NOTE: Inspect the shoulder safety belt guide cover for damage. If the shoulder safety belt guide cover is damaged or the cover does not remain closed, install a new shoulder safety belt guide cover.
Open the safety belt cover.
3. Using the special tool, remove the front safety belt guide bolt and position the safety belt guide aside.
4. Position the upper trim panel aside.
5. Lower the seat backrests.
6. Remove the bolts and the rear seat backrest bolster.
7. Remove the two pin-type retainers and the package tray trim panel.
8. To install, reverse the removal procedure.
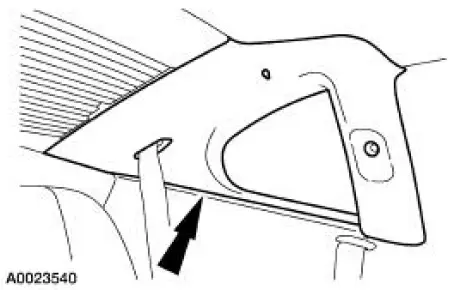
 Trim Panel - Upper Quarter
Special Tool(s)
Safety Belt Bolt Bit
501-010 (T77L-2100-A)
Removal and Installation
1. Remove the rear seat cushion.
2. Using the special tool, remove the rear safety belt anchor ...
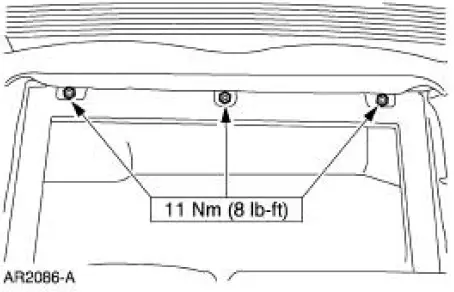
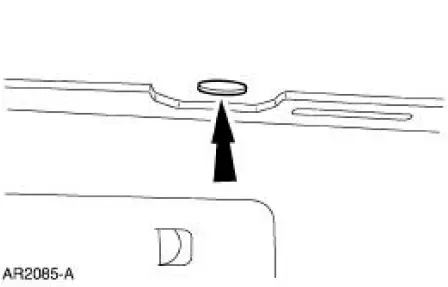
 Headliner
Removal
1. Remove the two upper quarter panels. For additional information,
refer to Trim Panel-Upper
Quarter in this section.
2. Remove the two windshield side garnish mouldings.
3. Remov ...
Other materials:
Accelerator Cable Bracket - Supercharged Engine
Removal and Installation
1. Disconnect the accelerator cable and speed control cable.
2. Depress the tabs and disconnect the accelerator cable and speed control
cable from the
accelerator cable bracket
3. Remove the bolts and the accelerator cable bracket ...
Removal
1. Disconnect the battery ground cable. For additional information, refer
to Section.
2. Drain the engine cooling system. For additional information, refer to
Section .
3. Remove the crankshaft pulley. For additional information, refer to
Crankshaft ...
Installation
All vehicles
CAUTION: After installing the urethane installed windshield,
the vehicle should not be
driven until the urethane adhesive has cured. The curing time at
temperatures above 13C (55
F) and relative humidity above 50% is 12-24 hours (Refer ...
