Ford Mustang (1999-2004) Service Manual: A/C Compressor Pressure Relief Valve
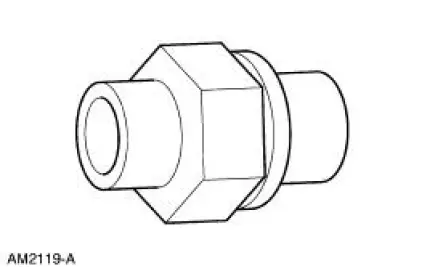
An A/C compressor pressure relief valve is incorporated into the compressor A/C manifold and tube to:
- relieve unusually high refrigerant system discharge pressure buildups. For specifications regarding operating pressure(s), refer to Section.
- prevent damage to the A/C compressor and other system components.
- avoid total refrigerant loss by closing after the excessive pressure has been relieved.
A/C Condenser Core
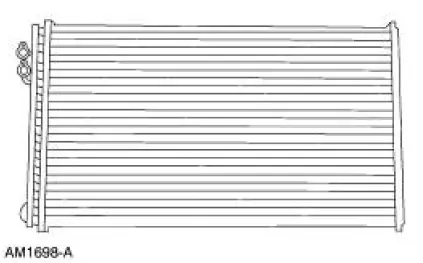
The A/C condenser core has the following characteristics:
- It is an aluminum fin and tube design heat exchanger located in front of the vehicle radiator (8005).
- It cools compressed refrigerant gas by allowing air to pass over fins and tubes to extract heat and by condensing gas to liquid refrigerant as it is cooled.
 A/C Compressor and Clutch Assembly
NOTE: Internal A/C compressor components are not serviced separately.
The FS-10 A/C compressor
is serviced only as an assembly. The A/C clutch pulley, A/C clutch field coil
(19D798) and the shaft
...
 Refrigerant Lines
The condenser to evaporator tube (19835) contains the high pressure liquid
refrigerant upstream of the
evaporator core orifice.
The A/C manifold and tube (19D734) is attached to the A/C compressor, ...
Other materials:
Electronic Vibration Analyzer (EVA)
The EVA is a hand-held electronic diagnostic tool which will assist in
locating the source of
unacceptable vibrations. The vibration sensor can be remotely mounted anywhere
in the vehicle for
testing purposes. The unit displays the three most common vibratio ...
Installation
1. CAUTION: Do not allow grease, oil, brake fluid or other
contaminants to contact the
pad lining material. Do not install contaminated pads.
NOTE: Install all hardware supplied with pad kits.
Install the pads.
1. Install the new pad slippers. ...
Component Tests
Battery-Load Test
1. With the engine running, turn the A/C on, the blower motor on high
speed and the headlamps
on high beam.
2. Increase the engine speed to approximately 2,000 rpm. The voltage
should increase a minimum
of 0.5 volt above the ba ...
