Ford Mustang (1999-2004) Service Manual: Input Shaft and Bearing
Special Tool(s)
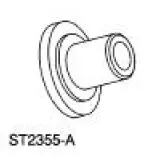 |
Input Shaft Seal Replacer 308-220 (T94P-7025-AH) |
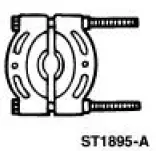 |
Pinion Bearing Cone Remover 205-D002 (D79L-4621-A) or Equivalent |
Disassembly
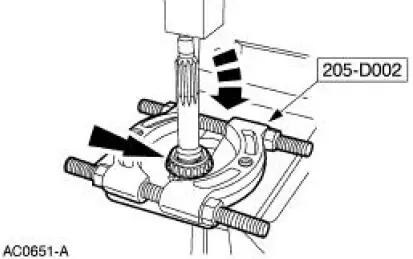
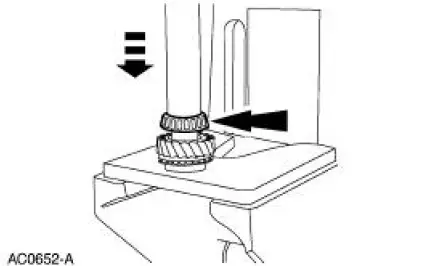
1. Using the special tool and a press, remove the input bearing (7025).
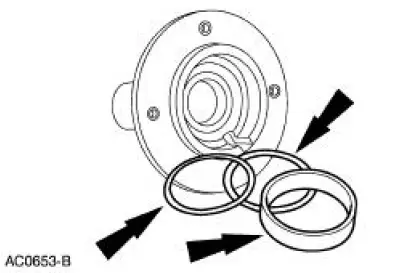
2. Remove the bearing race and the end play selective shims.

3. Remove the input shaft seal (7052).
Assembly
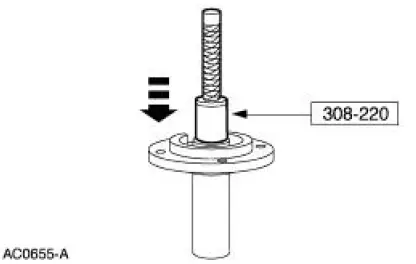
1. Using the special tool, install the input shaft seal.
2. NOTE: In installing a new input shaft seal as part of a transmission overhaul, do not install the end play selective shims at this time.
Instal the end play selective shims and the bearing race.
3. Using a press and a capped length of pipe, install the input bearing.
 Assembly
1. Install the new O-ring.
2. Assemble the gear shifter forks.
1. Install the gear shift plate into the gear shifter fork.
2. Install the gear shift fork inserts.
3. NOTE: Position the na ...
 Output Shaft
Special Tool(s)
Pinion Bearing Cone Remove
205-D002 (D79L-4621-A) or
Equivalent
Spiral Snap Ring Replacer
308-096 (T85P-7025-A)
Disassembly
1. Using the special tool a ...
Other materials:
Door Speaker - Upper
Removal and Installation
1. Remove the front door trim panels (239420). For additional
information, refer to Section
2. Remove the upper speaker access cover.
3. Remove the upper speaker housing.
1. Remove the screw.
2. Remove the upper spea ...
Noise, Vibration and Harshness (NVH) (Diagnosis and Testing)
Special Tool(s)
ChassisEAR
107-R2102 or equivalent
Electronic Vibration Analyzer
100-F027 (014-00344) or
equivalent
EngineEAR
107-R2100 or equivalent
Ultrasonic Leak Detector
134-R0135 or equivalent
T ...
Rear Subframe
Removal and Installation
CAUTION: Suspension fasteners are critical parts because they affect
performance of vital
components and systems and their failure can result in major service expense. A
new part with
the same part number must be installed if install ...
