Ford Mustang (1999-2004) Service Manual: Latch - Front Seat Backrest
Removal
NOTE: The power seat backrest adjuster assembly must be installed as a new unit. Repair of the power seat backrest adjuster assembly components is not acceptable and should not be attempted.
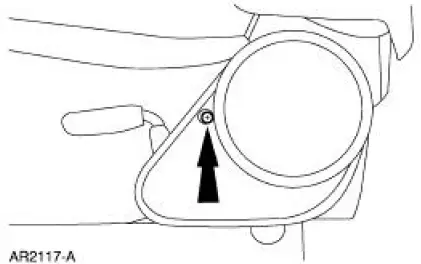
1. Remove the two screws and the seat backrest latch cover.
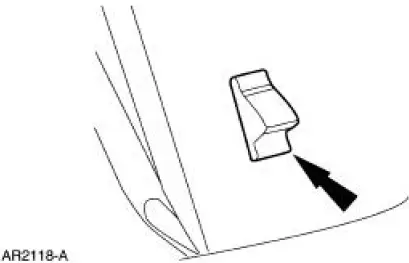
2. Remove the seat backrest latch handle knob (62762).
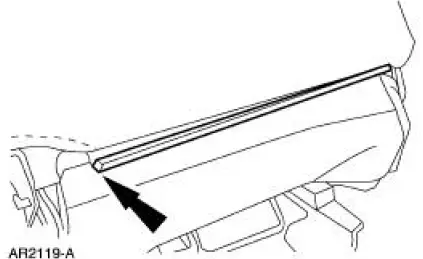
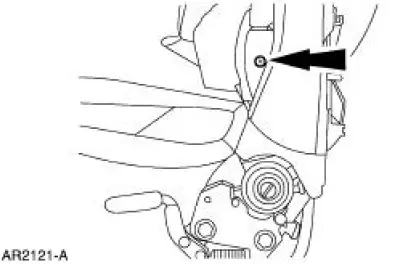
3. Release the J-retainer.
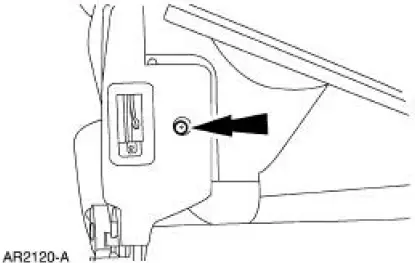
4. Remove the screw.
5. Remove the front seat backrest latch upper cover (62766).
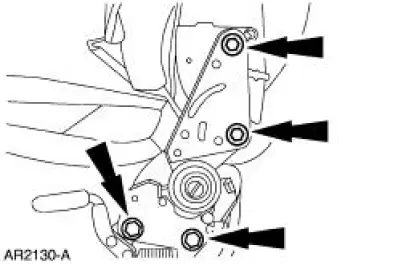
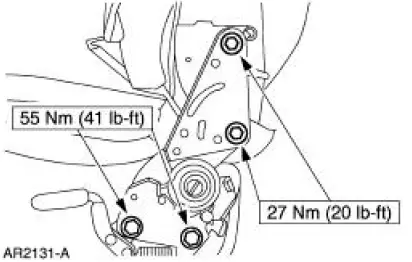
6. Remove the bolts and the seat backrest latch.
Installation
1. To install, reverse the removal procedure.
 Lumbar Motor
Removal and Installation
All vehicles
1. Remove the front seat. For additional information, refer to Seat-Front
Power in this section.
2. Disconnect the power seat track electrical connector.
...
 Front Seat Cushion
Disassembly and Assembly
All vehicles
1. Remove the seat track. For additional information, refer to Seat Track
in this section.
2. Remove the seat backrest. For additional information, refer to ...
Other materials:
Fuel cut-off switch
WARNING: Failure to inspect and if necessary repair fuel leaks
after a collision may increase the risk of fire and serious injury.
Ford Motor Company recommends that the fuel system be inspected by
an authorized dealer after any collision.
In the event of a m ...
Knock
Knock, which can occur on all driving phases, has several causes including
damaged teeth or gearset.
In most cases, one of the following conditions will occur:
1. A gear tooth damaged on the drive side is a common cause of the knock.
This can usually be
cor ...
Sensor - Front
Removal
1. Remove the wheel and tire assembly.
2. Remove the inner fender splash shield.
1. Remove the inner fender splash shield push pins.
2. Remove the inner fender splash shield screw.
3. Remove the inner fender splash shield.
3. Remove the front ...
