Ford Mustang (1999-2004) Service Manual: Transmission (Installation)
Material
| Item | Specification |
| DEXRON III (ATF) Transmission Fluid XT-2-QDX or equivalent | DEXRON III |
| Pipe Sealant with Teflon D8AZ-19554-A or equivalent | WSK-M2G350- A2 |
| Premium Long Life Grease XG-1-C, K or T or equivalent | ESA-M1C75-B |
1. NOTE: Before installing the transmission, the ball stud, clutch release lever and the input shaft must be cleaned and lubricated with grease.
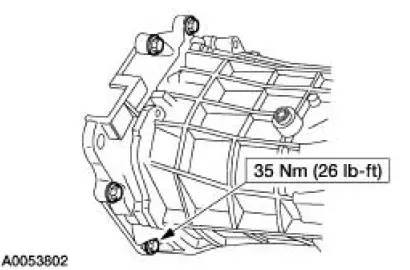
Position the transmission to the clutch adapter housing. Install the eight transmission-to-clutch adapter housing bolts.
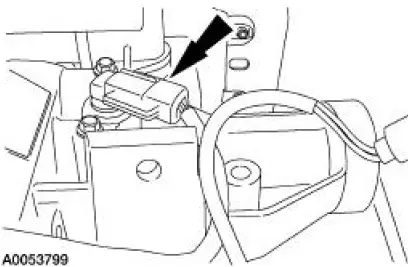
2. Connect the output shaft speed (OSS) sensor electrical connector.
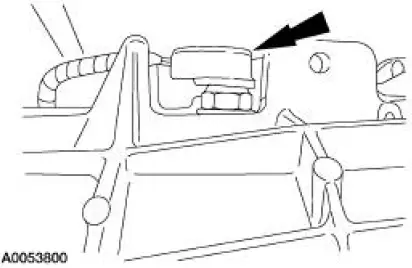
3. Connect the reverse lamp electrical connector.
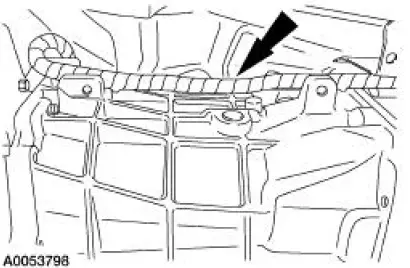
4. Connect the wiring harness to the transmission.
5. Connect the clutch release cable to the clutch release fork.
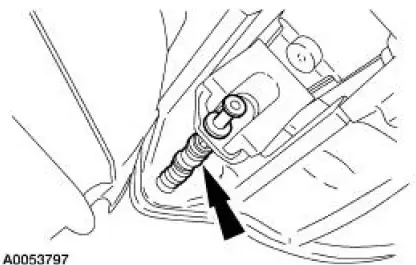
6. Install the clutch release lever cover and bolt.
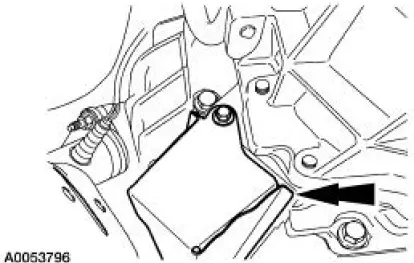
7. Install the transmission crossmember and the bolts.
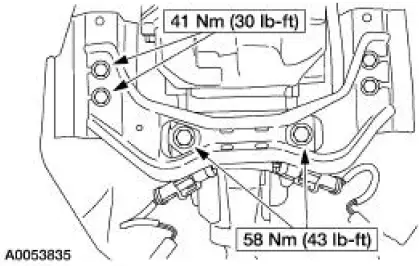
8. Remove the transmission jack from the transmission.
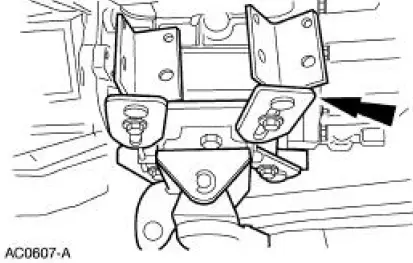
9. Connect the heated oxygen sensor (HO2S) electrical connectors to the crossmember.
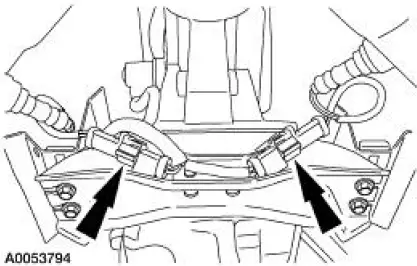
10. CAUTION: Align the index marks on the driveshaft flange and pinion flange, and the driveshaft slip yoke and transmission output shaft.
Install the driveshaft. For additional information, refer to Section.
11. Fill the transmission to capacity with the specified transmission fluid. Apply sealant to the fill plug threads and install the fill plug.
- The total fill capacity is 3.9L (4.1 qt).
12. Lower the vehicle.
13. Connect the reverse lockout solenoid electrical connector.
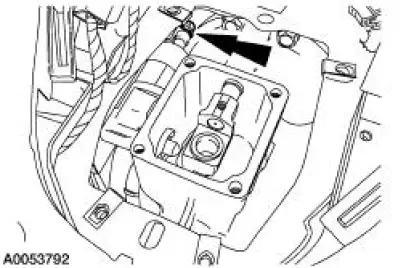
14. Install the lower gearshift lever and the bolts.
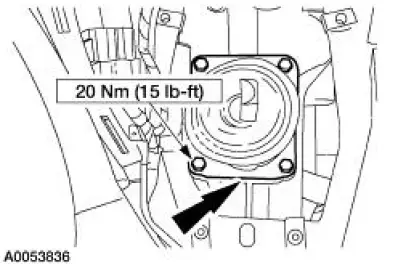
15. Install the lower gearshift lever boot and the bolts.
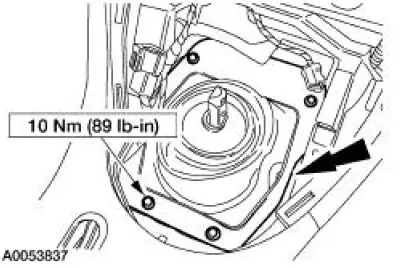
16. Install the upper gearshift lever and the bolts.
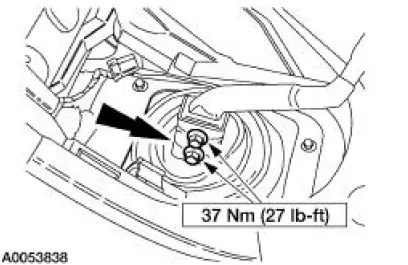
17. Connect the cigar lighter electrical connector. Install the console panel gearshift plate.
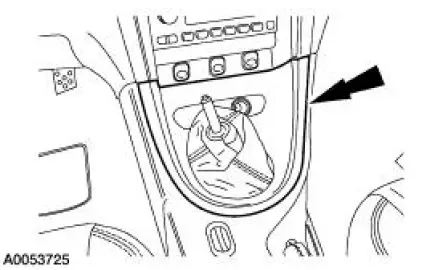
18. Install the gearshift lever knob.
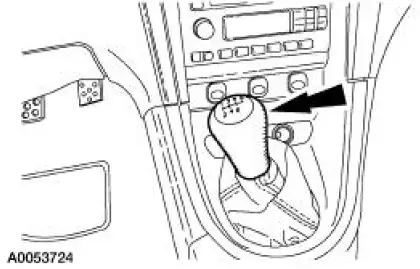
 Transmission (Assembly)
Special Tool(s)
Dial Indicator Gauge with
Holding Fixture
100-002 (TOOL-4201-C) or
equivalent
Holding Fixture, Transmission
307-003 (T57L-500-B)
Remover/Inst ...
 Exhaust System
Torque Specifications
...
Other materials:
Removal
WARNING: Do not smoke or carry lighted tobacco or open flame of any
type when
working on or near any fuel related components. Highly flammable mixtures are
always present
and may be ignited. Failure to follow these instructions may result in personal
injury ...
Speed Control (Diagnosis and Testing)
Refer to Wiring Diagrams Cell 31 , Speed Control for schematic and connector
information.
Special Tool(s)
Worldwide Diagnostic System
(WDS)
418-F224,
New Generation STAR (NGS)
Tester
418-F052, or equivalent
diagnostic tool
7 ...
Key Release Button
Removal
1. Disconnect the battery ground cable.
2. Remove the ignition switch lock cylinder.
1. Insert the ignition key into the ignition switch lock cylinder and
turn to RUN position.
2. Push the ignition switch lock cylinder release tab with a p ...
